62mm Jeep Cherokee Throttle Body
I’ve installed a 62mm throttle body from DW Designs and it’s given my Jeep Cherokee a little better throttle response.
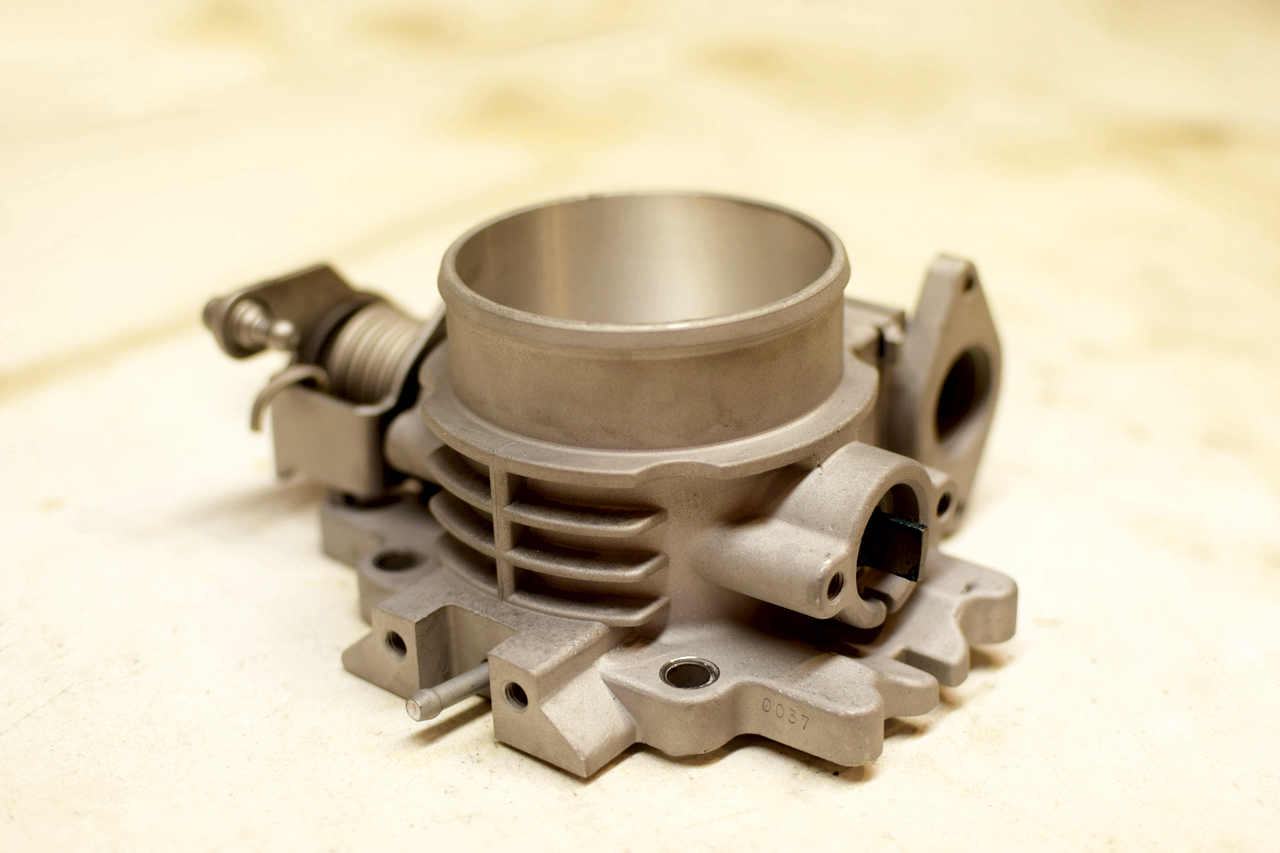
The new throttle body from DW Designs is beautifully prepared. It’s been cleaned, media blasted, and bored out to 62mm. The throttle rod has been trimmed to allow a larger butterfly valve, and the larger butterfly has been fitted with new hex bolts. It even appears to have brand new throttle rod bearings. The new edges are nicely chamfered and the satin finish from the media blasting looks great. I’m very impressed with the level of detail given to this. It’s really good value.
I pulled a core to send DW from a local junkyard out of a 1998 XJ. I found his shop from a recommendation from K Suspension, and after a short Facebook conversation I paid via PayPal and shipped him the core. In just a few days I had a machined throttle body ready to install. I kept the sensors from the donor XJ and tossed them into my tool bag to keep with me on the trail.
I’ve previously installed a fresh exhaust and 4 port fuel injectors from K Suspension. My old throttle body was working fine and my sensors appear to be in good shape. This new 62mm throttle body is just a step in getting back some of the throttle response I lost with my larger tires.
Review
It’s worth doing if you’re running larger tires. The Jeep feels a little snappier.
My old throttle body was a little dirty, but not enough that cleaning alone would have been noticeable. I can’t say that this is a night and day difference, but I think it’s a worthy improvement. I suspect that when I upgrade my stock airbox that the effect will continue to add up.
I’ll update this section once I’ve got some fuel economy and acceleration numbers to share. Before the upgrade I averaged 14.7 on my last tank of gas for mostly around town driving, and in my neighborhood I found two points to accelerate between that took 3.4 seconds from about 0-20mph.
Comparison
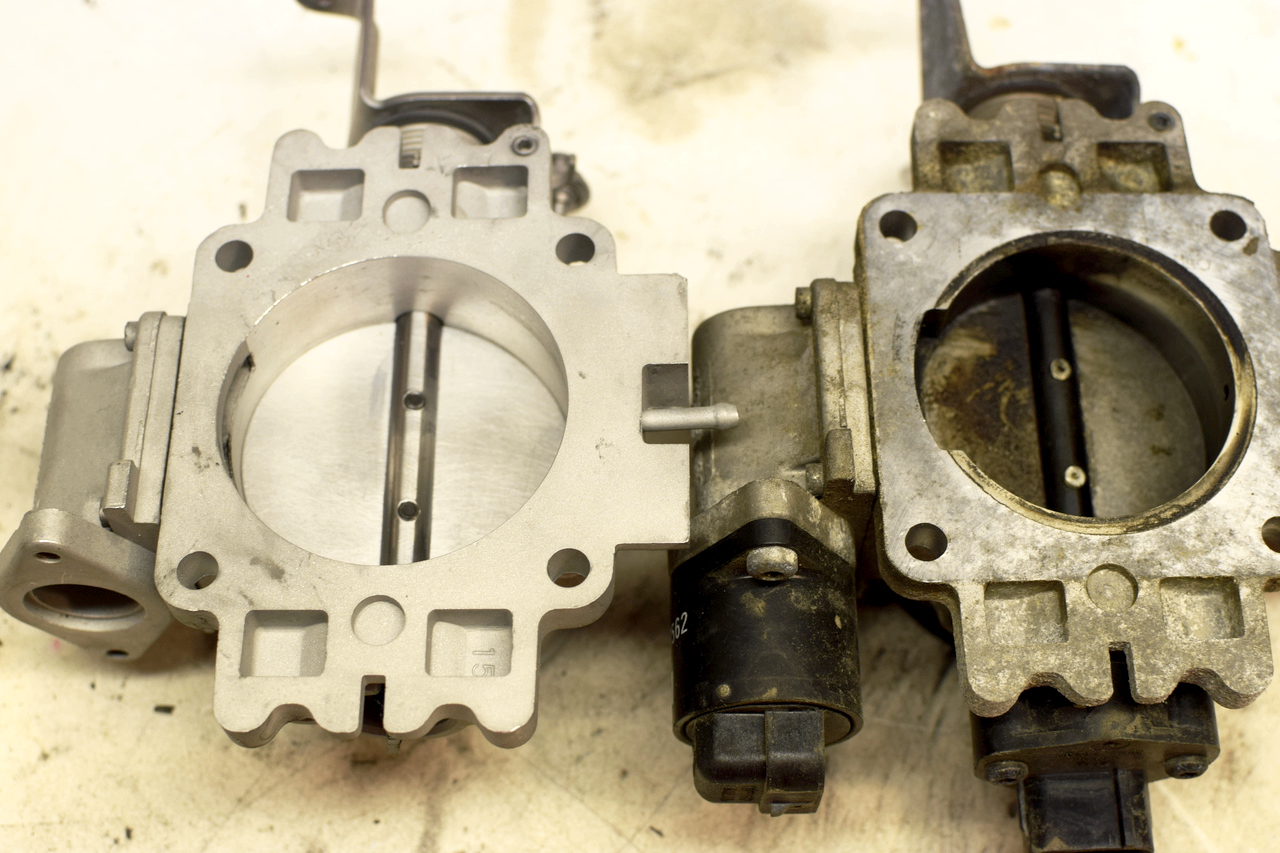
In the photo above you can see the difference. The dark ring to the inside of the old throttle body is the metal that is not covered by the gasket. In the new part, all of that metal has been removed so that the throttle body no longer necks down.
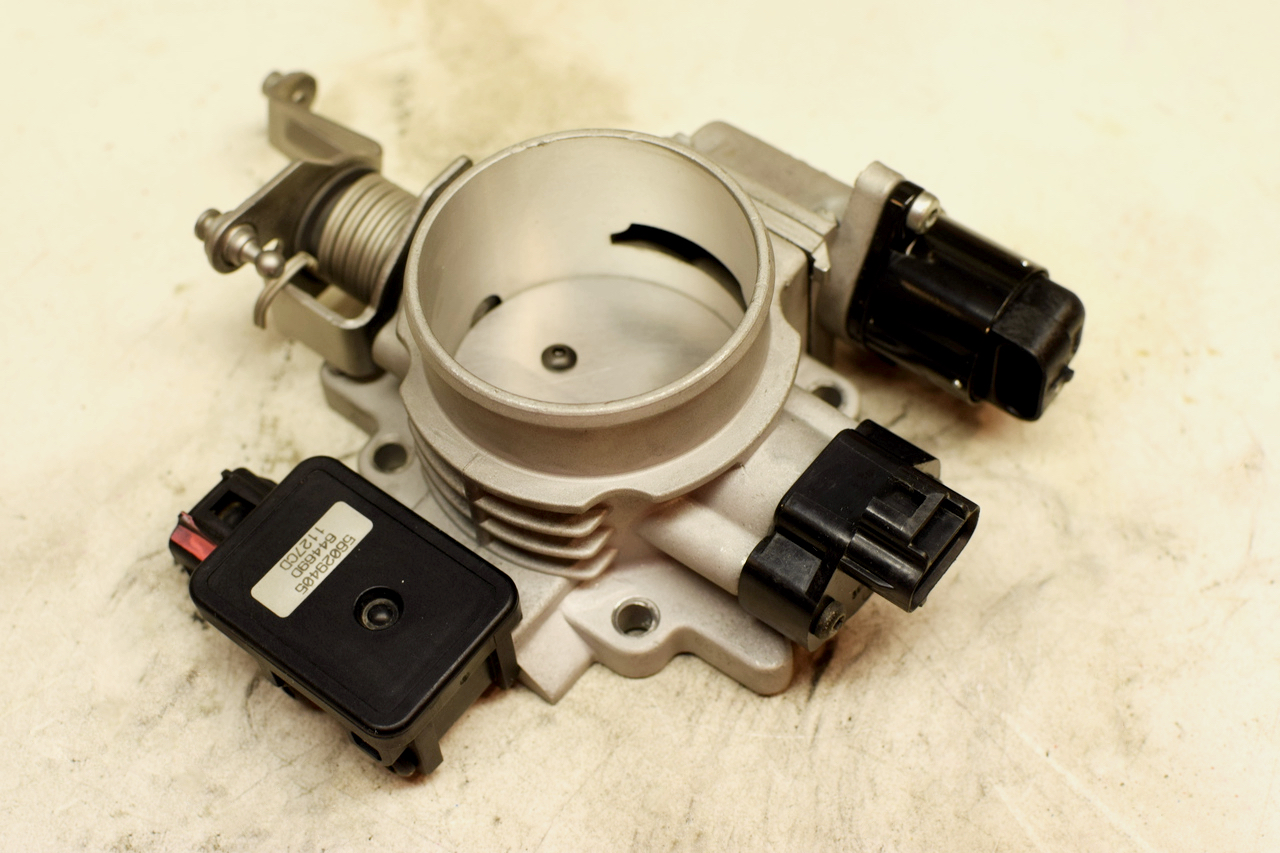
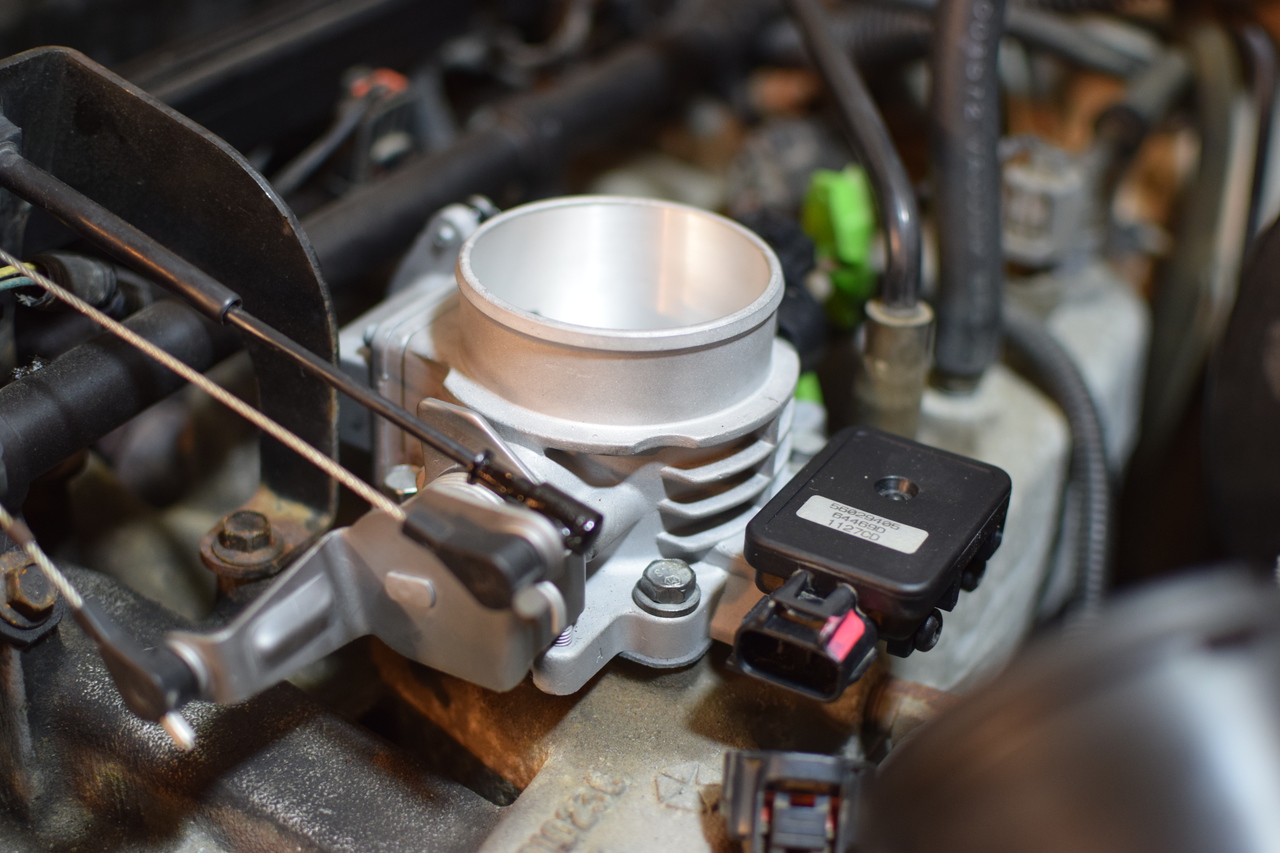
Here’s the glamor shot of it on my benchtop with my sensors re-installed on the new throttle body. I cleaned my sensors and gave them a thin coat of silicone grease.
Installation
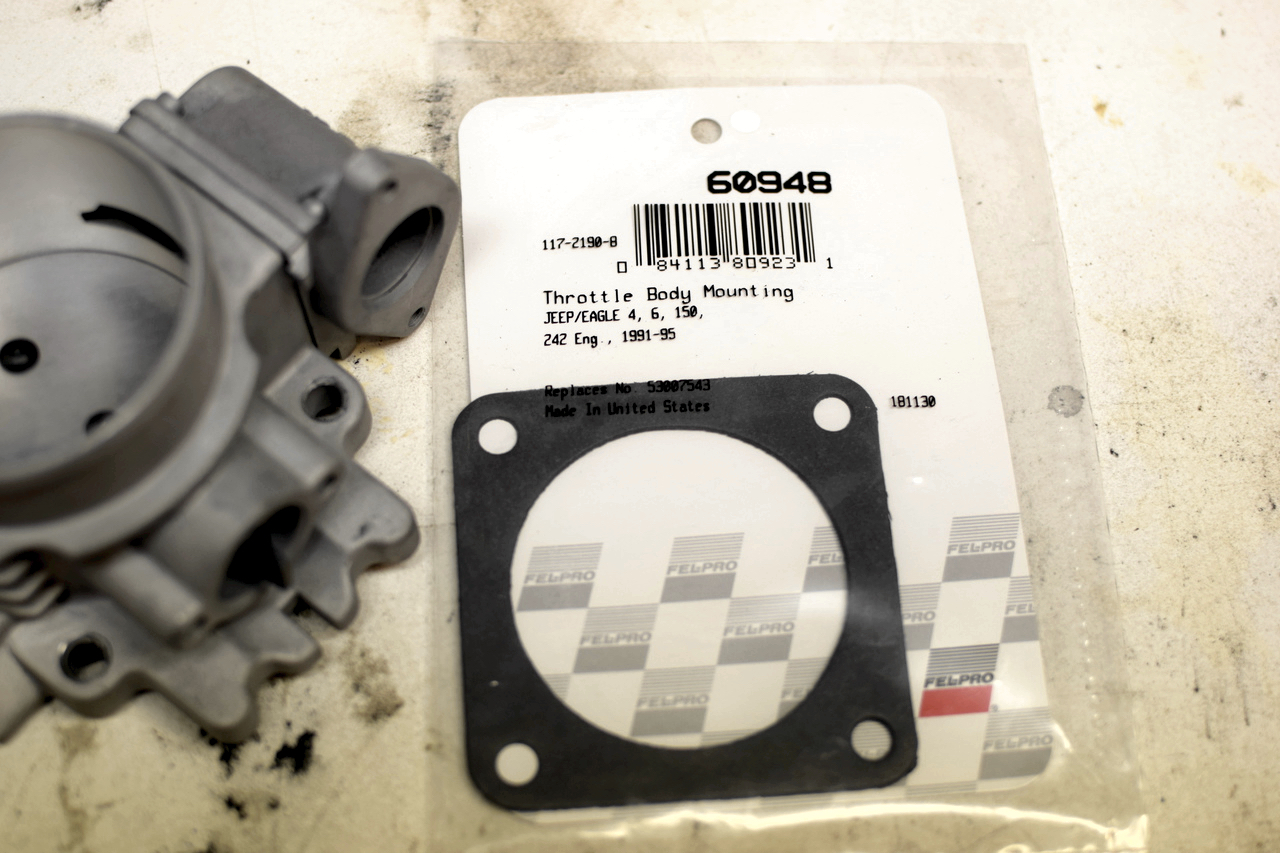
I used a new FelPro 60948 gasket from O’Reilly Auto Parts. My stock gasket came out in one piece, and probably could have been wiped down and re-used. I’d already picked up a new one and so I used it.
The installation was very straight forward and I spent more time cleaning than I did with the install. Another customer made a throttle body installation video that you can watch.
Remember that the bolts that attach it to the intake are threading into aluminum and only need about 90 inch-pounds of torque — that’s about 8 pound-feet.
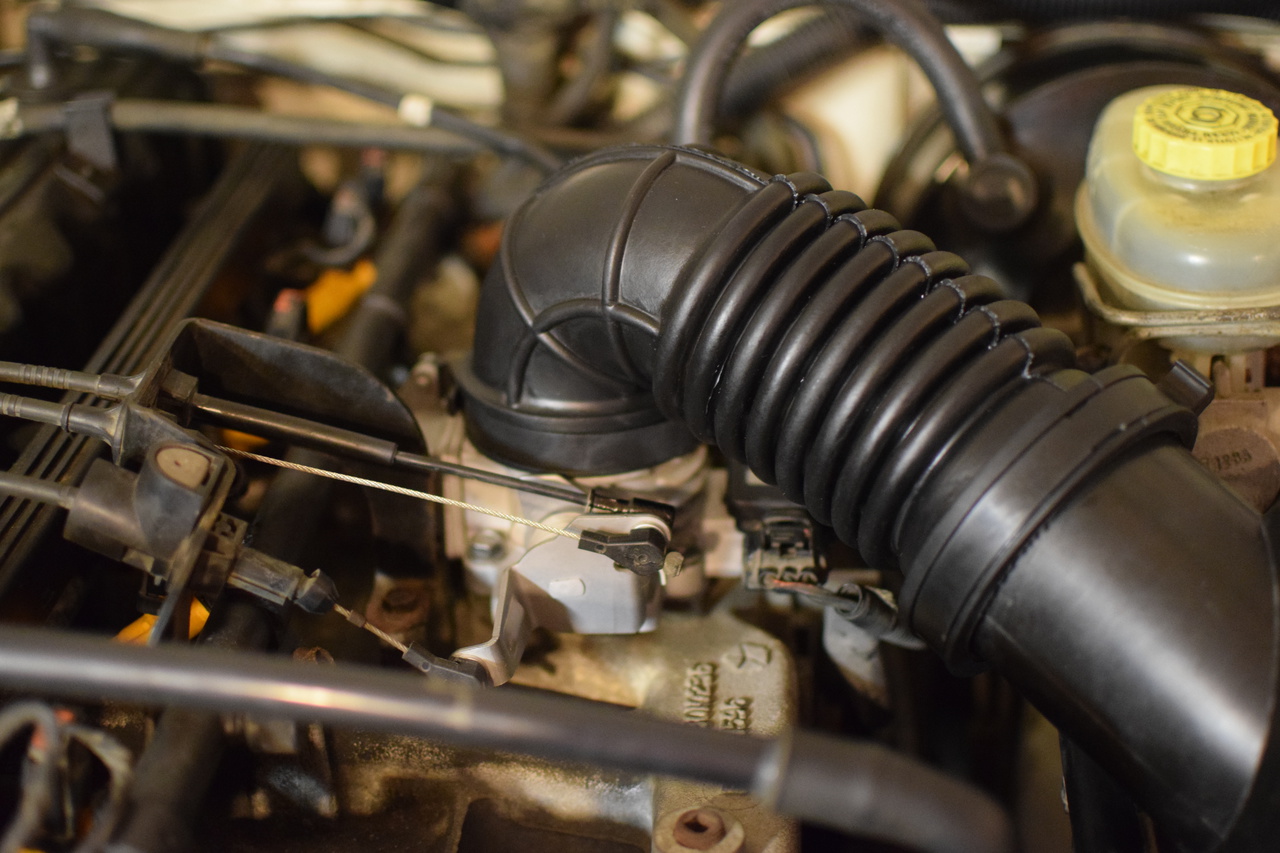
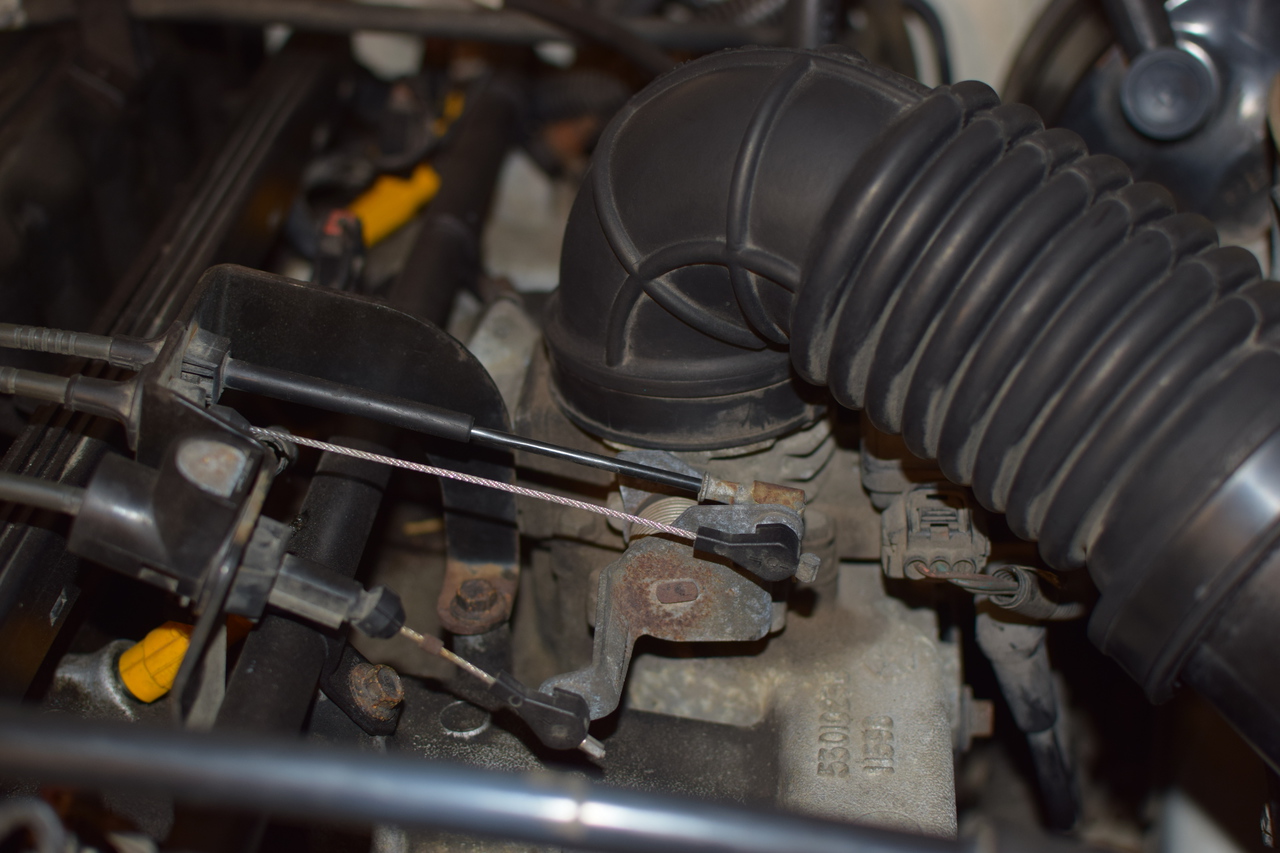
From a recommendation from Tom’s Turbo Garage I’ve started using Honda Shin-Etsu grease on rubber door seals and under-hood parts. In the last photo, you’ll see that I scrubbed the stock air box hose and added a thin coat of grease to it to help prevent any more oxidation.
Security Bits
To move my sensors I needed both T20 and T25 bits. I’ve got a set of ¼” drive torx bits from Craftsman that were too large to fit in this space, and so I needed to use my small bits with a driver to swap my sensors.
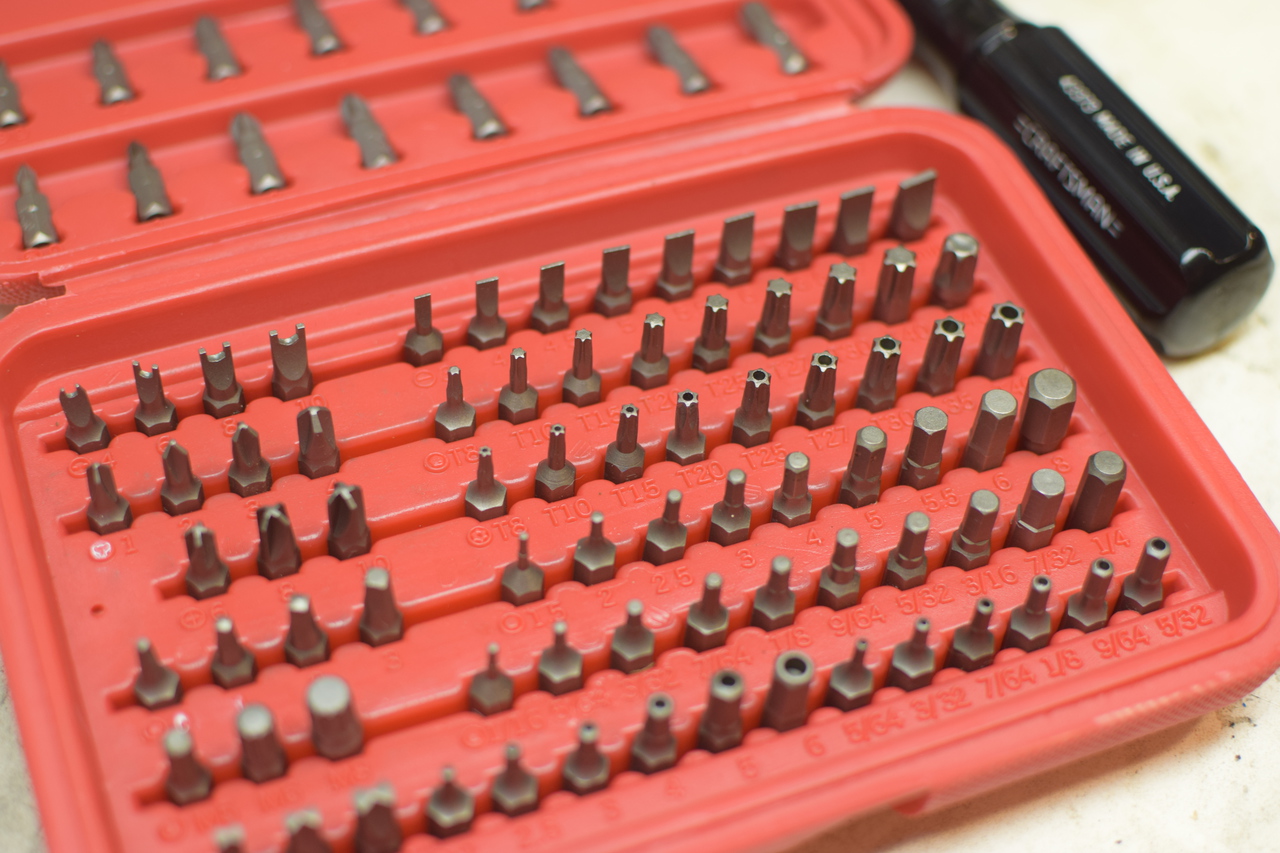
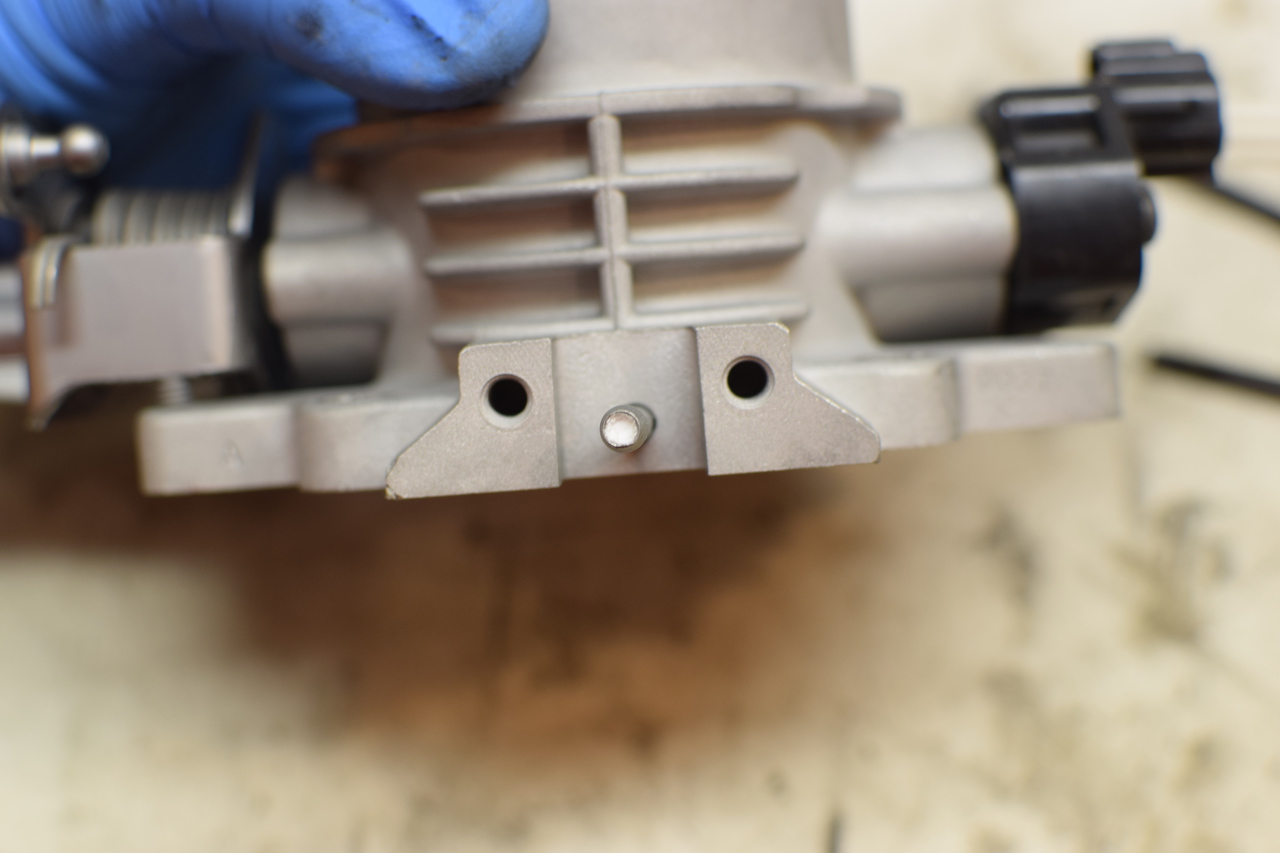
In order to remove the idle air controller housing for cleaning, I needed a T20 security bit. These are the torx bits with the spike in the center that prevent tampering. I’ve got a complete set from Neiko that have been great. The kit includes tri-lobe, pins, and security hex in both metric and standard and it’s a nice little kit to have.
Minor Issues
There were a couple of minor issues with the install.
When I received the new throttle body some of the media blasting material was clogging the MAP sensor tube. This was easily cleaned out with a small pick and I ran a little rubbing alcohol through the tube to make sure it was clear.
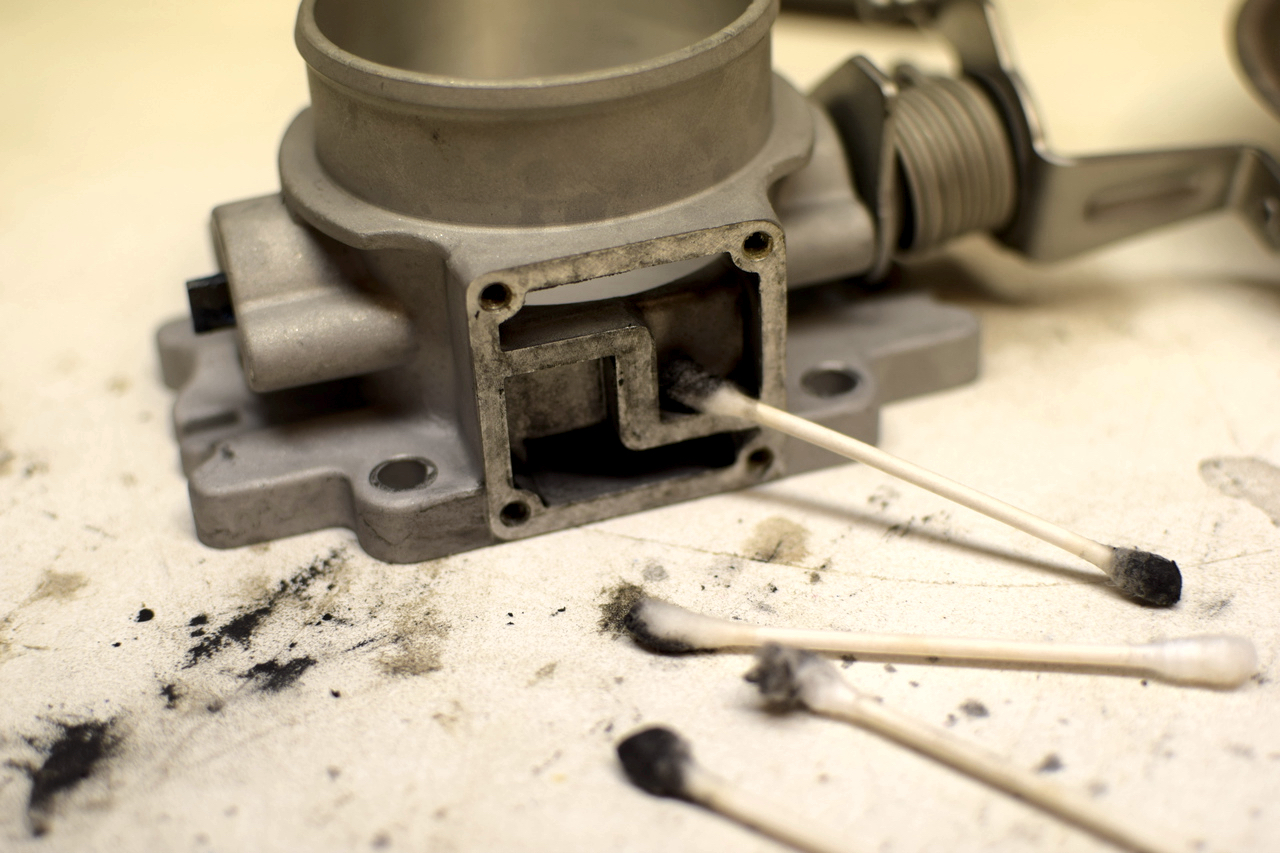 I also disassembled the IAC housing and did a little more cleaning. The rest of the throttle body was beautiful, but the IAC housing had some flaky soot that I wanted to remove before installation. This probably wasn’t required, but this Jeep is a hobby and listening to NPR and cleaning parts is a lovely way to spend early weekend mornings.
If you’ve got questions, please feel free to send me an email.