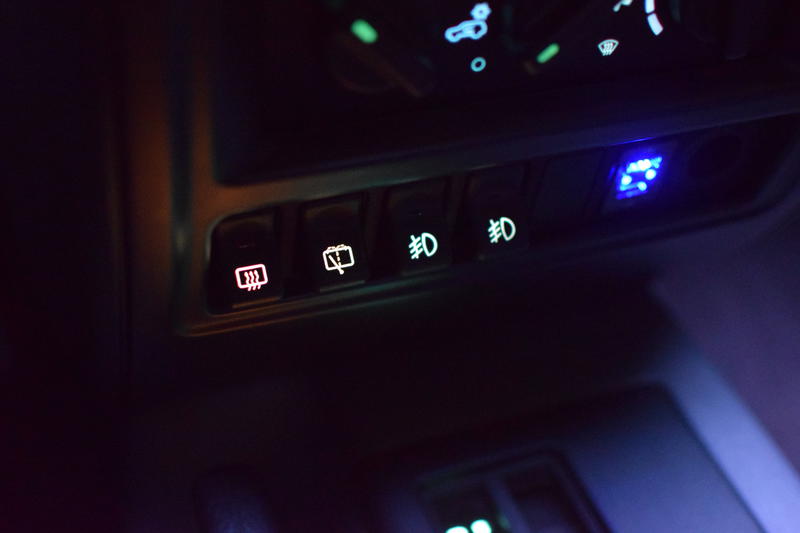
I’ve recently added JCR front and rear bumpers to my 1997 Jeep XJ. The bumpers have front and rear offroad lights, and I’ve just finished wiring them. I’ve chosen to use new old stock fog light switches for them so that I can maintain a stock appearance. My goal was to get a set of JCR lights to work with the OEM rocker switches and have working rear illumination.
With some help from the good folks at cherokeeforum.com I found that my Jeep had an unused foglight wiring pigtail behind the dash. The orange illumination wire works and ranges from 1-12V with interior light brightness adjustment. I was able to use the three wires from the JCR aftermarket lights with this third orange wire from the original harness to wire the new lights. To accompany my fog lights, I had to source new connectors and pigtails for them ebay.
My new five switch panel came from GCT Enterprises and has fit really well. I’ll show you some details of this install, and I’ll review the panel as well.
Disclaimer: I am not a professional. This is for informational purposes only. Please use fuses for all wiring, properly secure all wires, and don’t do anything stupid.
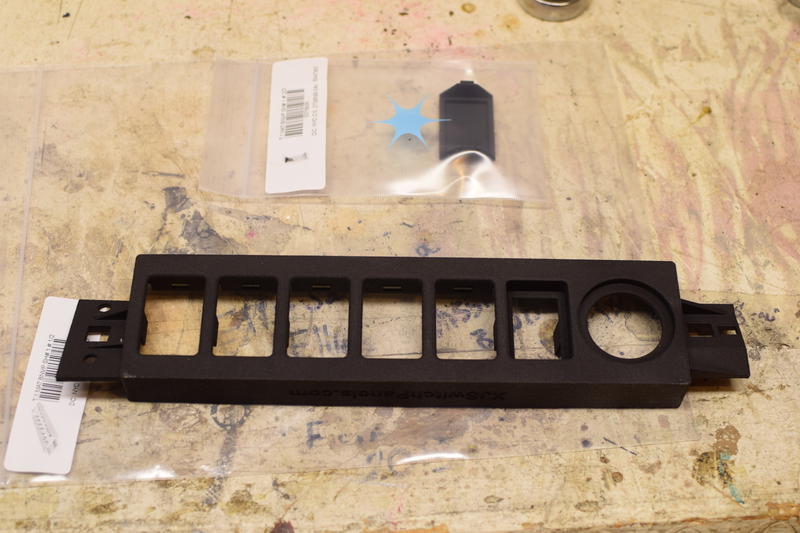
Here’s the Five Switch Panel from GCT
on my workbench. You can also see a switch blank that I needed since
I’ve only got 4 switches at the moment. The part is made and shipped by
Shapeways and the fit and finish were really
good. I’m impressed with the design from @wizardpc_gct
and the thought he’s put into it. This version of the panel has spaces for
five Jeep rocker switches, one Toyota small push opening, and one 12V socket.
I expected that the 3D printing would have some flash and a poor surface finish.
I bought it expecting to do sanding, a skim coat, and paint. But after seeing
it in person, it’s actually pretty close to the factory texture and I installed
it without any prep at all. It could be a bit more stiff, but once it’s installed
the flex has mostly gone away. It’s a fantastic part.
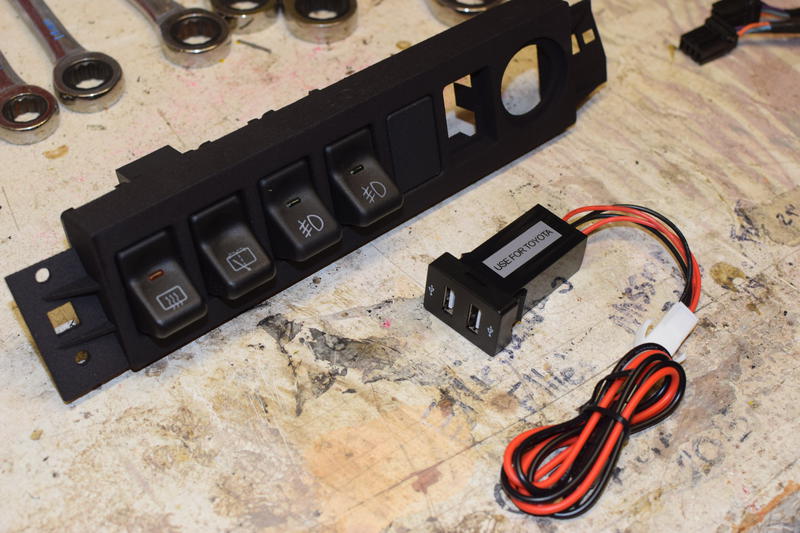
Here’s the switch panel with a Toyota USB Charger. I
had to do a small amount of sanding of the tabs that retain the charger. The
switches all positively engage with the panel and everything works well together.
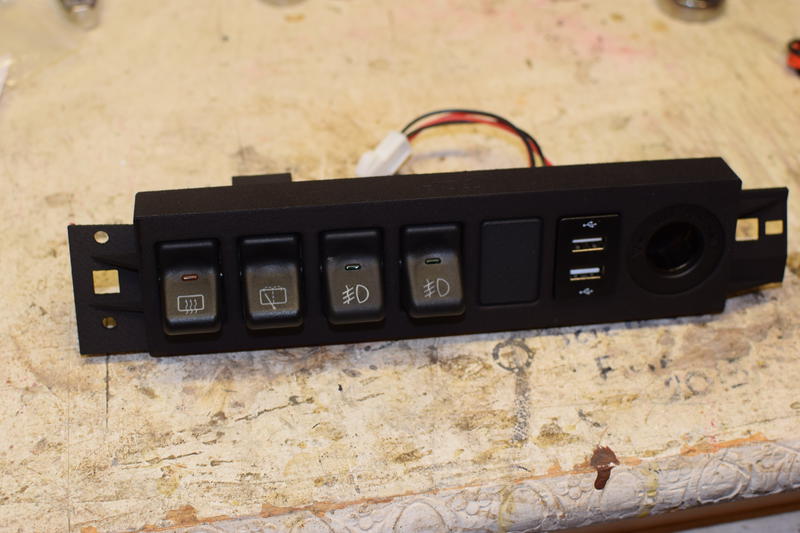
On the right you can see the a 12v socket receptacle.
There’s a variety of choices for the Toyota slot. Anything that fits the
small push switch opening could work here.
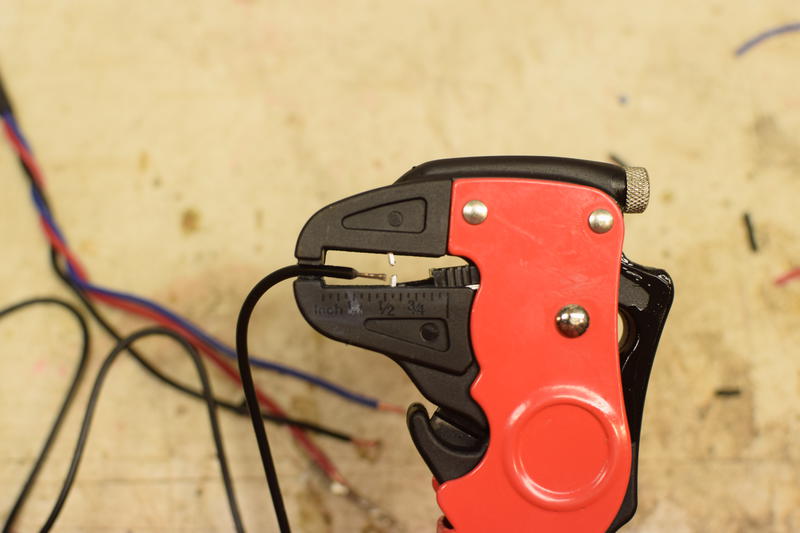
I picked up this little set of wire strippers and I
didn’t expect much from them, but I’ve been quite impressed with them. You need
to adjust them a bit so that they don’t damage any of the strands, but once they
are adjusted they’ve made quick work of a lot of electrical work lately. Operating
them quickly seems to produce cleaner cuts. I use a
weatherproof connector on my firewall, and so I do
about twice the stripping and crimping as usual on this Jeep.
I tend to solder all of my connections and I use soldering instead of butt connectors. I know the myths about soldering work hardening and problems with stiffness, but I believe that the benefits outweigh that. This Jeep isn’t a daily driver, and so I have time to fiddle with things, and I do tend to add a bit of solder to crimped connections as well.
I wish I’d bought a set of helping hands earlier in my life. They make splices so much easier to work on, and I can even take them into tight spots in the Jeep where it’s sometimes hard to fit your hands. I’ve found it useful to put some heat shrink tubing over the jaws so that they can’t damage small wires.
I do all of my soldering with a Hakko FX888 Soldering Iron
and it is a fantastic tool. It has digital temperature control and rebounds
extremely fast. The tip temperature never really wavers, and I’ve found the temp
control makes it great for plastic welding as well.
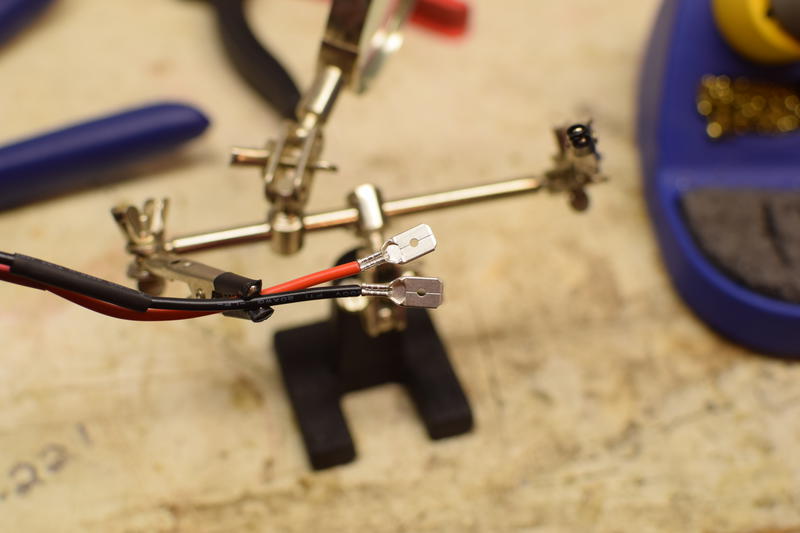
I didn’t want to hack into the factory harness, and so I’ve made jumper cables
for the 12V socket and the Toyota USB port. These adapt from the factory
blade style connectors to the connectors on the new parts.
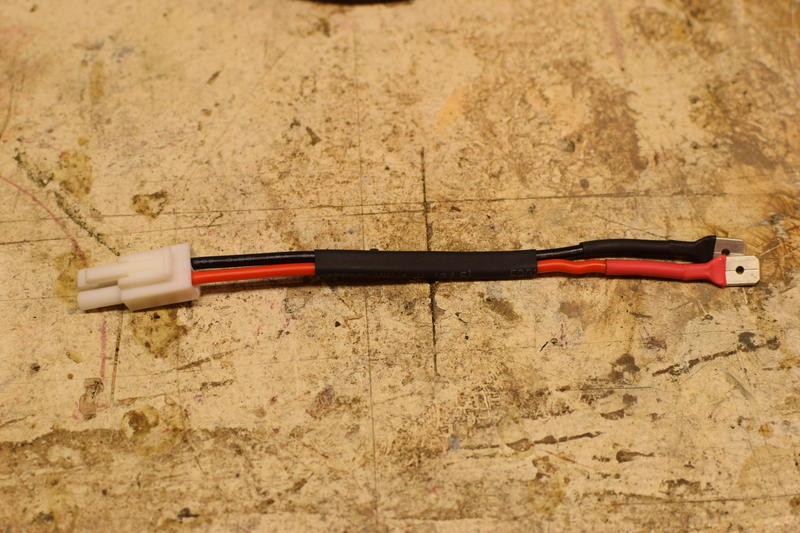
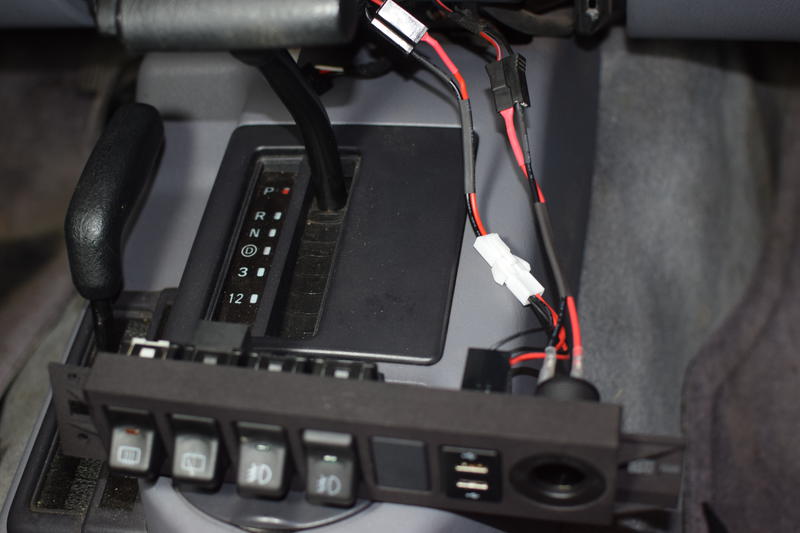
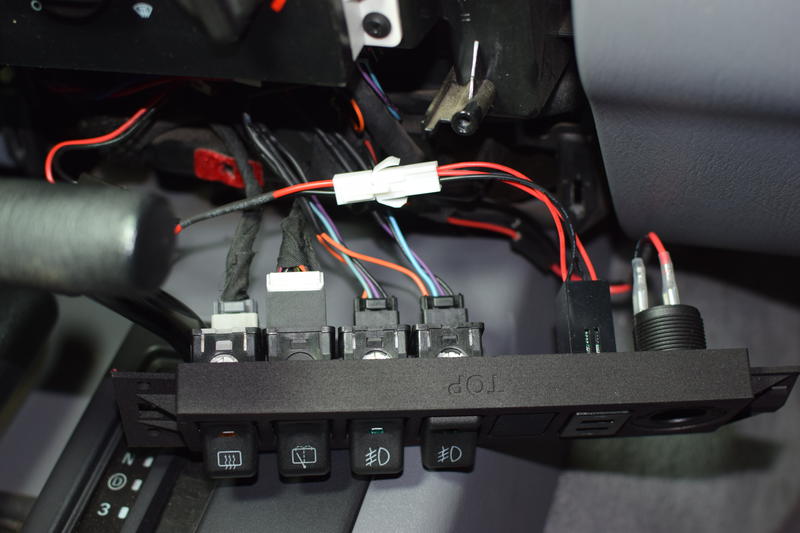
Here are the jumper cables in place, one for each of the new devices.
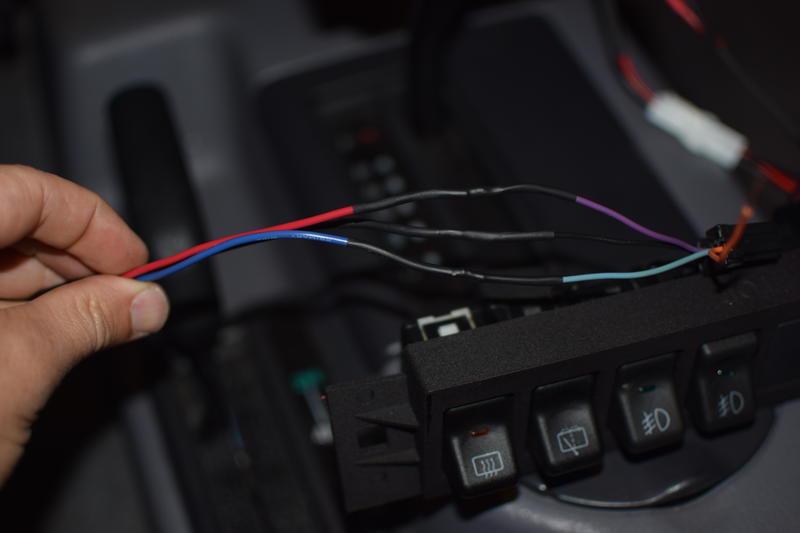
Here’s the splice wiring from the JCR lights. I tend to use a Western Union Splice. I solder the splice, coat with it dielectric grease, and then heat shrink. With this style of splice it’s important to make sure that no wire ends are poking out to wear through the heat shrink tubing.
Constant power from the fog lights is red and connects to factory switch purple.
Ground black to black. The blue that runs to the relay connects to aqua, and the
orange will be connected to the factory illumination power stolen from the the
unused and partially operative plug in the factory harness.
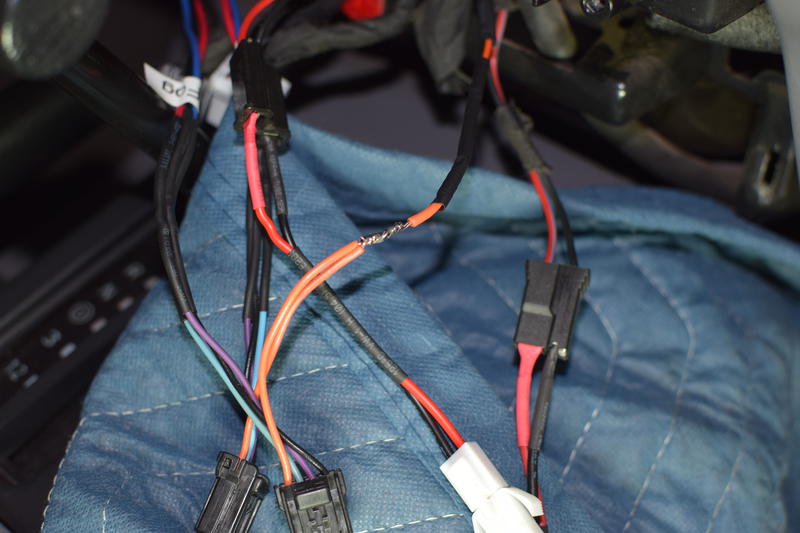
You can see the wires from the new lights now have their factory connectors, and
I’m adding the illumination from the factory orange wire. You can see that
I’ve clipped the orange wire from the factory plug and extended it. I’m preparing
to solder it to the orange leads from the new fog light pigtails.
Here is the switch panel completed and read to be installed.
The finished panel installed and complete.
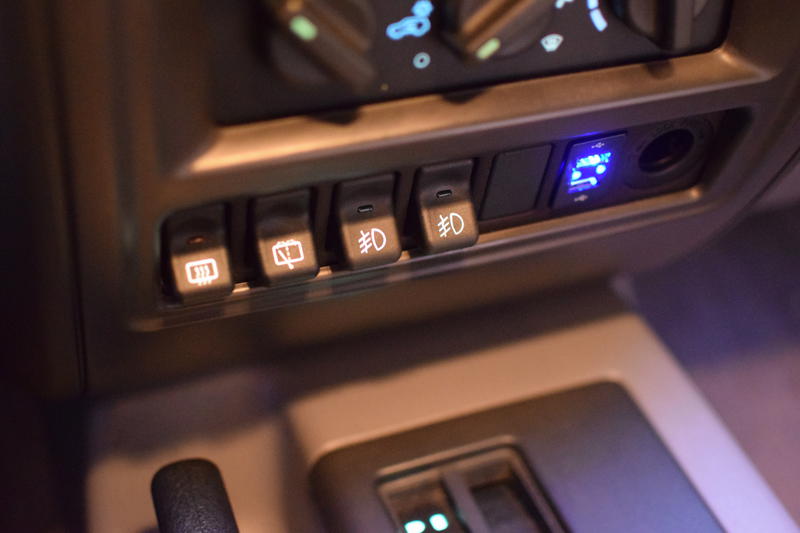
The switches look fantastic at night and I think I’ve met my goal of keeping
the panel looking factory original.
