TL;DR
If you’ve got an older table saw without a riving knife, you should upgrade it with a Shark Guard.
A Short Review
I have a Delta 36-L31X left tilt table saw. It’s a wonderful saw with lots of power and a pretty massive table top. It’s flat and the fence stays dead-on true. It has no vibration and pretty good dust collection. However, it’s a used saw and I didn’t get the factory original splitter with it. It seems that most users when this saw was new simply threw them away. I think a splitter is the most important safety feature for a saw. In fact, every saw since 2008 has had to have a riving knife to be UL Listed. I wanted one for this Delta Unisaw.
After a fair bit of searching, I found the Delta ARK riving knife from Shark Guard. This is a great unit, and I recommend it without reservation. If you aren’t familiar with the Shark Guard, they’ve got a great introduction video.
It fits this saw and installation was easy. I think a true riving knife raises and lowers with the blade. This does not - it mounts to the original splitter location and is stationary. However, it has a quick change adjustment that allows you to quickly raise and lower the splitter. You remove the throat plate, turn a small handle to loosen the knife and then raise or lower the knife to match your blade height. It’s best kept close to the blade. It’s a manual operation, but it’s easy enough that I think the small hassle is well worth the added safety. I’ve used it for more than a year now in a variety of projects and it’s a great addition to this saw.
When cutting small parts I really like using a GRR-RIPPER Pushblock. When I do this I have to remove the pawls and the blade guard. The splitter still works great in this configuration.
Installation
The Delta Unisaw has a mount for a fixed splitter. I don’t think there’s one of these old saws left with one of those installed. If you pull the throat plate you’ll see the original splitter mount.
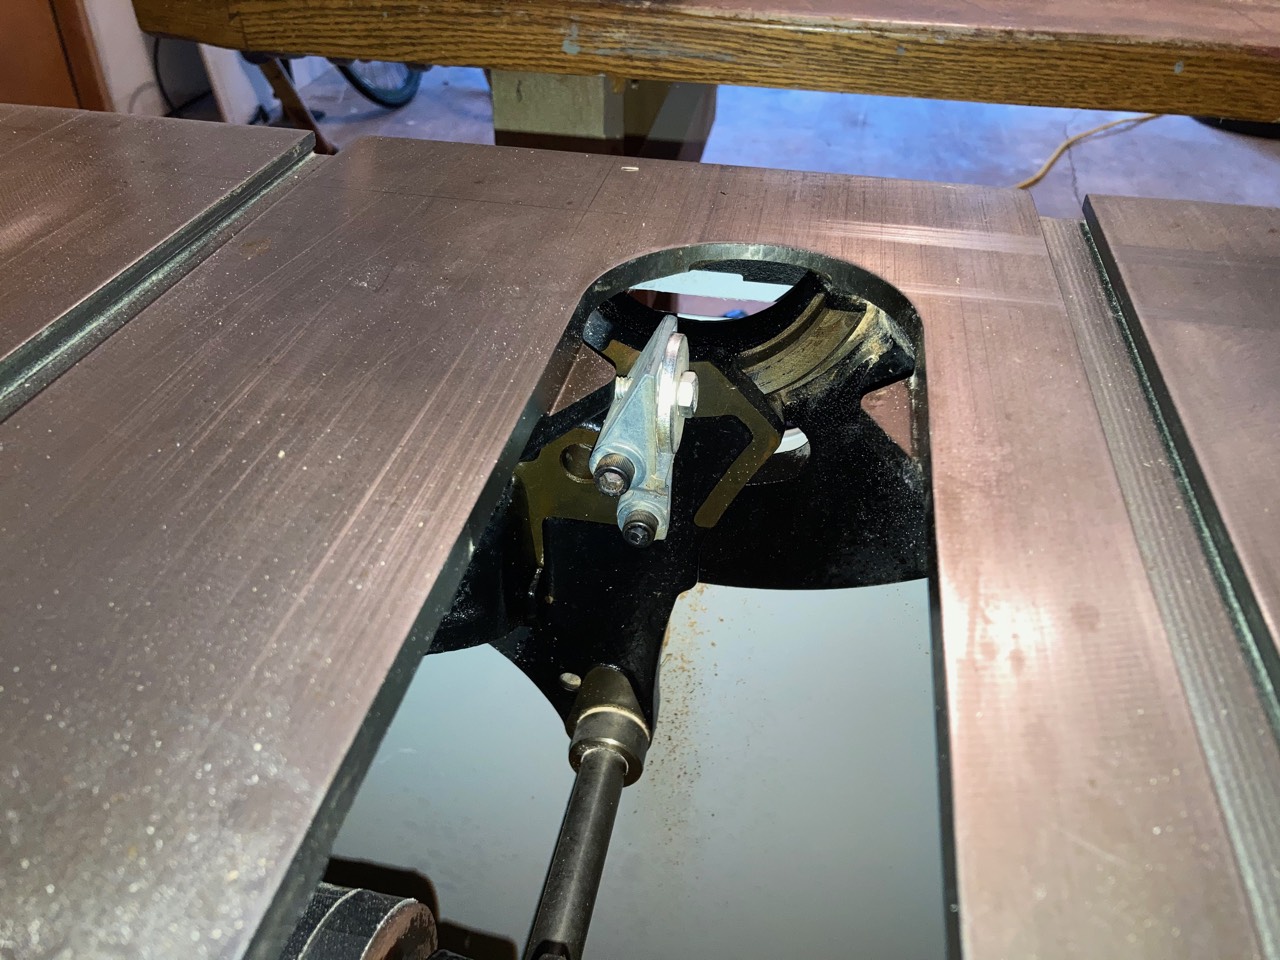
The first step of installation is to remove this mount using a hex key.
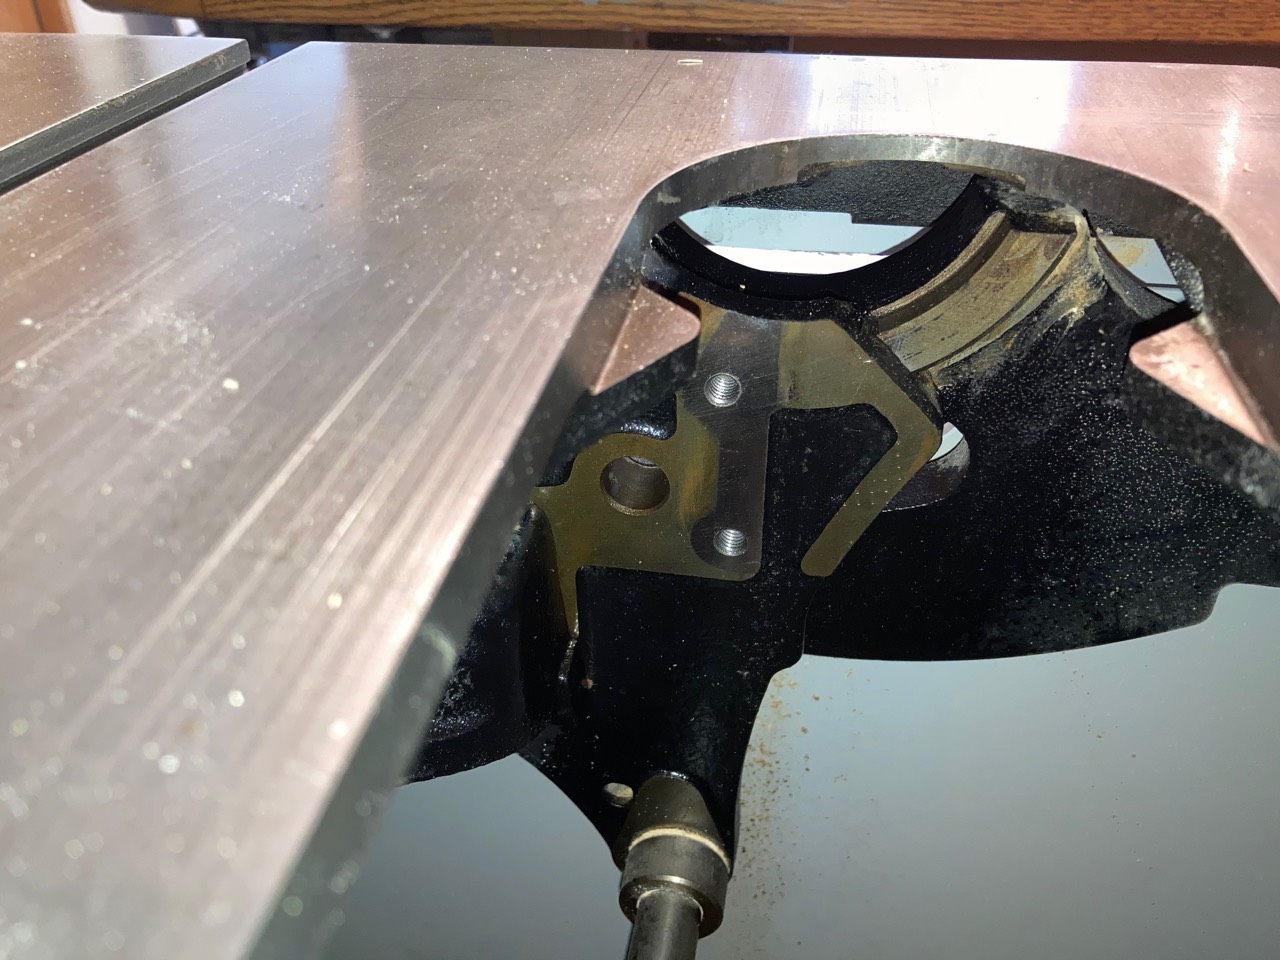
In the following photo you can see the Shark Guard mounting block installed. You can see the yellow quick adjustment knob.
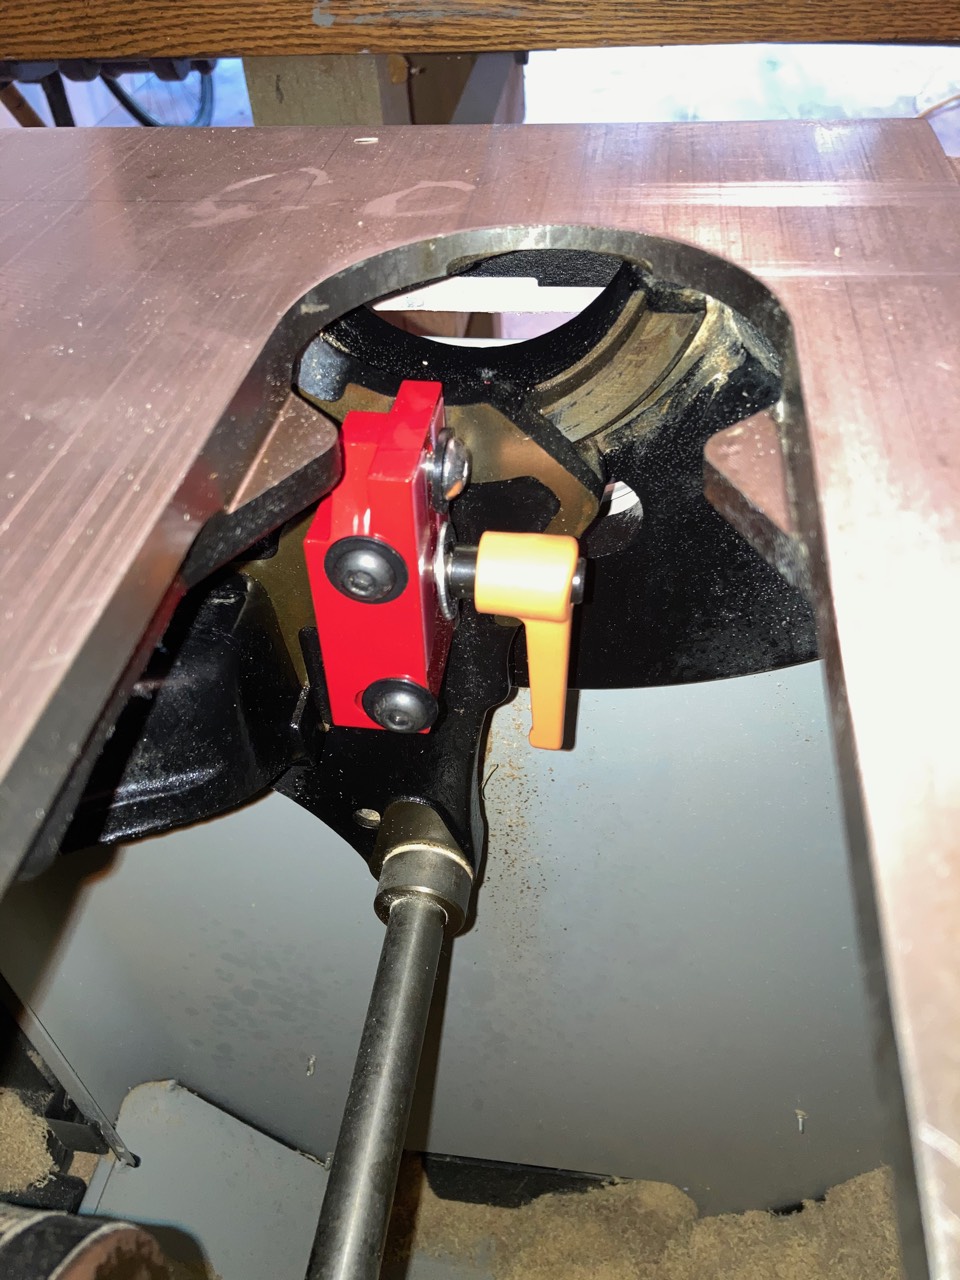
Here’s a close up of the splitter installed. You can see how it raises and lowers.
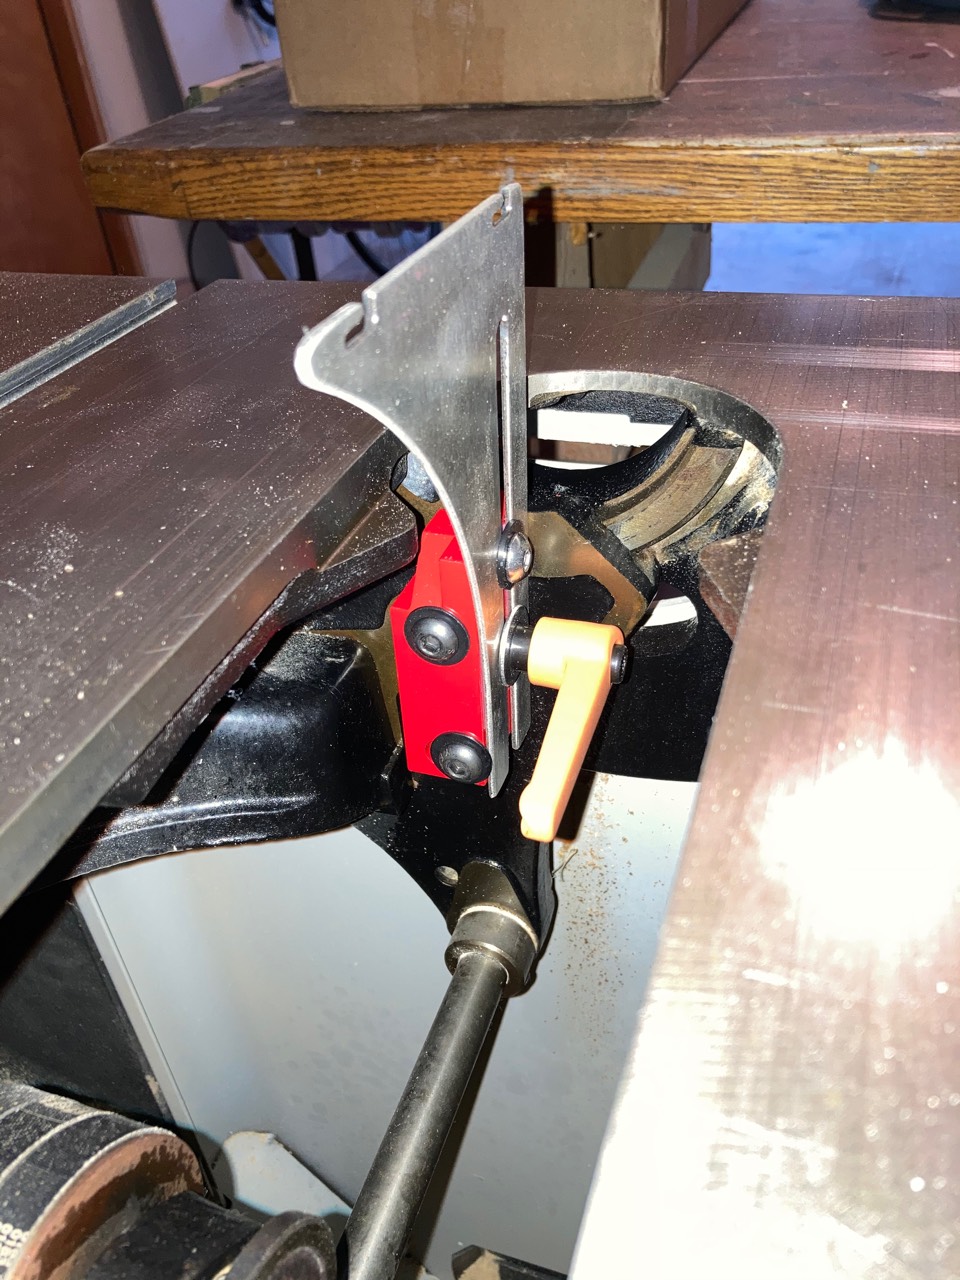
The splitter itself has an additional block that attaches to it. This block carries the anti-kickback pawls and the blade guard.
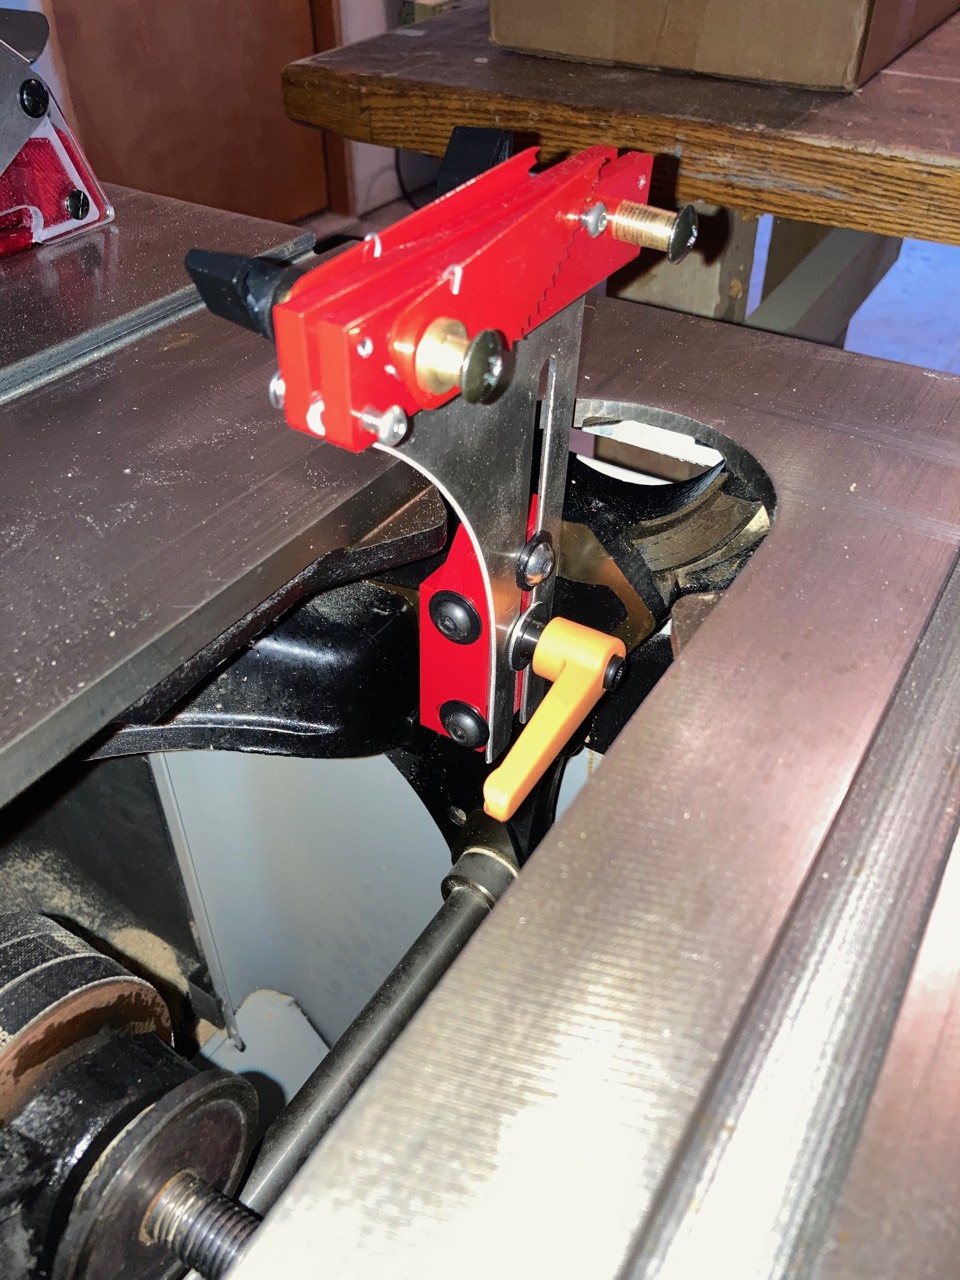
I’ll admit that I don’t use the blade guard as much as I could. When cutting a lot of boards, it’s great to use with the overhead dust collection port.
Alignment
I started by making a partial cut in a scrap board without the splitter in place. This board will be used to help test the alignment.
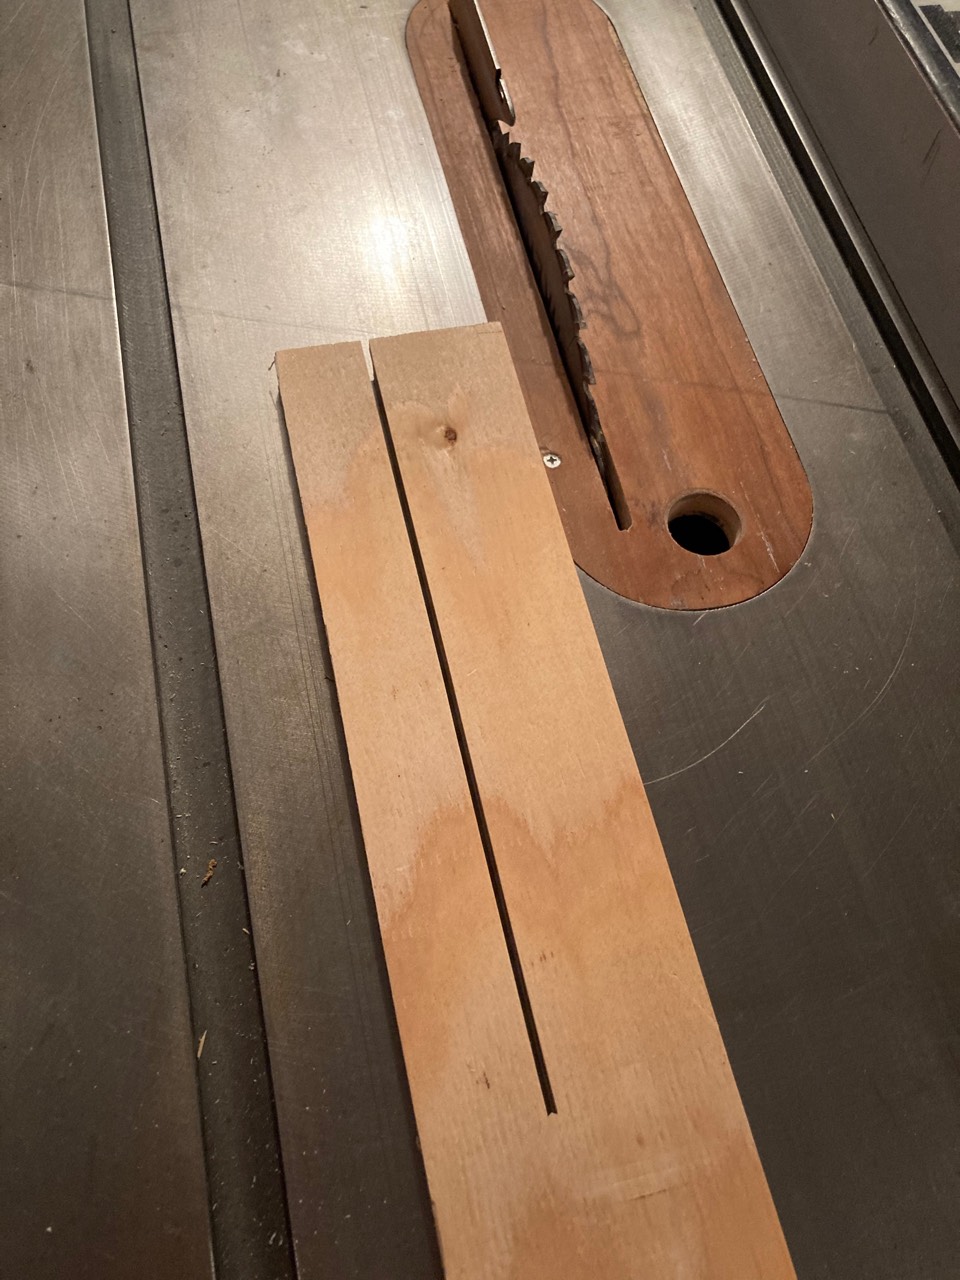
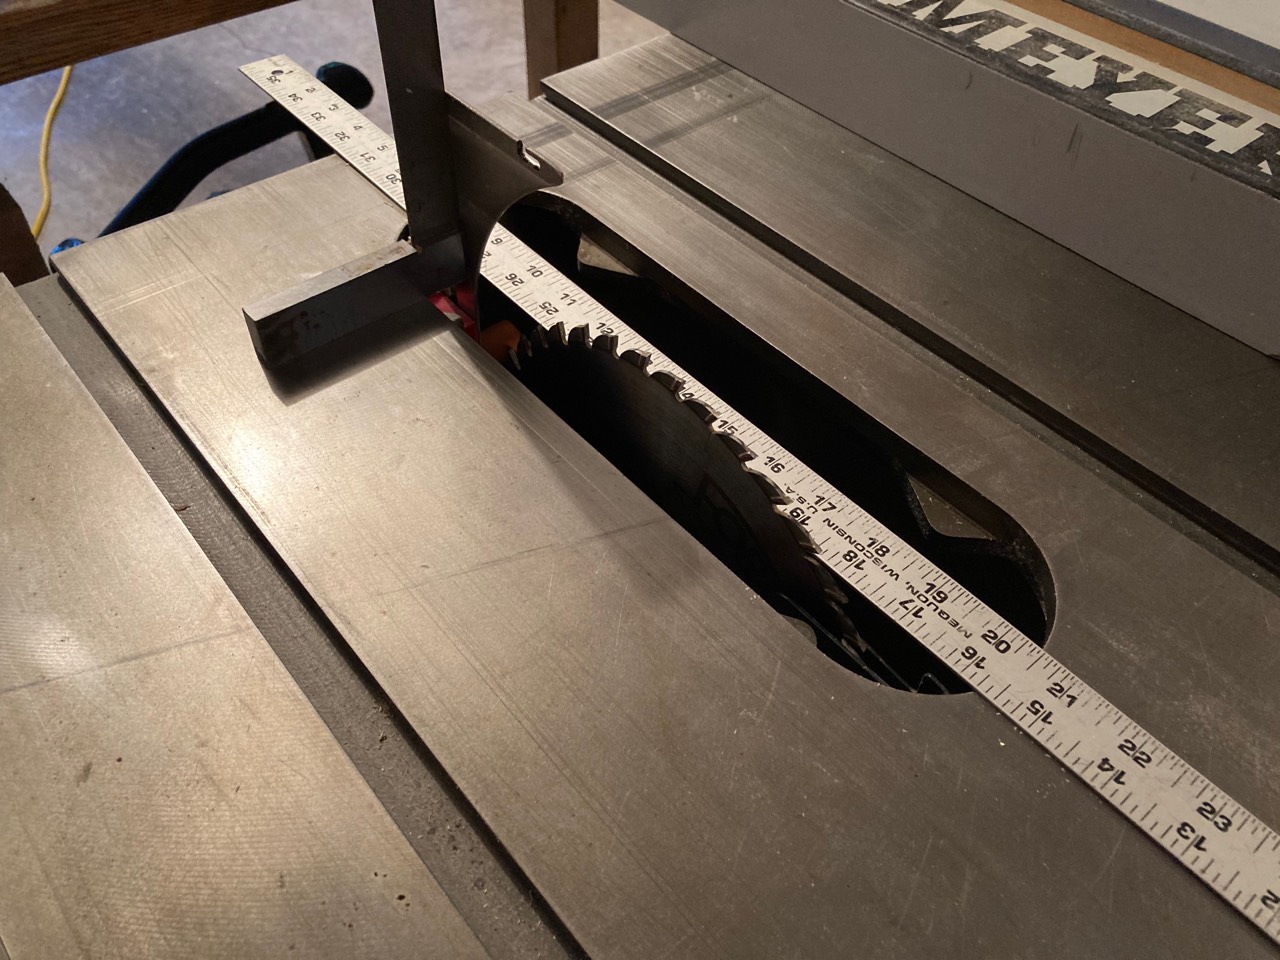
I used a straight edge and a square to make sure that the Shark Guard mounting block was square and aligned.
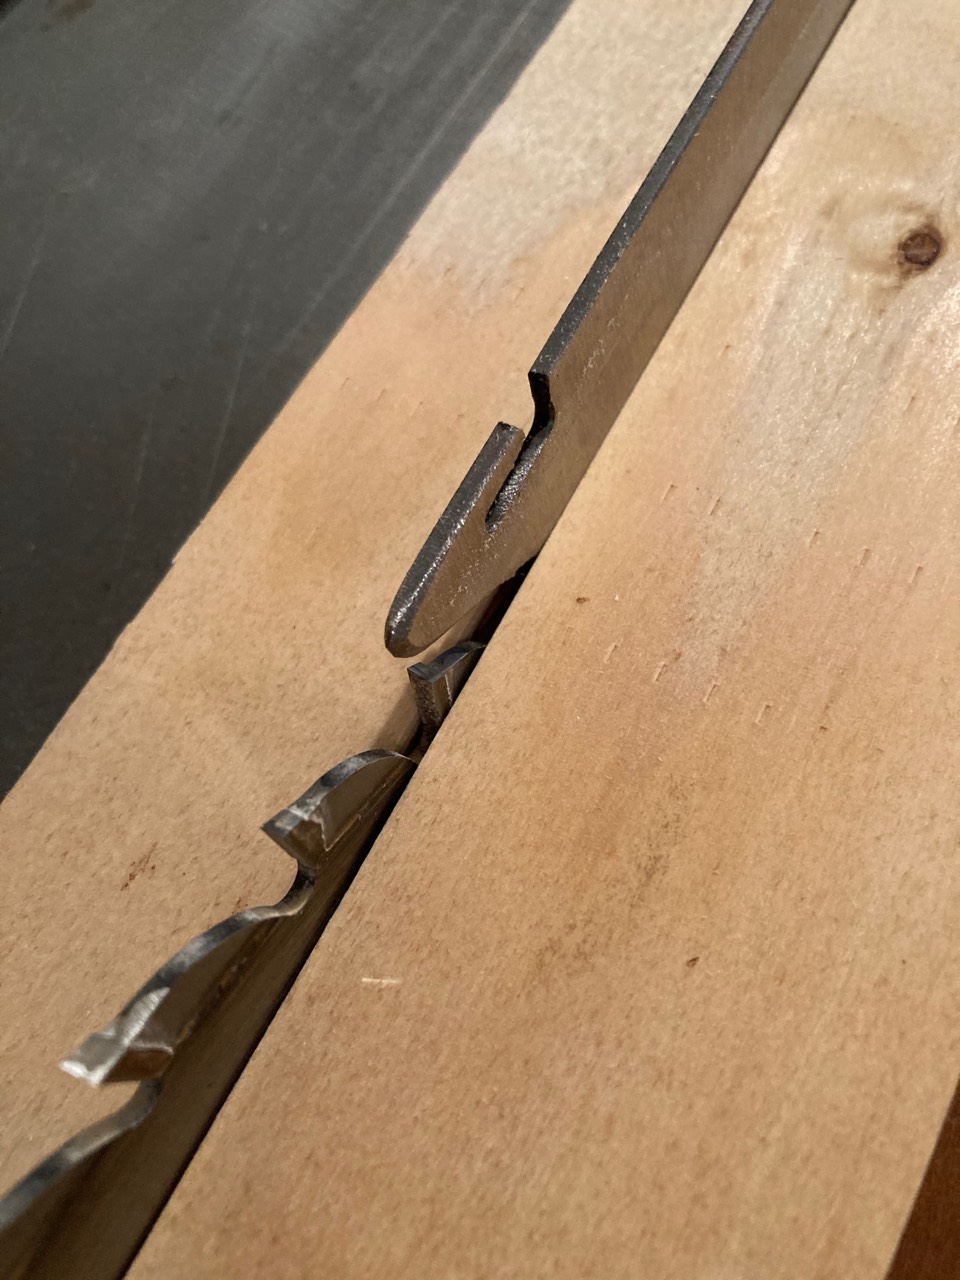
After tweaking the alignment, you can use the board that you previously cut to make sure that the knife is centered behind the blade. You don’t want it to be hanging off to one side where it will actually make it harder to push the board. You want the knife to be squarely in the middle of the kerf.
Close Up Photos
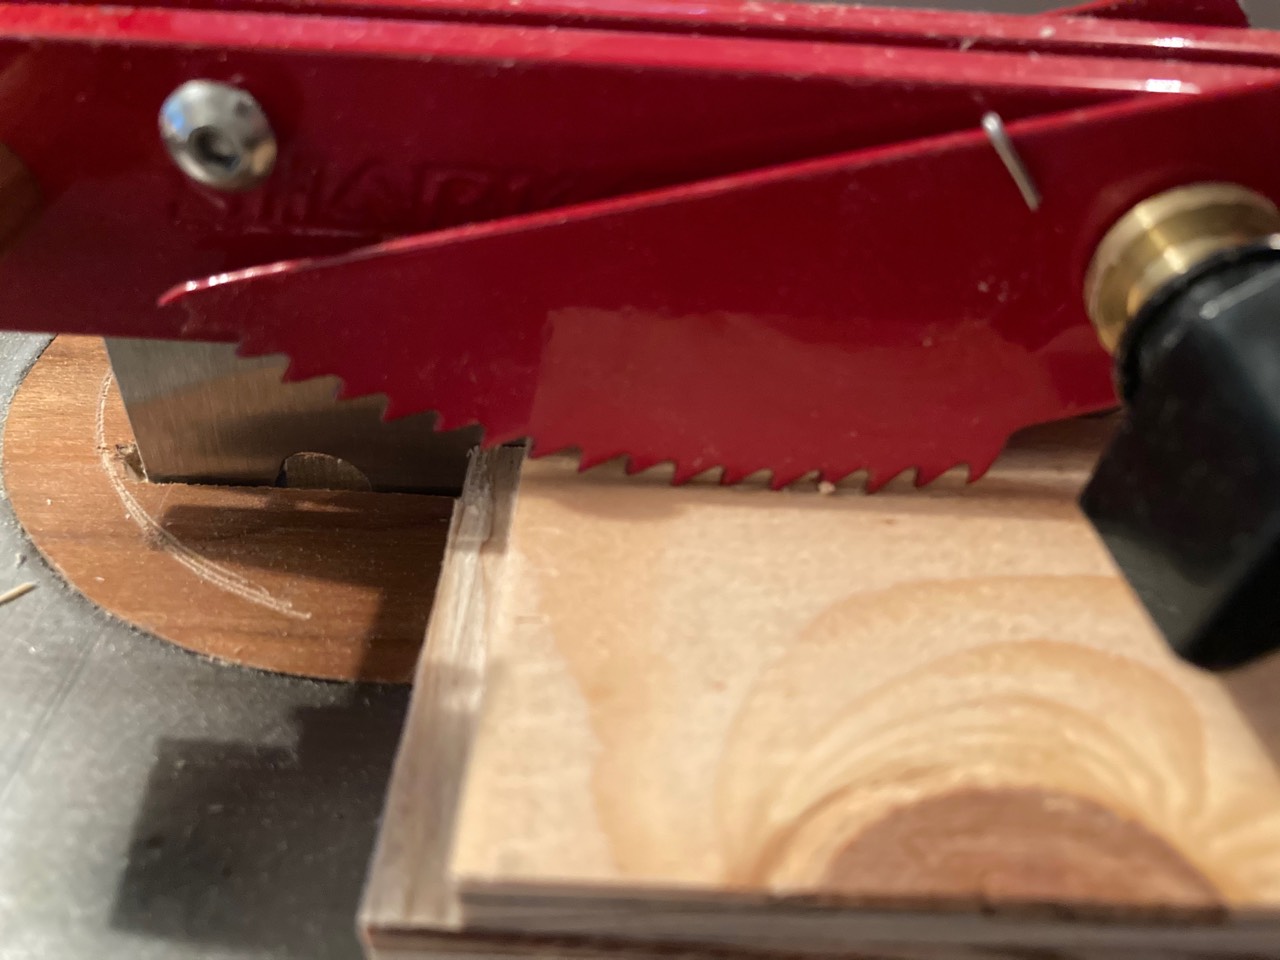
Here’s a couple of bonus close up photos of the safety pawls.
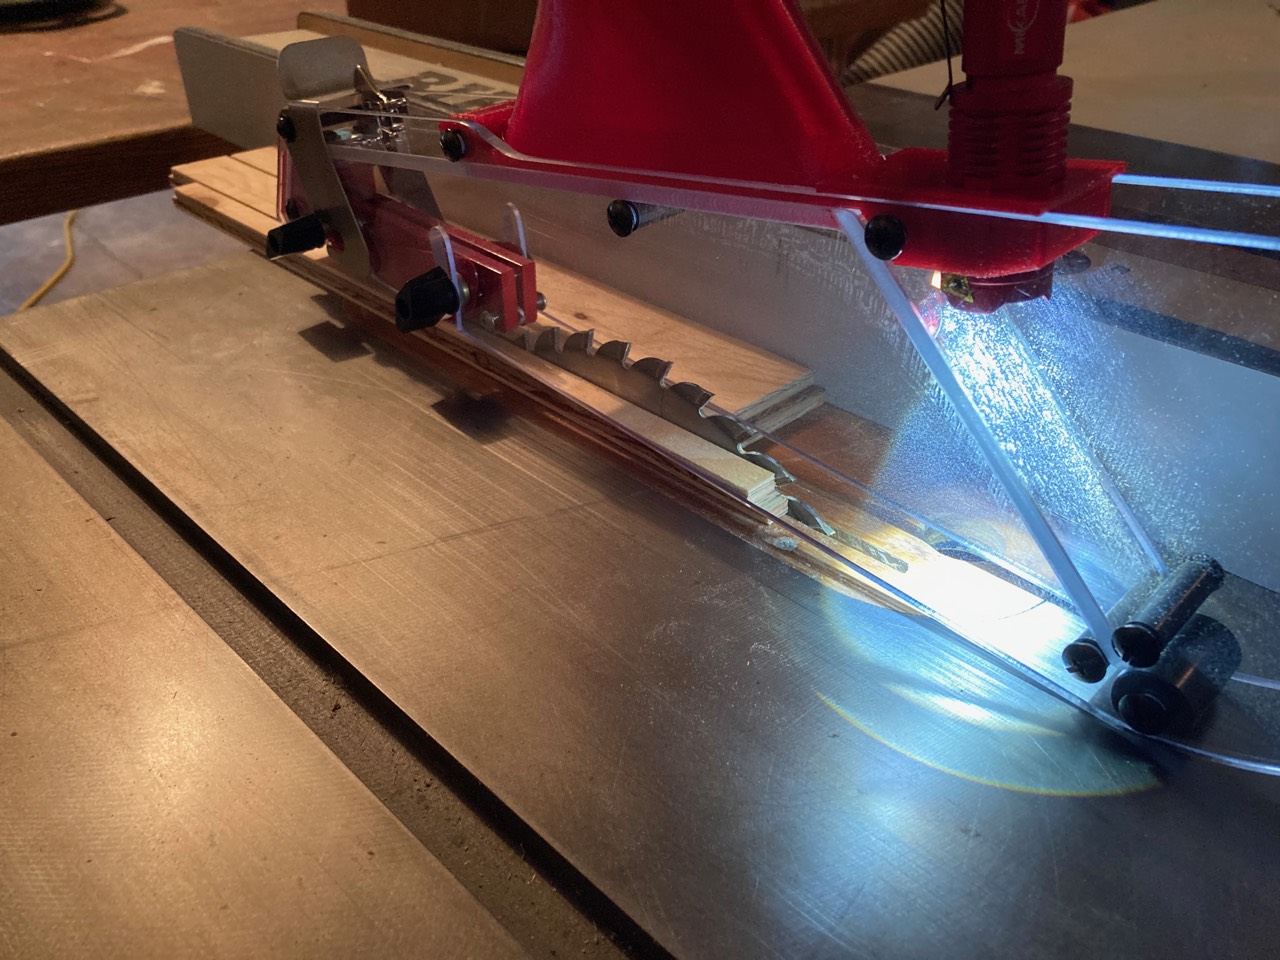
I ordered the additional light kit. It’s handy in my shop. I’ve got new LED lighting now, but it’s still a great addition to help remove any shadows.
As a way to support this blog, I’m going to include an Amazon link here to my favorite rust inhibitor. I’ve been using BOESHIELD T-9 on all of my hand tools, blades, table tops and moving parts for the last few years. It’s not as good as paste wax for a table saw top, but it is great for everything else. When I’ve left this saw unused for a period of time, I do give the table saw top a spray of it and wipe it off later.
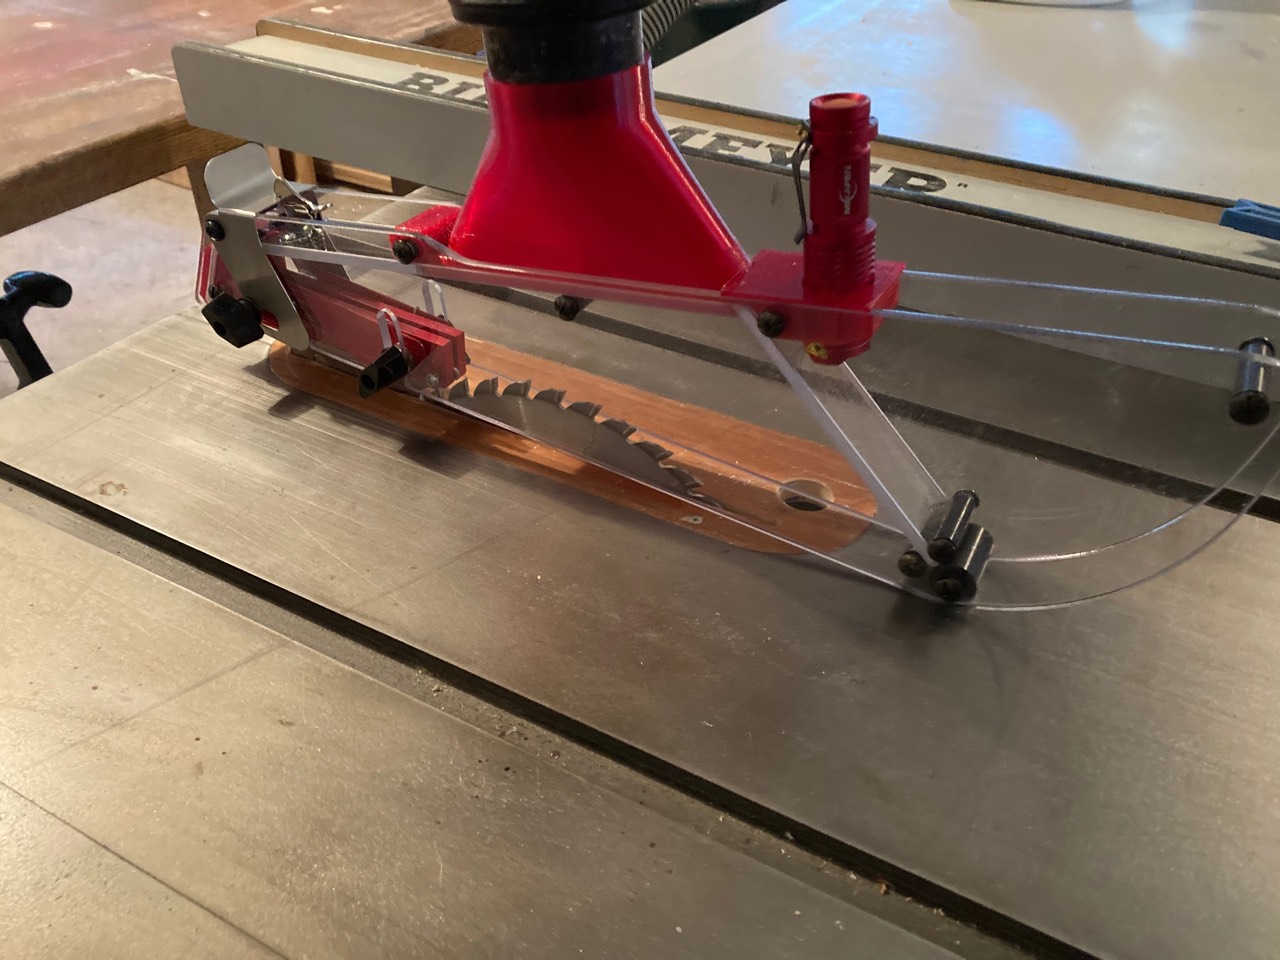
Fully Assembled
Here it is fully assembled and ready to use.
If you’ve got questions about any of this, please feel free to send me an email.