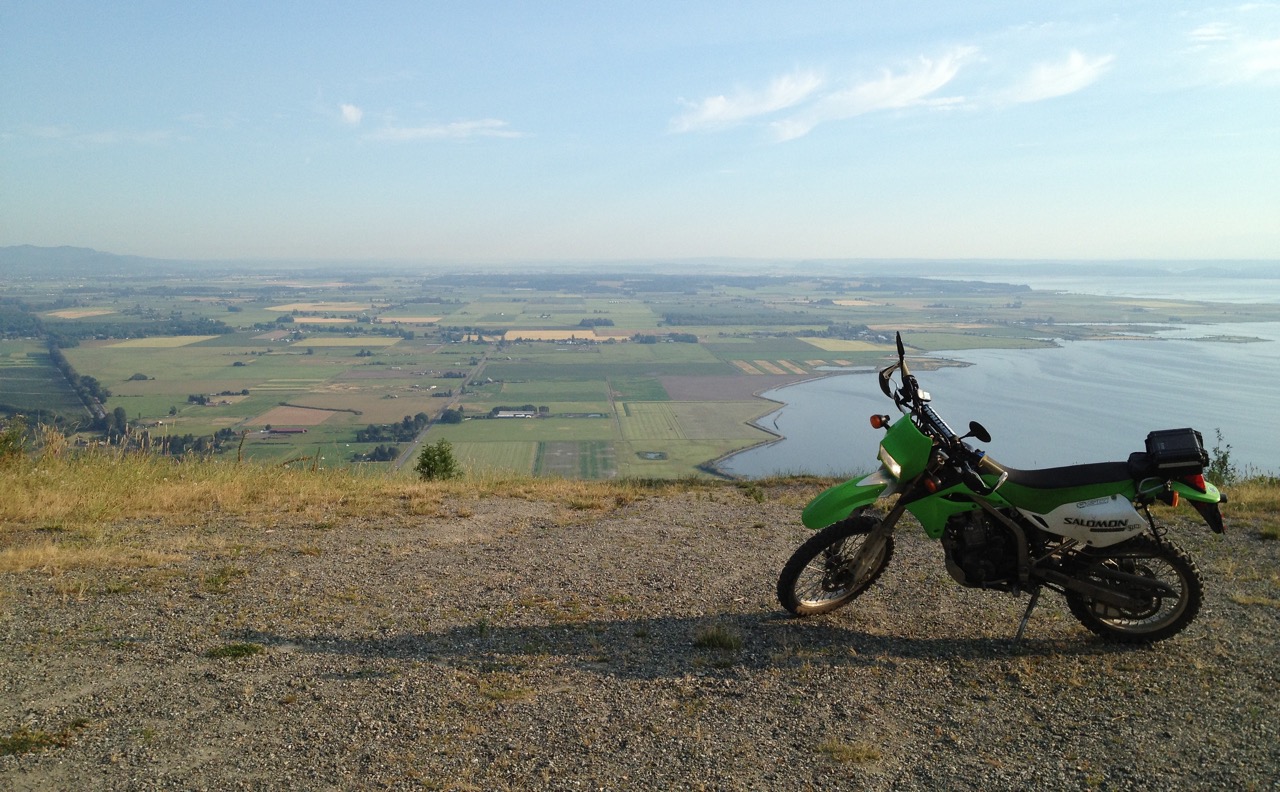
A good friend was building a 2010 Kawasaki KLX250S, so I wrote down what I had changed on my old KLX. I owned a 2006 model and built it into a competent little adventure bike. This article began as the email I sent him; these are the parts I used, what worked, and what I would approach differently today.
The Short Version
| Area | What worked for me | What I would do now |
|---|---|---|
| Protection | Ricochet skid plate | Buy it again and add year-correct radiator guards |
| Ergonomics | Renthal CR High handlebar | Compare dimensions and confirm cable and control clearance first |
| Luggage | Small locking Pelican case and Dirt-Bagz Ranger bags | Use the same basic setup with Giant Loop Mojavi Saddlebags |
| Engine | KDX airbox inlet and careful carburetor tuning | Change one thing at a time and tune for the individual bike |
| Lighting | 80/100-watt Hella H4 bulb | Stay near the stock electrical load unless the circuit is upgraded and verified |
| Charging | Battery Tender lead and USB-C adapter | The current version of the simple charging setup I used |
| Tires | Pirelli MT 21 front and Dunlop D606 rear | Still a useful dirt-oriented dual-sport combination |
Protection and Controls
The stock handlebar was heavy and had a bend I did not like. I replaced it with a Renthal CR High handlebar. The sweep suited me, and it was comfortable while standing without adding a riser. Handlebar choice is personal, so compare rise, sweep, and width and check throttle, brake-line, cable, and handguard clearance at full steering lock.
The bike needed a proper skid plate. My Ricochet Off-Road aluminum skid plate took serious hits and scrapes without bending or creating problems. I could change the oil without removing it, and its mounting hardware was excellent. Ricochet currently lists its aluminum plate for 2006–2021 KLX250S models, though I would still confirm the current listing before ordering.
Radiator guards are worthwhile for technical riding. The Unabiker guards linked here preserve the stock fan and horn locations, but the current product is specifically listed for 2009–2021 KLX250S and KLX250SF models. It is not the correct listing for my 2006, so find a guard explicitly made for your year.
My kickstand switch became unreliable after getting wet, which is exactly the kind of failure I did not want on a trail. I checked the circuit with a multimeter and bypassed the switch. I cannot remember whether it defaults open or closed, so check yours rather than copying wiring from another year. The switch is there for a reason—occasionally some Harley rider is killed after riding away with a kickstand down—so if you remove it, build a solid habit of raising the stand.
My 2006 also had a huge front fender. It blocked mud well but caught a lot of crosswind at highway speed. I replaced it with a Kawasaki-green Acerbis fender. Acerbis has changed its range since then, so use the dimensions and mounting pattern rather than assuming an old part number still fits.
Headlight
I installed an 80/100-watt Hella H4 bulb. It was much brighter, ran hotter, and never caused trouble on my motorcycle. Kawasaki’s 2006 headlight parts diagram specifies a 12-volt 60/55-watt H4 bulb, so my replacement placed a substantially higher load on the circuit.
I would not describe that as a plug-and-forget upgrade today. Before exceeding the stock wattage, inspect the socket and wiring and verify the charging system, switching, fuse protection, and reflector temperature can support it. A good stock-wattage H4 is the conservative option. After any bulb change, confirm the beam pattern and aim rather than judging the upgrade only by brightness.
Adventure Gear and Charging
I added a Battery Tender lead, which gave me a simple place to connect a charger or accessory. For a current setup, I would use a Battery Tender USB-C adapter and secure the lead where it cannot reach the chain, exhaust, or steering stops.
I attached a small Pelican case to the rear rack through small mounting holes with hose clamps. It gave me weather-resistant storage that could take a small padlock. Check the rack, fasteners, and clearance periodically, and keep the load light and close to the center of the bike.
For longer rides I used Dirt-Bagz Ranger saddlebags. They carried a useful amount, survived drops without tearing, and worked well with small dry bags inside on rainy days. Dirt-Bagz are no longer manufactured. The Giant Loop Mojavi Saddlebags are a good modern alternative; I use them on my WR250R and love them.
Intake and Carburetor Changes

My carbureted 2006 ran lean and responded well to richer settings and a less restrictive intake. I installed a KDX airbox inlet, which fit my airbox without modification. I kept the stock exhaust because I did not want the volume of most aftermarket systems, but I drilled the final baffle. That combination let the engine breathe better without turning the bike into something obnoxiously loud.
I removed the AIS and the rest of the restrictive emissions plumbing from my bike and made a small aluminum block-off plate. It ran better and was easier to tune afterward. This was a dirt-bike reliability and performance choice on my carbureted model, and it was part of the setup described below. Check the applicable rules if you use the bike on the street.
The stock carburetor can be tuned without replacing it with a pumper carb. These were the Kawasaki parts and settings that worked on my bike:
| Part or adjustment | My 2006 setting |
|---|---|
| Needle jet | Kawasaki 16009-1912, N1TC |
| Jet-needle clamp | Kawasaki 92037-1401 |
| Collar | Kawasaki 92143-1667 |
| Needle clip | Second slot down from the top |
| Main jet | Kawasaki 92063-1069, #125 |
| Pilot jet | Kawasaki 92064-1108, #40 |
| Air screw | 2.5 turns out |
| Slide vent | Drilled to 7/64 inch |
Intake, exhaust, altitude, temperature, fuel, and carburetor condition all affect the correct settings. Record the baseline, make one change at a time, and verify throttle response and mixture through the full operating range. Drilling the slide is permanent, so do not treat that dimension as a starting point for a different year or configuration.
Front Brake Line
The brakes on my 2006 were good, but the original front hose was routed under the front axle where it looked vulnerable to a rock strike or crushing. I rerouted it with a stainless line from Bill Blue. Galfer also makes model-specific replacement brake lines. Brake-hose routing must leave slack through the full suspension travel and steering range without rubbing, kinking, or reaching the tire; if there is any doubt, have the work checked by a motorcycle technician.
Gearing
I kept the stock gearing. It suited my mixture of trail and road riding, and I was not using this motorcycle for especially technical terrain. A smaller front sprocket or larger rear sprocket can make slow trail work easier, but it also raises engine speed on the road and changes chain adjustment and wear. Choose gearing for how you actually ride rather than treating lower gearing as an automatic upgrade.
Tires
Maxxis stopped making my beloved 6006. The closest combination I found was a Pirelli MT 21 Rallycross front with a Dunlop D606 rear. Both wore well for dirt-oriented dual-sport tires and had predictable enough profiles for the road. Confirm the current tire sizes, load and speed ratings, tube requirements, and road approval for your exact motorcycle and location.
Long-Term Review
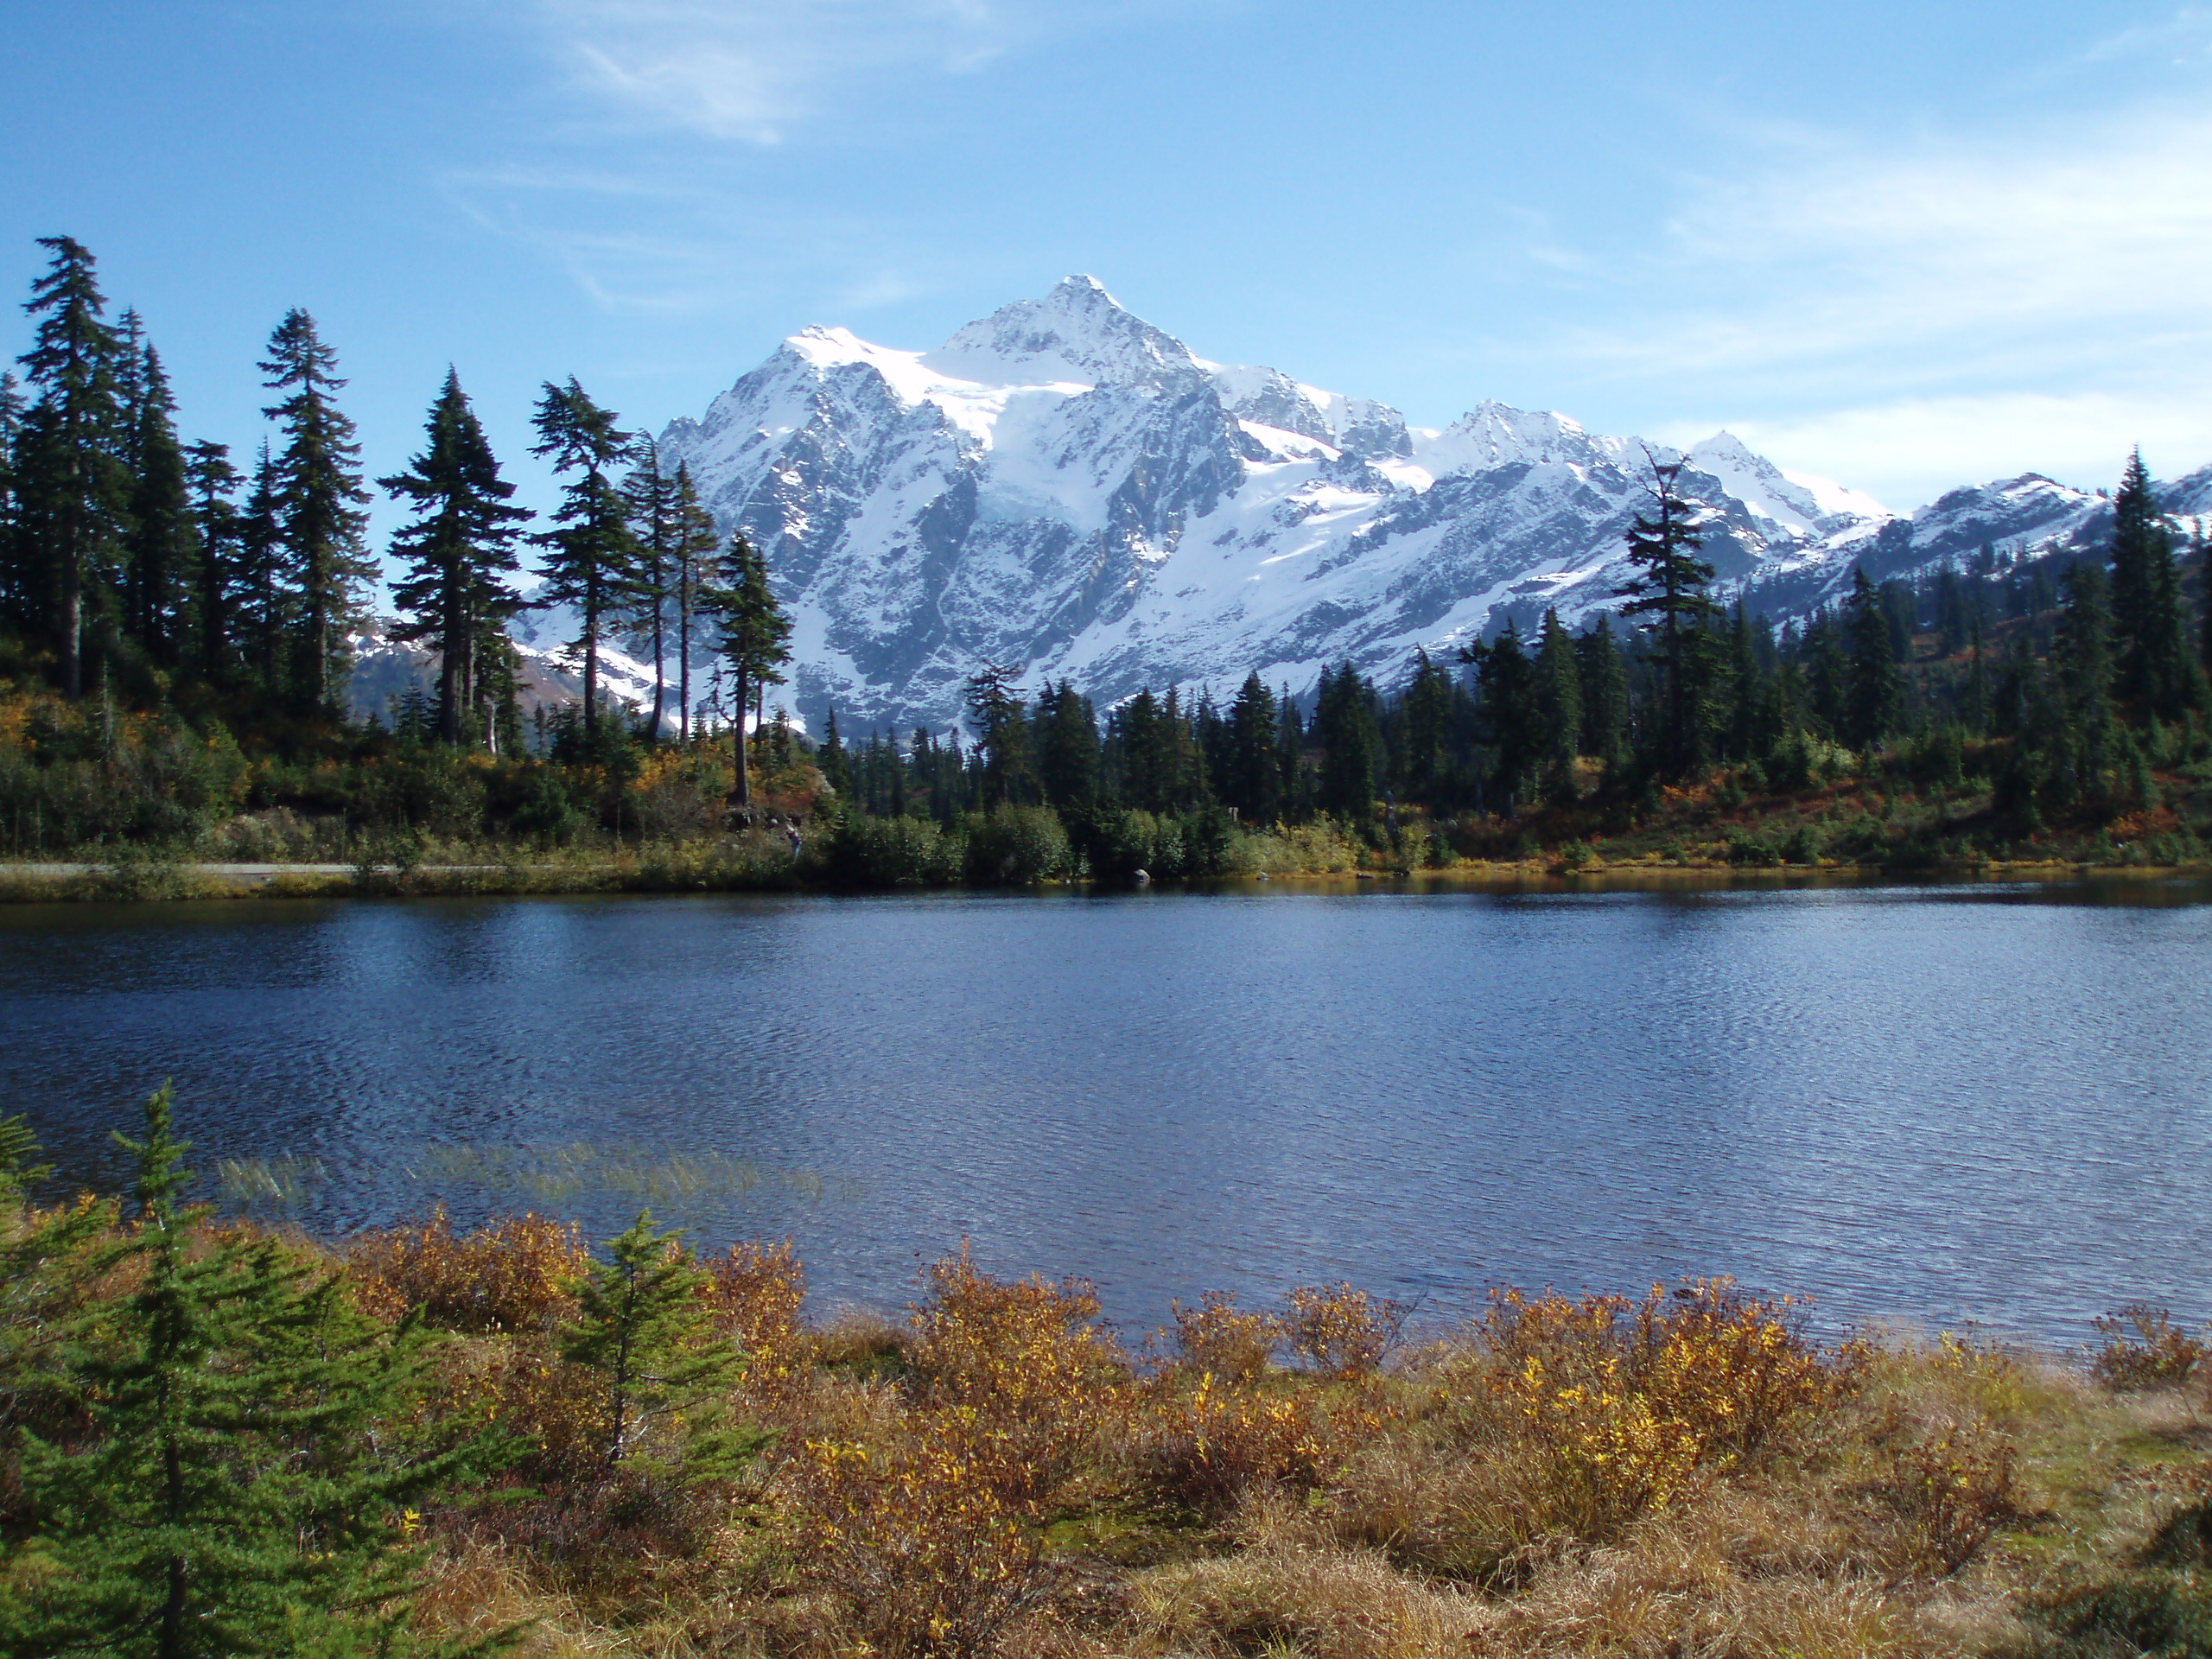
The KLX250S is a great small dual-sport. Its tall off-road suspension was well sorted from the factory, and unlike my WR250R, I did not feel an immediate need to send the suspension away for upgrades. The saddle height and stock gearing worked well in the woods. Sixth gear made highway travel possible, but only just. With my intake and carburetor changes I could keep up with 65–70 mph traffic, though it was not comfortable for long distances.
I generally saw about 60 mpg and remember reaching reserve at roughly 110 miles. Those are observations from my motorcycle, not guaranteed range figures. Tank condition, jetting, load, speed, wind, and terrain all matter. For longer travel I would consider a larger tank; I sometimes carried fuel bottles in my luggage.
Power was modest, especially at altitude, but the engine had long service intervals and was generally easy to live with. I had to adjust the carburetor settings more than once, yet the motorcycle never gave me a major mechanical problem.
One quirk I never diagnosed was hard starting after the bike sat for four or five days. My workaround was to close the petcock when I was close to home and ride the rest of the way. In the driveway, I let the bike idle until it died. I then opened the choke, restarted it, and let it run until it died one last time before storing it. The bike consistently started better after I did this. I never figured out exactly what was going on.
Epilogue
My beloved KLX was stolen, and I later replaced it with my WR250R. I searched Craigslist for years, but the KLX never turned up.
If you are assembling tools for a similar bike, see My Adventure Toolkit for the Yamaha WR250R.