This winter I’ve had three friends ask me “Hey, I want to mountain bike, what bike should I buy? What else should I buy?”. This post has my honest opinions about gear that I ride with and that I personally know. I won’t recommend anything that I don’t have experience with.
I believe that the outdoor industry has somehow decided that every new sport you adopt will cost $2k. If you want to ski, $2k. If you want to climb, $2k. If you want to bike, $2k. The list of bike + accessories in this article will be about $2k.
Buy Local
There is a huge difference in quality between a $800 bike and a $1400 bike. For your first bike, you want to be at the less expensive end of the bikes sold by your local bike shop. Don’t buy from a big chain, and don’t order online. Buy from a local shop. They’ll be your guide, source of local knowledge, and center of your new community.
Buying local helps keep the local bike scene alive and funded. Please don’t order bikes online. When you buy your first bike from them they’ll assemble it themselves with love and care. When you pick it up, bring them a six pack of a local beer. Give it to them in a brown paper bag. Tell them thank you, and that they should keep it refrigerated. This is tradition.
I understand the irony of linking to some Amazon Affiliate items from this blog post while encouraging you to shop local. Your shop can order things for you and make great recommendations. But, I gotta pay for Jeep and bike parts somehow.
Bike Selection
You want good components and a nice bike. I think your first bike should be a hardtail. A hardtail is a bike that has a rigid rear and suspension only for the front wheel. By getting a hardtail instead of a full suspension bike you’ll get nicer bike components for the same price point and you’ll get a bike that forces you to learn some fundamental skills correctly.
Most manufactureres sell the same frame with several different component build kits on them. So you might have the same bike frame with three different prices. One cheapest price for the base level components, one for the mid level, and one with the nicest components. In general the mid and nicest components will be similar in performance. The more expensive components will be a little lighters and might last a little longer.
In 2019, there’s lots of bike styles - but the right one to start with is a Hardtail Trail bike. Trail bikes tend to be playful and easy to ride bikes with good manners for riding over obstacles and handling technical terrain. In the Pacific Northwest, our wet and rooty year round riding means that having a larger tire is nice too. A 27.5+ (27.5 plus) tire is a great choice. This tire is a newer standard, and it’s a little larger in diameter than a traditional mountain bike wheel and the tire on it is a fair bit wider. This also means that the tire can be a little softer and help make up for the fact that you’ll be starting out without any rear suspension.
The 27.5+ Hardtail Trail Bike category has some great bikes in it. If you have the opportunity, ride each of them and see if one of them speaks to you. You might be surprised that one of them just feels more natural to you. Each of these bikes can be purchased at several price points. For the most part each of the levels has exactly the same frame and each level up has slightly nicer components. This means that the shifters, brakes, and wheels get nicer as you pay more. Once you cross the line around $1400 the initial performance of all of the components is pretty similar. The nicer components will be lighter and more durable, but you might not notice a lot of difference on day one.
Salsa Timberjack
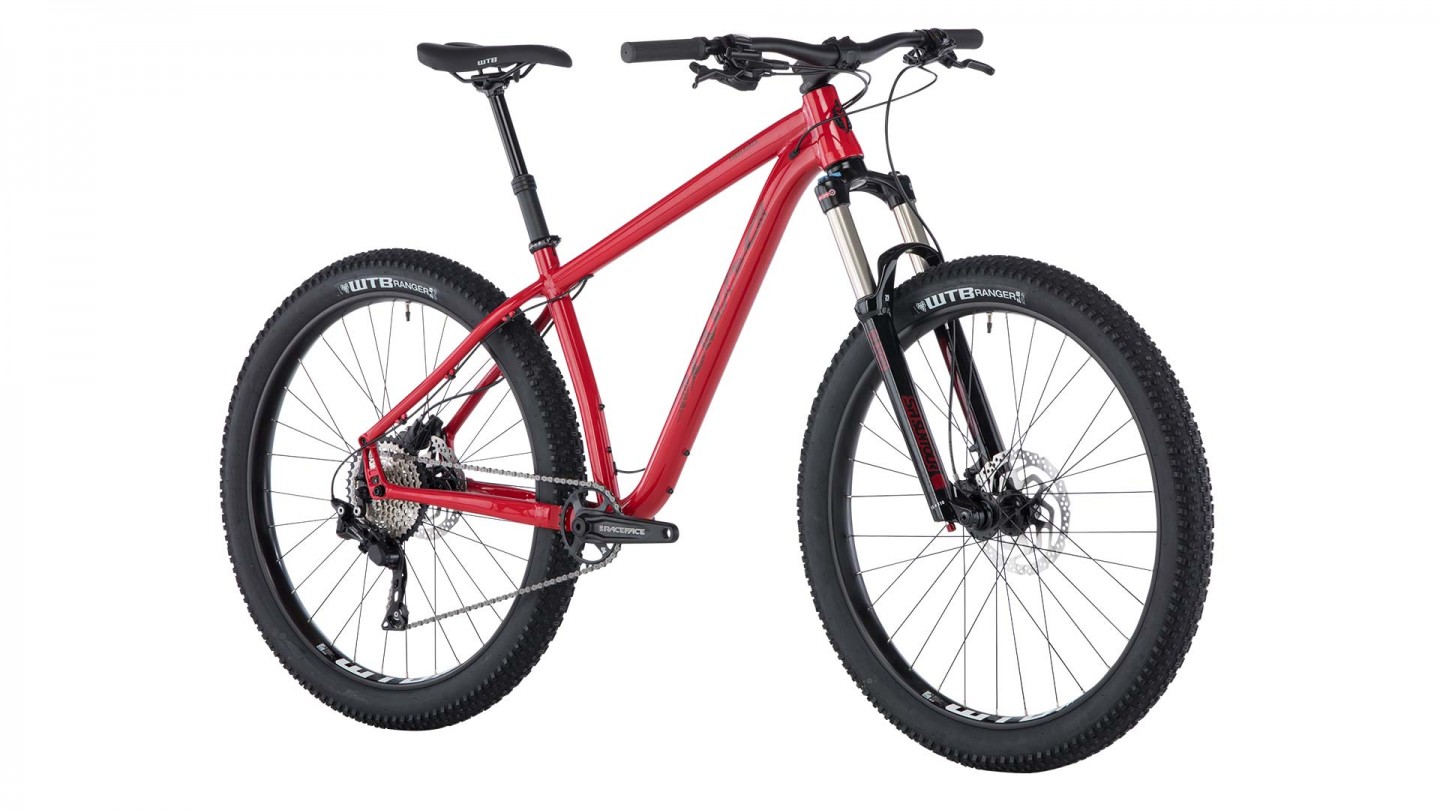
The Salsa Timberjack is a great bike made by a quirky company that has a cult following. This bike has short chainstays and is really snappy and quick. It’s a great deal of fun is well suited to a wide variety of riding. It’s really hard to find anything bad to say about this bike, it’s well rounded and easy to ride. The one that I rode felt like it had a long top tube for the size, and so taller riders or those with a positive ape index might be more comfortable on this bike than some of the others.
Kona Big Honzo
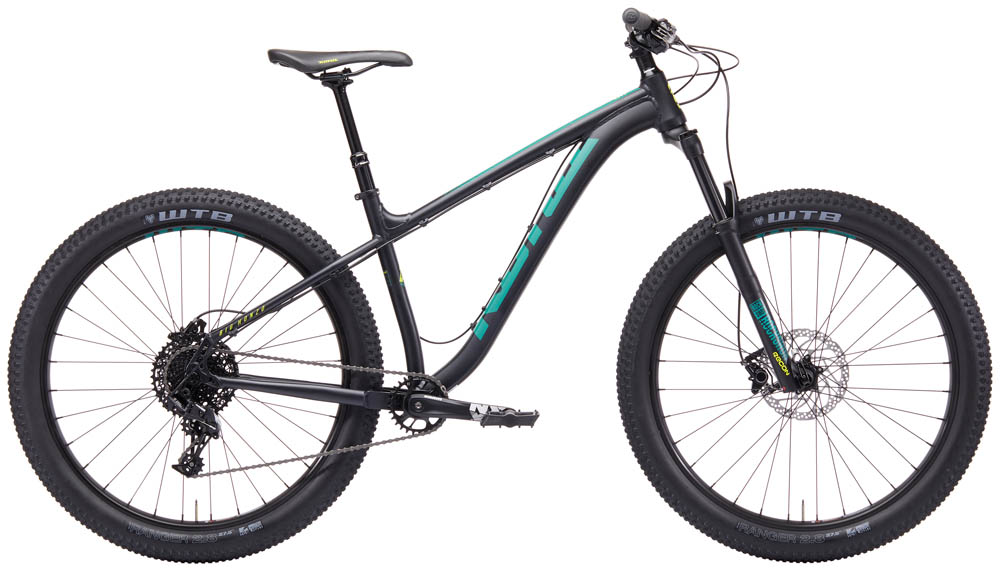
The Kona Big Honzo is a versatile bike that can run 27.5+ or 29inch wheels. The climbing on this bike is a little sluggish, but it makes up for it with fun in the turns, handling roots and making small drop feel easy. This bike has a great sense of flow, and the steering geometry is a lot of fun. The low height of the bottom bracket makes it a little prone to pedal strikes, but you’ll get used to it.
Specialized Fuse Comp 27.5+
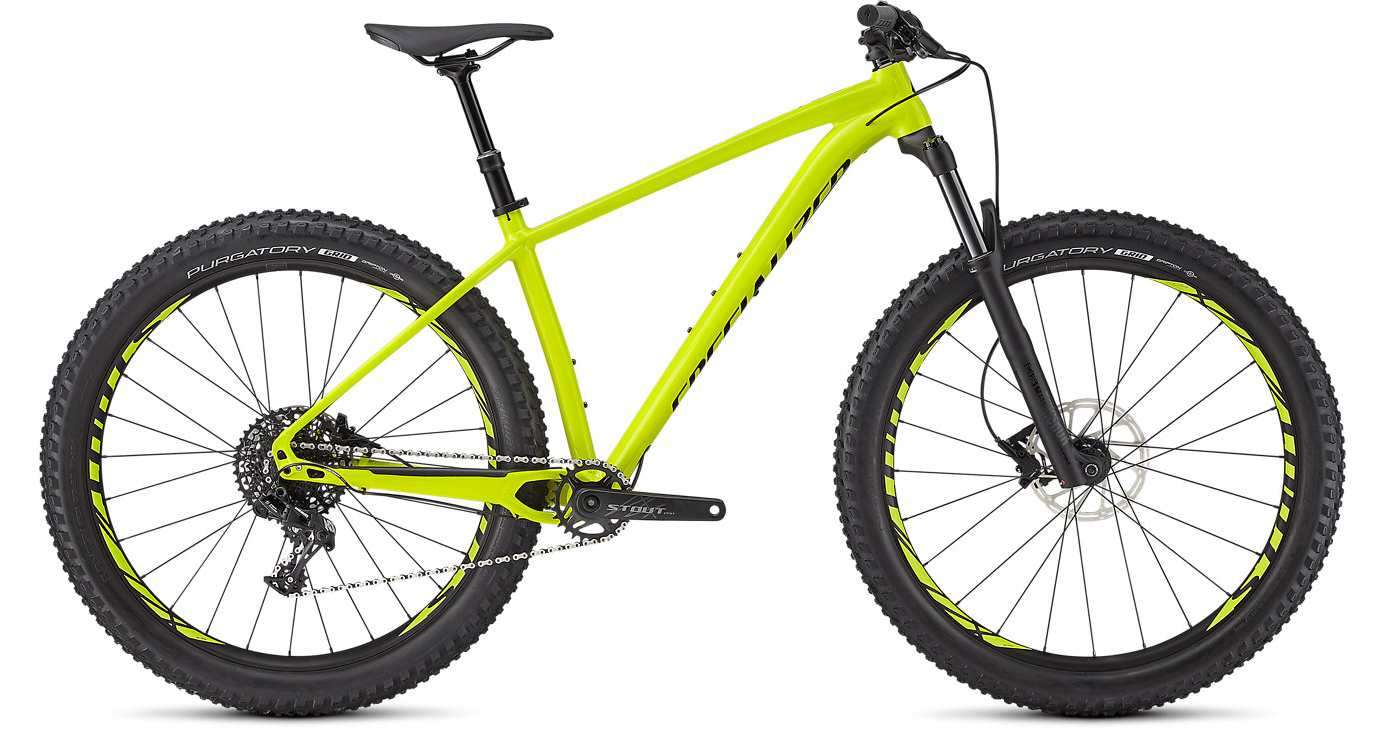
Being a larger manufacturer helps Specialized keep the cost down on these bikes. They can buy in components in bulk and use it to undercut their competition. Sometimes it’s nice to support the little manufacturer, and sometimes it’s nice to get started with a great value. This might be that bike.
Santa Cruz Chameleon
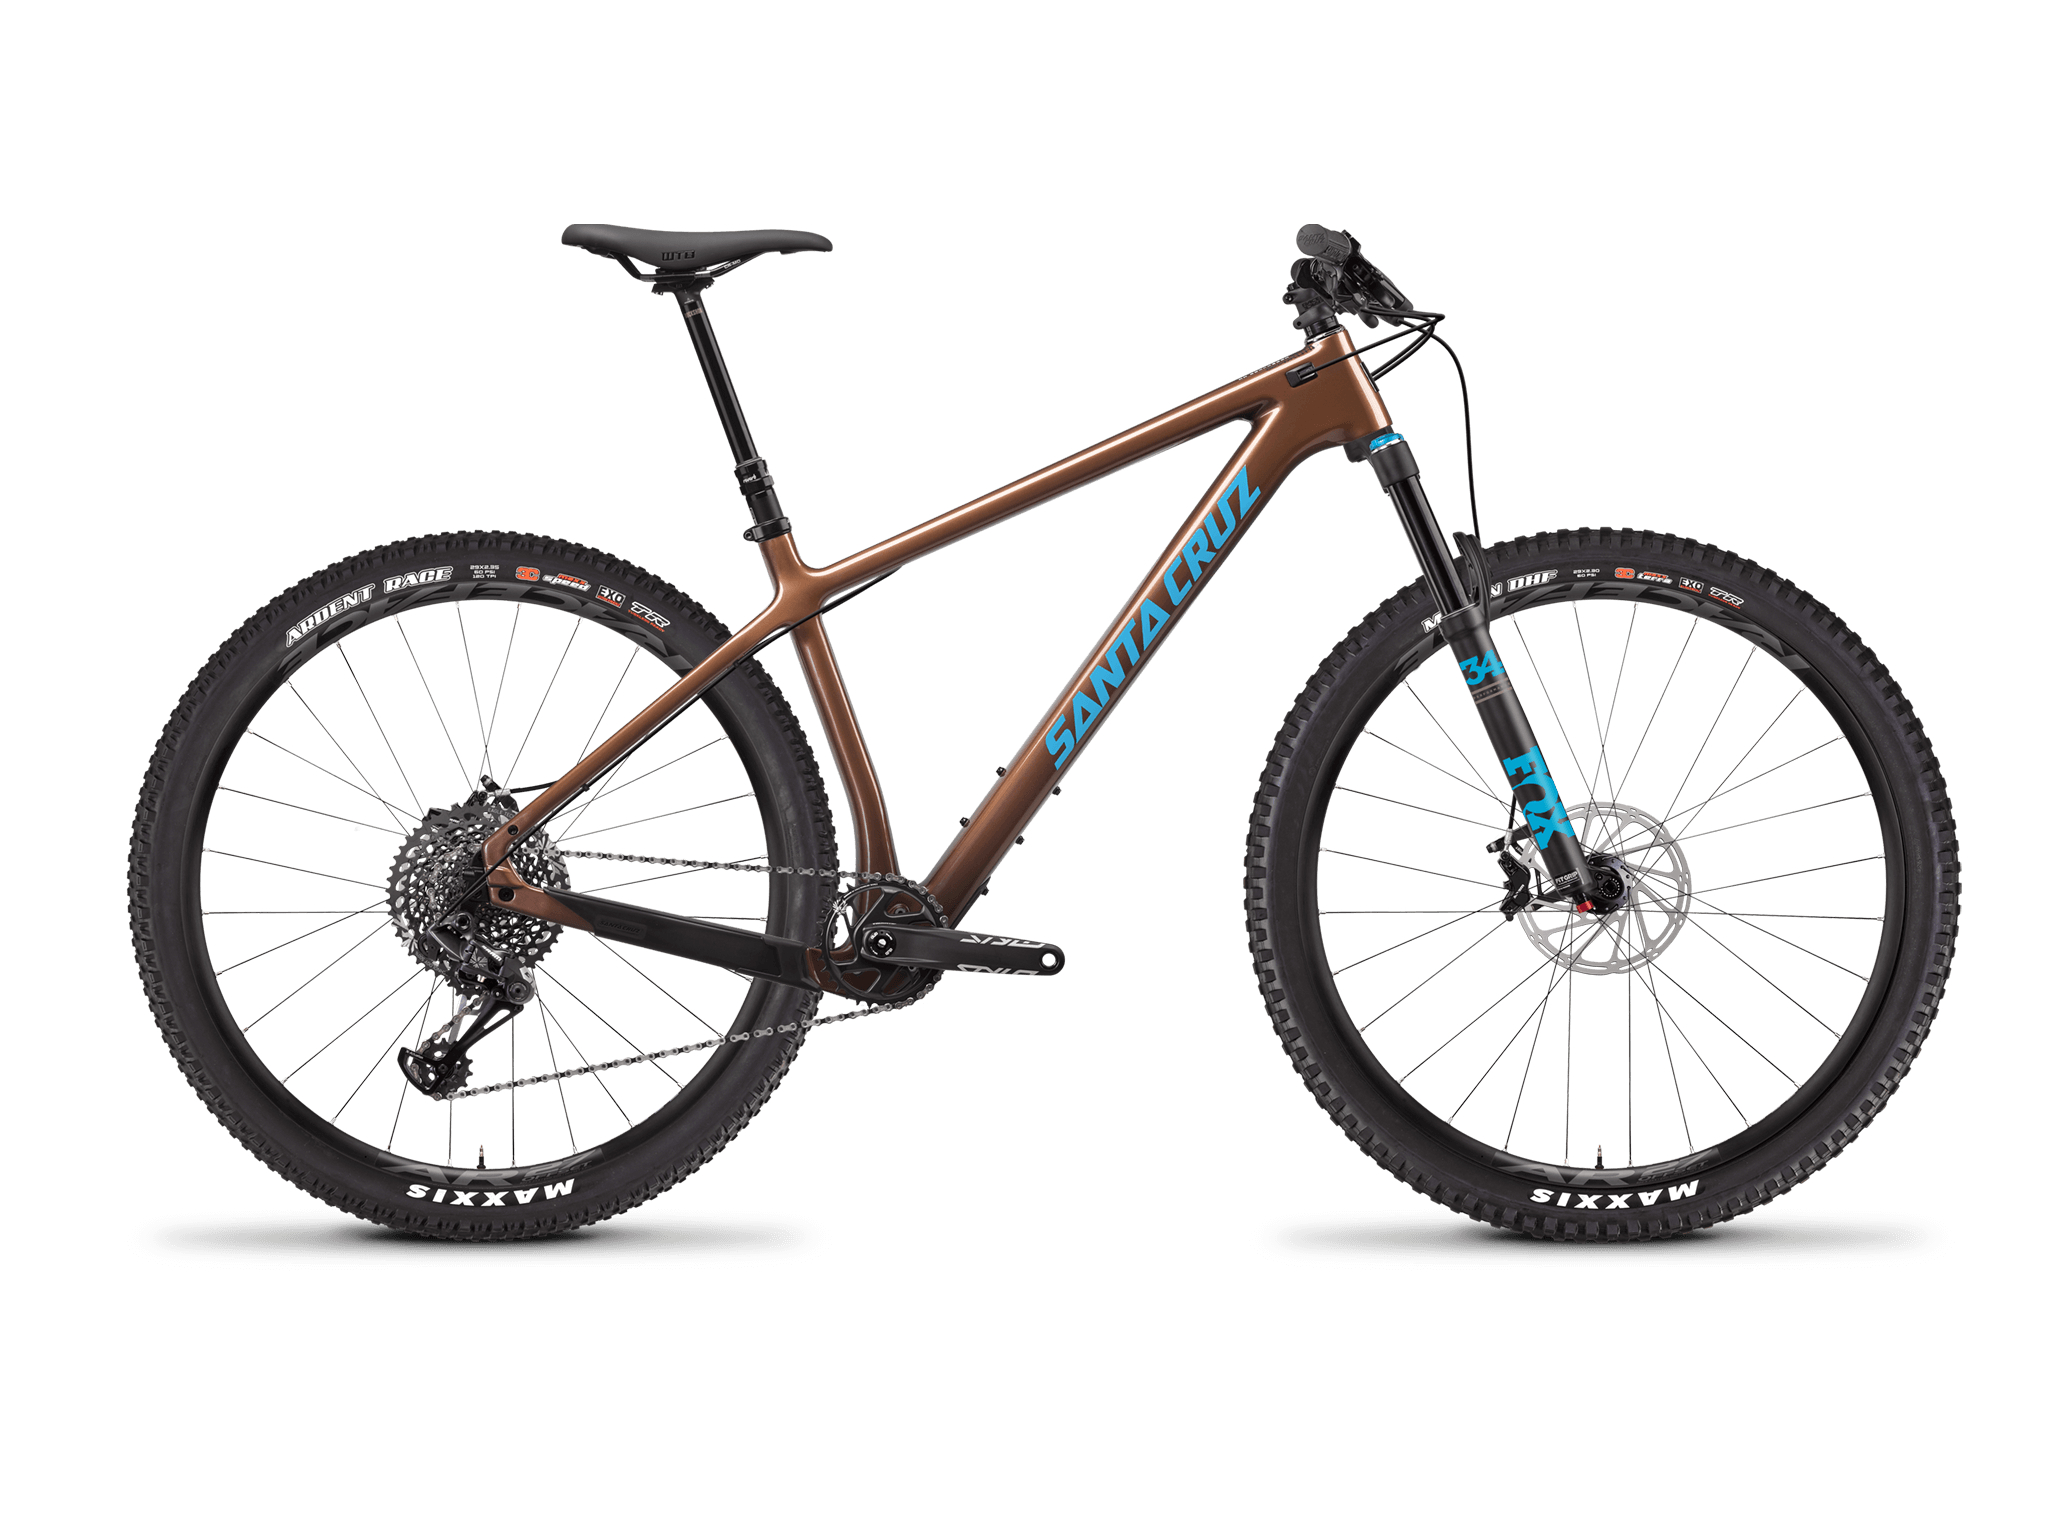
The Santa Cruz Chameleon has a long history of being a really fun bike. It’s evolved over the years, and the current form of this bike is a great balance between a cross country bike and modern trail bike. The geometry isn’t quite as relaxed as the others in this list, but it’s still a versatile bike. It’ll climb really well and be snappy in the turns. It will be very easy to spend a lot of money on this bike, Santa Cruz is not known for being budget friendly.
Test Riding
Test ride the bikes! You might be surprised that one of the bikes just feels right. At the very least you’ll start to get an idea of what they feel like.
Ride in large circles, ride in small circles, ride in a figure eight pattern. Pedal really hard and then brake hard. Move your body around on the bike and see how much you can move around on the bike.
Buying the Bike
Buy local. When you pick up the bike, take the shop a six pack of a local beer in a paper bag. Tell them thank you. When you need help, use the local shop. Ask them about trails, take them more beer occasionally, buy parts and tools from them.
Potential Upgrades
If you can, you should make sure that the bike comes with tubeless tires and a dropper post.
Tubeless Tires
Go tubeless if at all possible. It’s a bit more hassle up front, but they are far superior. You can run them at lower pressures and have better traction, and they are nearly thorn proof and resist punctures. You might need to buy a special pump if you want to work on them yourself, but I think it’s a fantastic upgrade to any bike. At the $1400 price point you may or may not get tubeless tires from the factory. Your local bike shop should be able to make that upgrade. For more information, this blog post from REI about tubeless tires is pretty good.
Dropper Seat Post
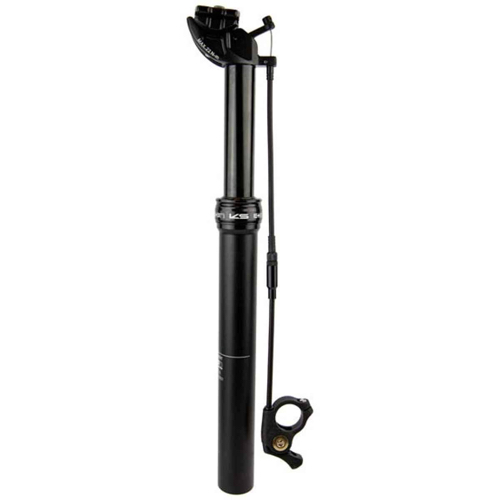
A dropper post puts a small lever on your handlebar that can be used to raise and lower your saddle. My first dropper post was a revelation. It allows you to drop your saddle out of the way when you are riding more technical terrain and can help prevent accidents where you might be bucked over the handlebars. It also puts the saddle into a great position on technical terrain where you can push the bike around with your knees a little more.
Adding a dropper post to a bike is a fantastic upgrade, and I think all modern trail bikes should have one. You’ll need one that matches the seat tube size of your bike, so if you order one be careful to get the correct one. Check out this review from Seth’s Bike Hacks.
Pedals
These bikes probably won’t come with pedals. You should start with a simple pair of flat pedals.
There are two types of pedals, flats and clipless. Clipless pedals use special shoes that have a cleat on them and attach to the pedals a bit like a ski boot attaches to a ski. They have a lot of advantages, but they aren’t great for beginners. Flat pedals are a lot like the ones on your first bike - they are flat.
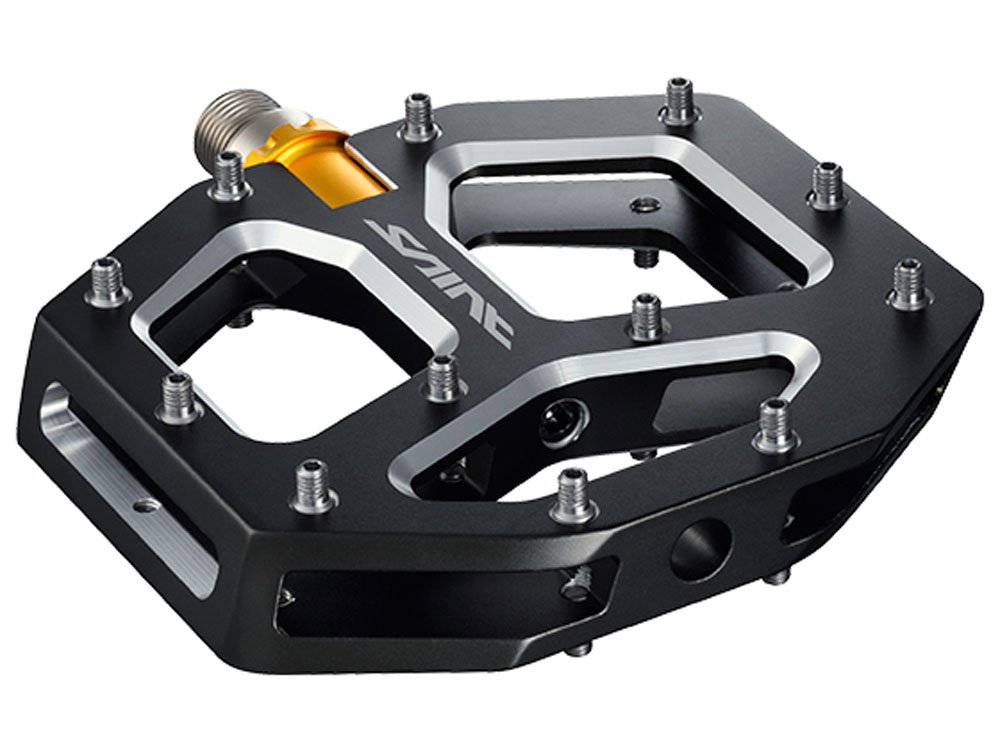
Flat pedals do come in various shapes and sizes. Over time, you’ll probably find a favorite pair. I’ve got 4 pairs of my beloved Shimano M828 pedals. They’ve got a nice shape and width for my foot, and they have replaceable pins. They are gently concaved and have a positive feel to them.
When you look at most flat pedals, you’ll notice that they have scary looking pins or spikes on them. Don’t be afraid of these. They help keep your foot from sliding off the pedal. If the pedal didn’t have them you’d occasionally slip your foot off your pedal and scrape your shin on the edge of your pedal. It’s likely that you’ll occasionally still scrape your shin, but usually the pins will help keep your feet planted in place.
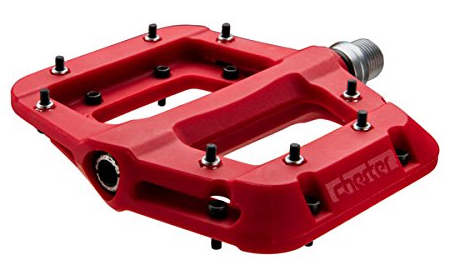
When you buy your bike it probably won’t come with pedals. Most people have opinions. If you don’t have an opinion yet, something like the Raceface Chester is a great choice. I don’t like that they don’t have pins at the center of the pedal, but they won’t wear out your shoes as quickly.
Shoes
If you just want to get started, you can wear your running shoes. But don’t. Bike shoes can offer three things - mud resistance, a durable sole that won’t be torn up by your pedals, and a stiffer last that will keep your foot planted on the pedal. A softer pair of shoes will let your foot wrap around the pedal a bit, and it’s not comfortable and your feet are more likely to slip off the pedal.
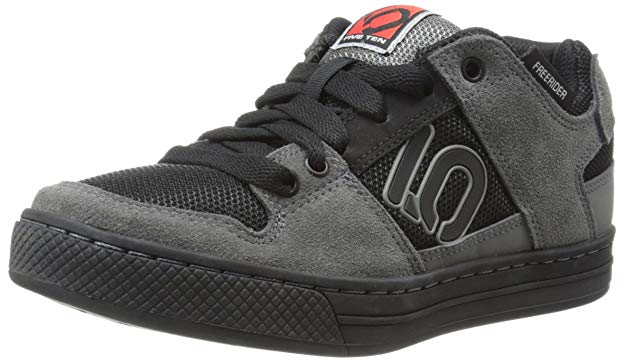
The Five Ten Bike Shoes are fantastic. They are well built, reasonably priced, and hold up well. I think they are a great first shoe. They shed water and mud fairly well, but certainly are not waterproof. They have a fairly stiff sole, but you can still walk comfortably in them. Their sole has enough texture on the bottom that if you need to walk a section that is slick or that has lots of roots you’ll have enough traction to do so safely.
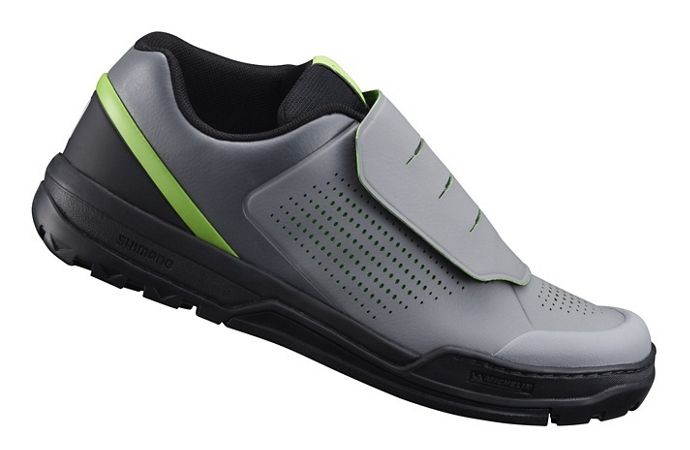
With flat pedals, I ride in Shimano DX shoes, the new version is the SH-GR900. There’s nothing stealthy about them, and they don’t go from the trail to the pub very well. But, they cover the inside of your ankle and have been really durable.
Saddles and Grips
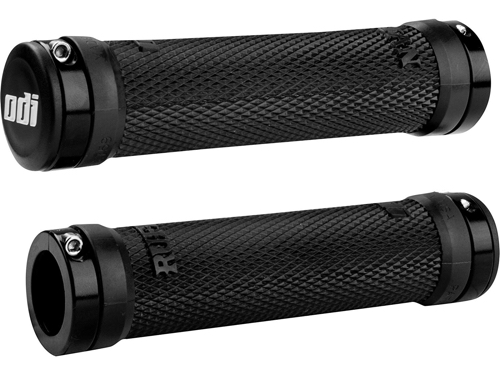
You probably won’t have an opinion on either of these yet. But these are the other two places where you touch your bike, and both are extremely important. I’m in the northwest and prefer lockon grips that use a locking ring to keep the grips from moving. This is becoming the standard in the industry. I prefer the ones from ODI with Ruffian grips. These are a smaller grip and I prefer them. If you find that you prefer a softer grip you should check out the Oury Lock On Grips
Every person has their own anatomy. Start with whatever saddle is on the bike and go ride. If the saddle doesn’t work for you, you should try some others. The shop might even have some loaners. Talk to the shop, they can help you get the bike setup properly to help with any issues you’ve got. If you have any numbness, tingling, or hot spots you might want to change. There are women’s specific saddles, and if you are a woman you should try them. Most women have their sit bones a bit farther apart and the women’s saddles will be more comfortable.
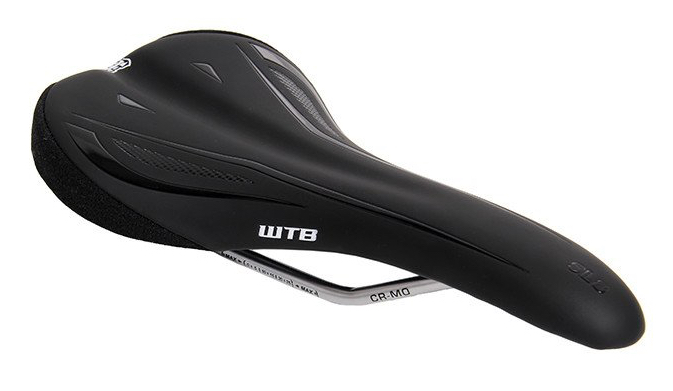
Don’t buy a saddle with too much padding. A saddle should be on the firm side with a shape that suits you. The padding should come from the chamois pad in your shorts, and the lycra of your shorts will let you slide around on the saddle and reduce friction. When you have a soft saddle you get stuck in one spot on it and you will develop problems. You’re looking for a firm saddle with a comfortable shape.
Helmet
All heads are a little different shape. Try on some helmets and find one that fits. You want two things - a mountain bike specific helmet with good coverage of the back of your head, and a fit that is tight enough that your forehead skin moves a little when you move the helmet. Check out this video on helmet fit.
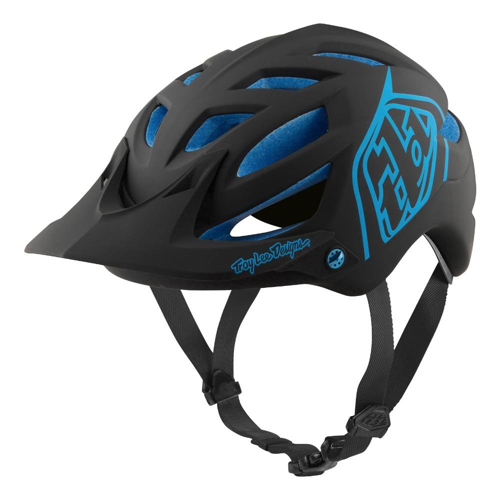
The Troy Lee A1 is a fantastic helmet. It’s generally the shape of the helmet you want. It’s got good coverage of the sides and back of your head and good brow coverage too. The visor is both stylish and easy to adjust. Mine has held up great. The Bell Super 3 is a nice helmet too. Try them on and find the one that fits. Some new helmets have a system called MIPS. It can help reduce injuries from rotational forces and appears to be good technology. If you can, I think it’s worth having.
As a beginner, I don’t think a full face helmet is right. Full face helmets are hard to breathe in while climbing and they aren’t very comfortable for long rides. They are absolutely required for downhill riding and racing, and there are certainly some local trails that I won’t ride without one. I ride with a carbon Troy Lee D2 helmet that I absolutely trust.
Pads
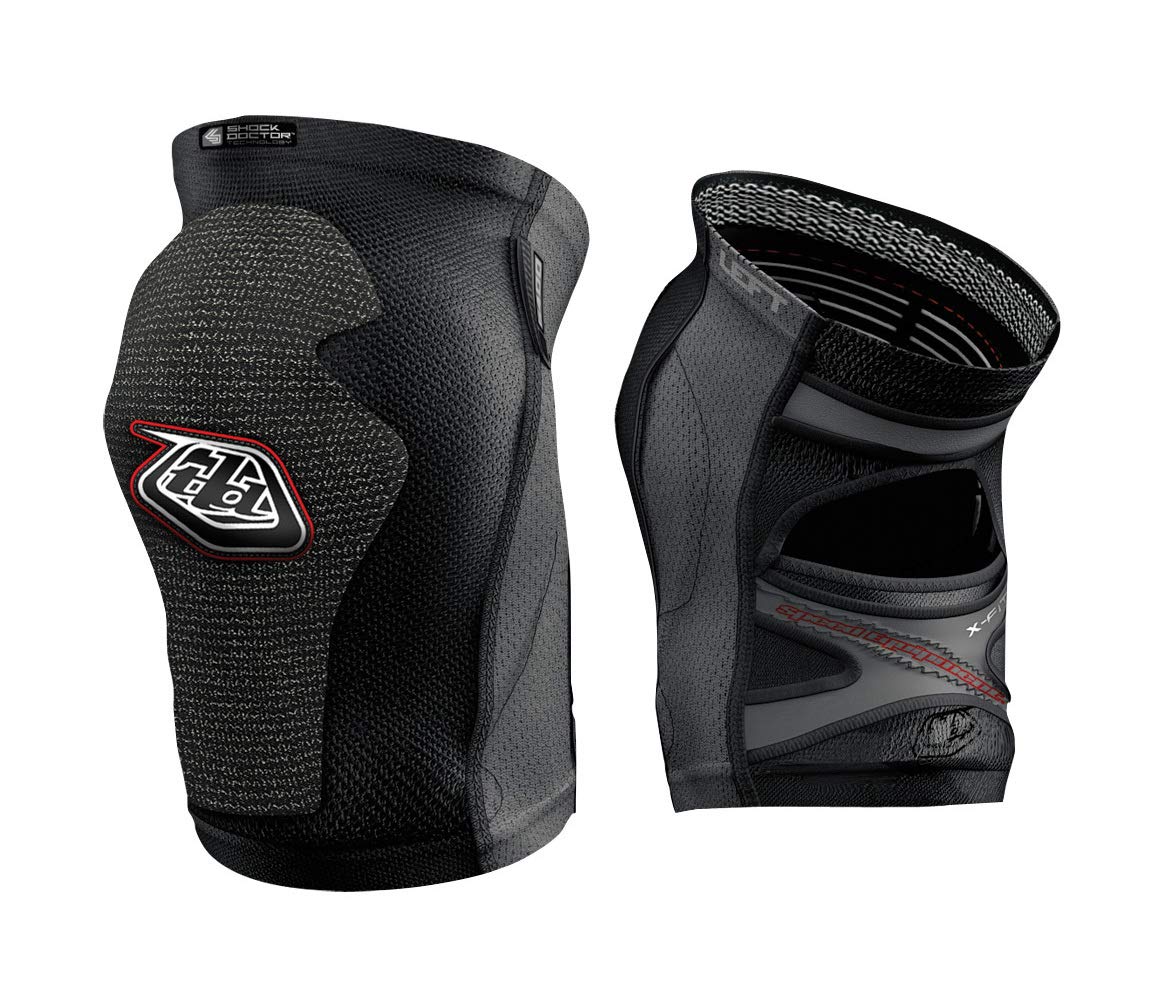
The style for a while was to wear lots of armor. The pendulum has swung back and most people are only wearing knee pads these days. I tend to wear a fairly light set of kneepads. I like the Troy Lee 5400. They don’t have any straps, and so getting the right size is key. If you want a heavier pad, the POC VPD is burly.
I really never ride without my knee pads, they keep my knees warm, fend off briars and rocks, and generally stay out of my way. When you buy your shorts, make sure that you don’t have a gap of skin between your pads and the bottom of you shorts. It’s prone to sunburn, briars, and let’s look like we know what we’re doing out there.
Gloves
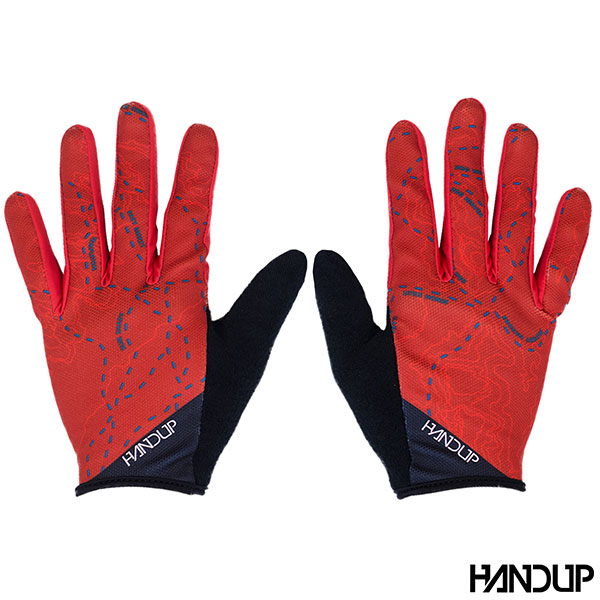
Person preference again - I think that gloves with fewer seams are better. I hate fabric bunching up and I prefer gloves with fairly thin palms. With that said, as a beginner you may be falling more often, and you want a glove with a little thicker leather palm. Nobody wants to be picking gravel out of your palms. I wear a pair of Fox Attack Gloves, but they look a little motocross for some people. Handup Gloves have some nice gloves with simple palms without seams.
Don’t buy gloves with bulky gel pads. Don’t buy fingerless gloves.
Glasses
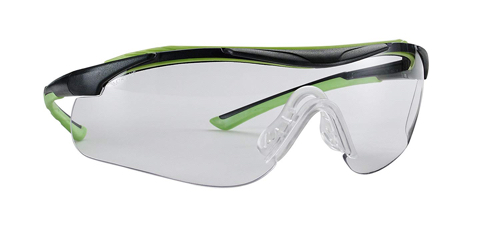
Wear eye protection whenever you can. I wear sunglasses in the summer, goggles when it’s dusty, and safety glasses when it’s cloudy or dark. Put a simple pair of glasses from the hardware store in your riding bag. That way you won’t worry about scratching them up and losing them. Lowe’s has a cheap pair of 3M safety glasses that work really well, they’ve got a rubberized brow that keeps them from sliding around. For nicer sunglasses, I wear Smith. They’ve got great lens colors and impact proof polycarbonate lenses. Do not wear sunglasses with glass lenses.
Clothing
You’ll develop preferences here too. There’s something to be said for just going riding and to not worry too much about this. But if you must…
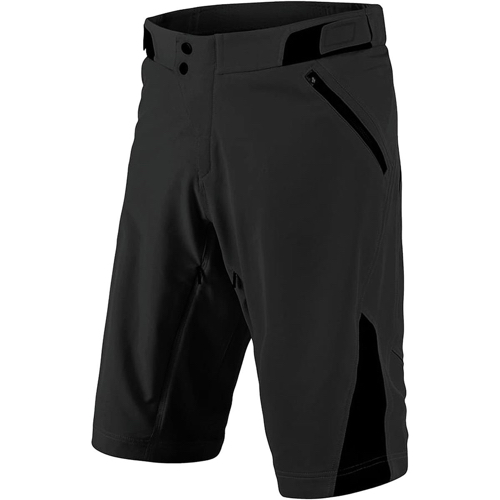
I prefer separate shorts and tights with a chamois. In fact, I prefer bibs. I wear Pearl Izumi or Voler Bibs under a pair of lightweight shorts in the summer, 3/4 length knickers in the spring and fall, and winter riding pants when it’s cold. Try on several brands and find the ones that seem to suit your anatomy. You’ll find that each manufacturer has different ideas.
I prefer bibs to riding tights because bibs can’t creep down and they can be a bit looser around your waist. It’s also one less seam on your hips. I hate the way that tights and shorts put two seams around your waist that fight each other.
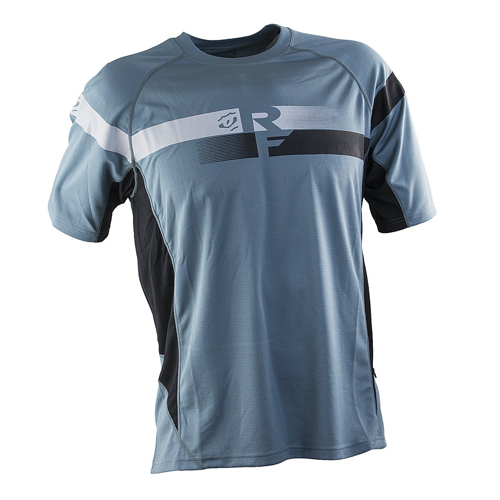
For riding jerseys, don’t be too fussy at first. I prefer synthetic shirts. I’ve got some really lightweight button shirts for really hot weather, but I mostly wear short sleeve jerseys without zippers. One of my favorite long sleeve jerseys is from Walmart. I think tha most any technical t-shirt will do as along as it’s long enough. Many of the cycling specific shirts will have a little longer tail to help keep your covered while you’re in your riding attack position.
I think that road or cross country jerseys look out of place on a mountain bike, and I think that they fairly uncomfortable underneath a pack. If you are wearing shorts and regular riding shorts under those, make sure that your jersey has enough length to keep you covered.
Backpack
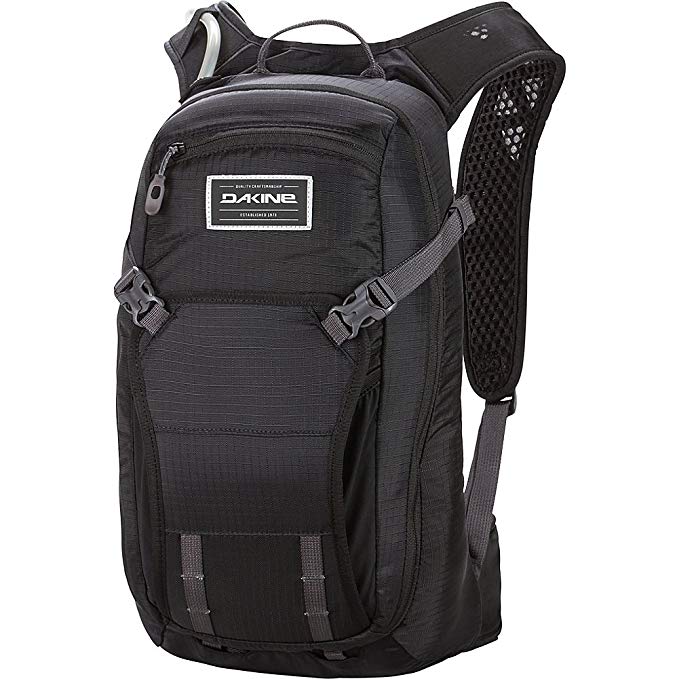
There’s a trend right now to use fanny packs. I don’t like them. I prefer a pack. I like the extra spine protection and I like carrying a little more food and water with me. Dakine and Camelbak both make excellent packs. You should start with one in the 10 liter range, it’ll be a small and lightweight pack that allows just enough room for some water, a snack, and basic tools. You’ll want a larger pack if you start going on epic and remote rides.
In this pack, you’ll carry with you basic tools for your bike and water and snacks.
Tools
Talk to the local shop about the tools you’ll need to for the bike that you’re purchasing. By those tools and then you should use them to do some of your bike maintenance to get comfortable with them. I never leave home without my bike tool kit.
You’ll also want a pump for your tires, but at the beginning you can probably get by with a handheld kind that you’ll stash in your pack. I like the Crankbrothers Sterling pump with the small gauge. It’s got a nice action, and while I wish the handle was a little more ergonomic, it’s really well made. Eventually you’ll want a floor pump. If you’ve upgraded to tubeless tires, you should get the Joe Blow Tubeless Pump. This pump has a large reservoir that can be used to seat a tubeless tire - it’s something you usually need a shop air compressor to do.
Go Ride
In an upcoming post, I’ll write some some tips and tricks for riding comfortably. In the meantime, go ride.