Vintage Look for a 1997 XJ
I’ve always liked the clean look of the rear quarter panels of pre-1997 Jeep Cherokees. When I upgraded to a new bumper, I had an opportunity to remove the rear bumper caps on my 1997 Jeep Cherokee XJ. Behind those rear bumper caps is a riveted trim strip that needs to be removed. Unfortunately, removing this leaves behind a bit of a mess that needs to be cleaned up and some holes that need to be patched.
I am not an experienced body technician, but this method worked well for these small holes and I was pleased with the result.
The Finished Project
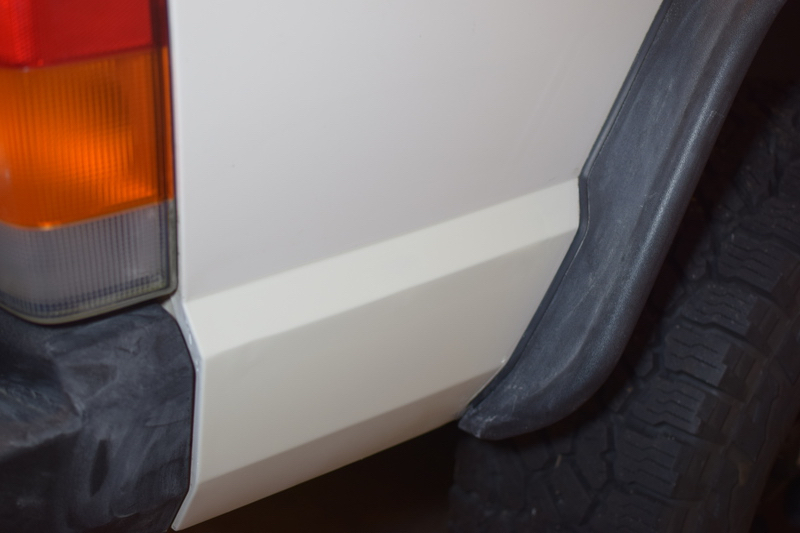
Here are the patched holes and fresh paint. I still needed to clean some sanding dust from the fender and bumper.
The Instructional Video from Custom Spray Mods
Custom Spray Mods on YouTube has a great video on patching holes in body panels. This video is the basis for this technique, and you should watch it. Everything here is the XJ-specific information I learned while following this video.
Gather the Supplies
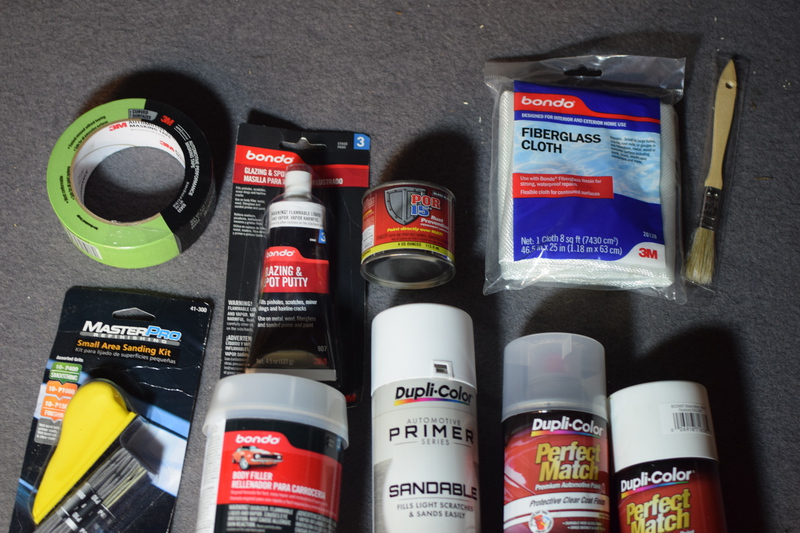
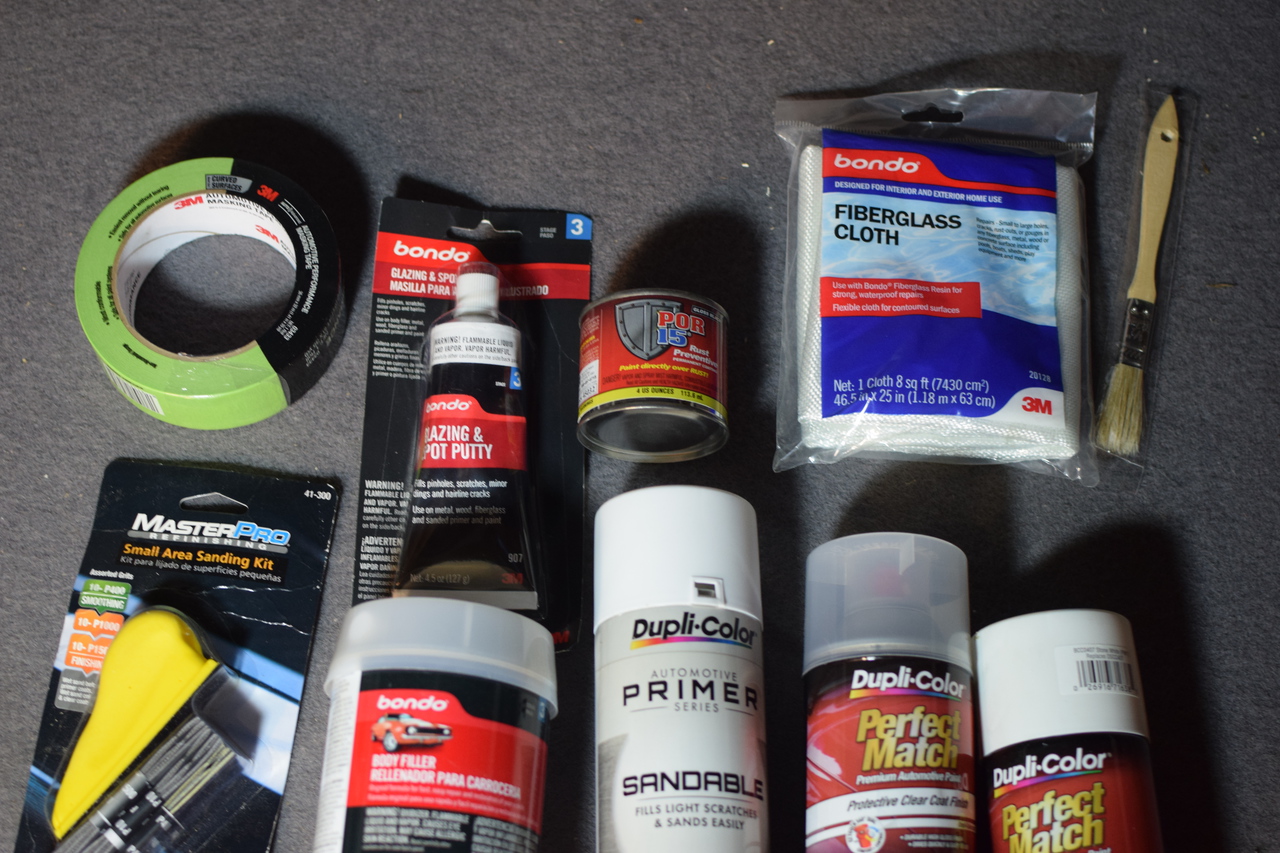
The products pictured are what I used in 2019. POR-15’s current process calls for its water-based Cleaner Degreaser, followed by Metal Prep, a thorough rinse, and complete drying before the rust-preventive coating. Those preparation products are not shown in my photo, but surface preparation is part of the coating system and should not be skipped.
- 3M Green Masking Tape 401. This follows curves well and forms a tight seal. It’s worth the extra cost.
- Plastic Sheet with Tape. This isn’t in the photo, but it’s great to have when it’s time to mask off the Jeep for painting.
- Bondo Glazing and Spot Putty. You might be able to get away without this. But it’s nice to have for final details and tiny holes.
- POR-15 Gloss Black Rust Preventive Coating. I bought the multipack of 4-ounce cans. A little goes a long way, and moisture shortens the life of an opened container. Small cans reduce waste.
- Bondo Fiberglass Cloth
- Sanding kit with P400, P1000, P1500 from O’Reilly Auto
- Bondo Body Filler. I’ve used this in some woodworking projects, too. It’s nice to have around.
- Dupli-Color Sandable Primer. A high-build primer makes getting good results a bit easier.
- Dupli-Color PW1 Stone White. PW1 is the color I used; verify the paint code for your specific Jeep before ordering.
- Dupli-Color Top Coat
Follow Along with the Video
Keep the Custom Spray Mods body-panel patching video handy as you work through the steps below.
Drill the rivets out
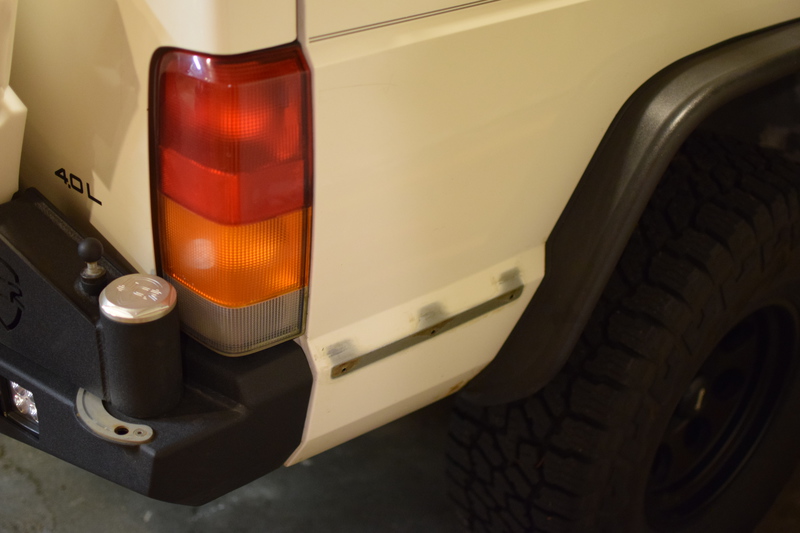
Wear safety glasses and drill through the center of each rivet with a sharp 3/16-inch bit. Stop when the rivet head separates so you do not remove more sheet metal than necessary. Once the rivets are released, the bracket should come away. Expect to find some rust and debris behind it.
Remove your interior trim panels
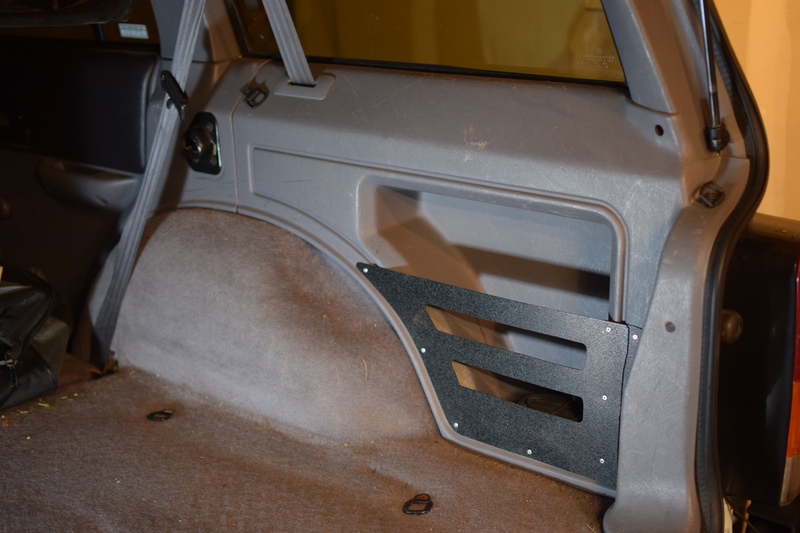
Put down the back seat and then remove the screws holding the rear cargo panels. We’ll need access to the back of the body panel for the next steps. You won’t be able to completely remove these panels as the seat belts pass through them. You can just move both panels out of the way.
Check out the back of your holes
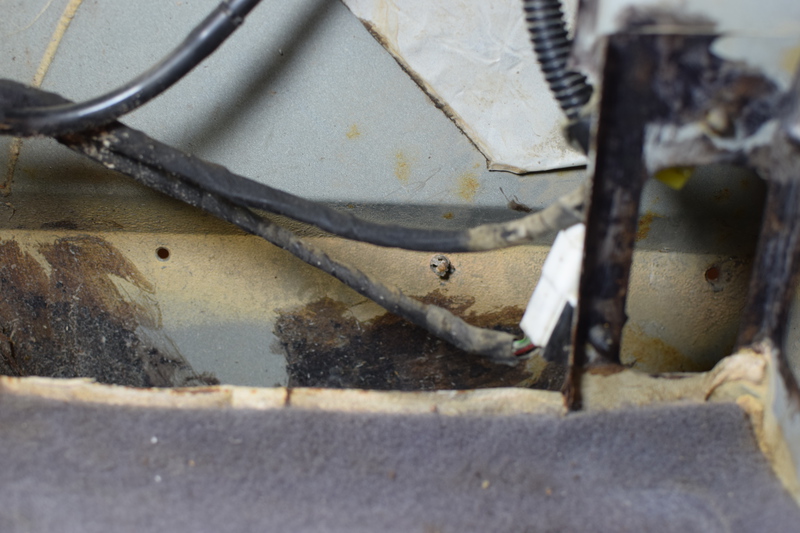
This photo shows the back of the holes left after you’ve drilled out the rivets. The back of this panel has some sound deadening material sprayed onto it.
Here's a problem to solve

The sheet metal around my rivet holes was raised, and it needed to be flat before finishing. You’ll probably find some rust and debris here as well. A hammer and dolly preserves the most metal and is the first method I would try. On this repair, I carefully enlarged the damaged holes with a step drill until the remaining edges were flat.
Increase the hole size until the panel is flat
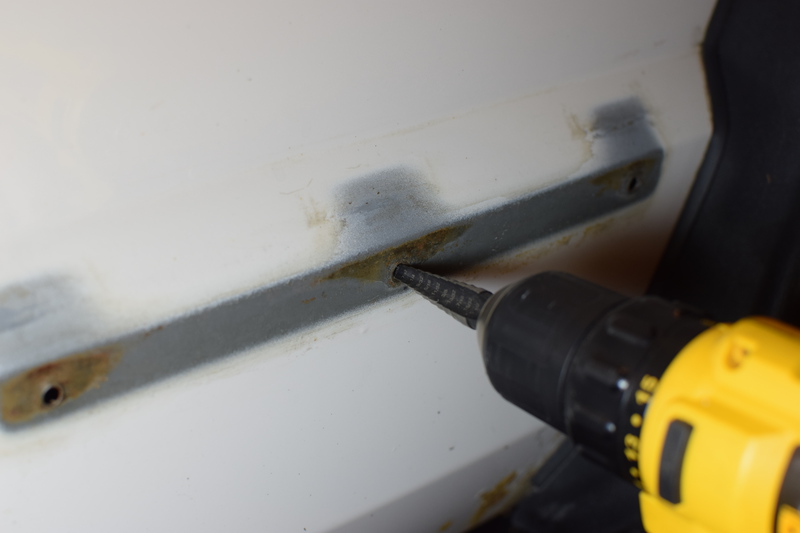
Use the step drill only as far as needed to remove the distorted edge. Check the surface with a metal ruler or other straightedge after each pass. Avoid making the holes unnecessarily large; switch to a hammer and dolly or a flat file if that will flatten the remaining distortion while preserving more sheet metal.
Remove any burrs
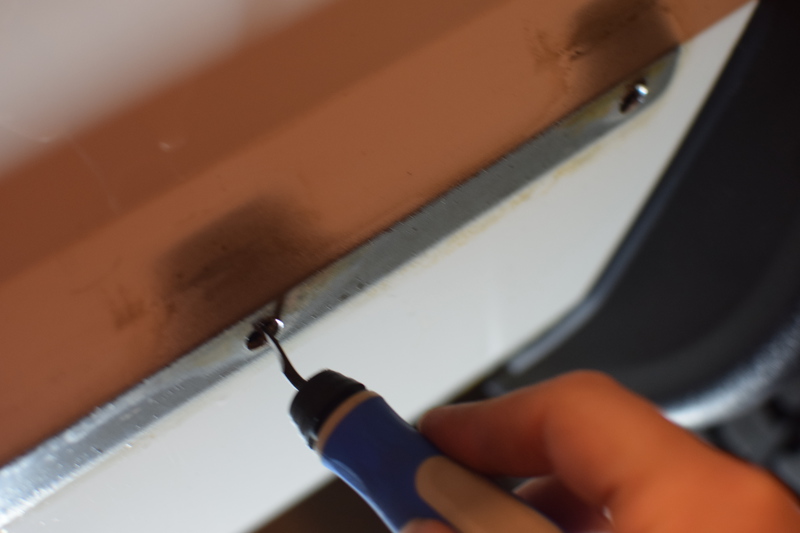
With sandpaper, a Dremel, round file, or deburring tool you should make sure that the holes are clean and that there aren’t any jagged bits inside or out.
Flat round holes
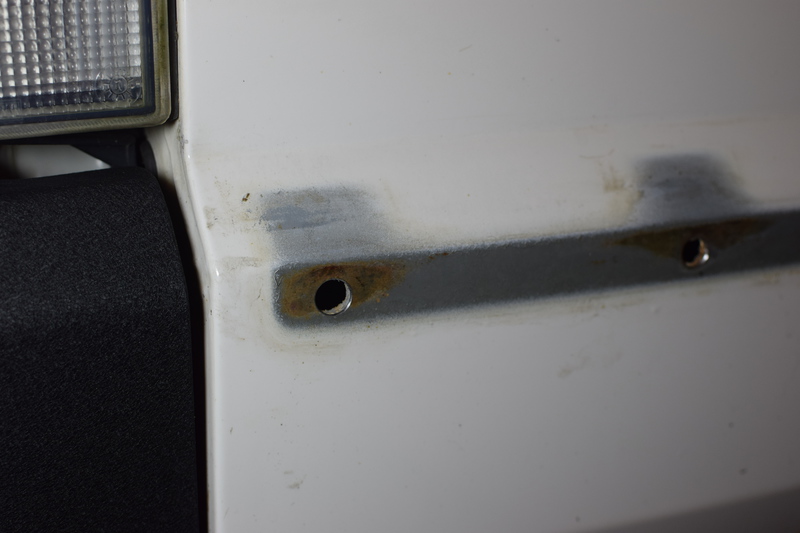
This shows the enlarged holes and flat surface. You can see some of the sound deadening material inside the holes.
Check for flatness one last time

Check your work with a metal ruler or straight edge to make sure that you’ve gotten everything flat. This will greatly reduce the work you have to do later!
Clean the back of the panel
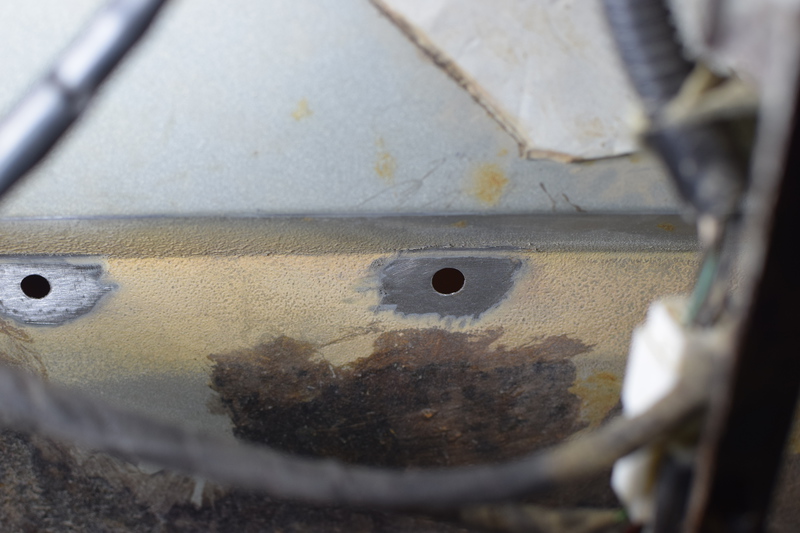
Remove the sound-deadening material around the back of each hole. To reach the driver-side panel, I removed the vertical brace for the spare-tire mount. Before grinding, inspect the other side for wiring, trim, seat belts, and anything else that could be damaged. I used a Dremel with a grinding wheel and finished by hand sanding. Remove loose rust, then clean, degrease, and prepare the metal according to the POR-15 instructions. The surface must be completely dry before coating.
Cover the holes with tape
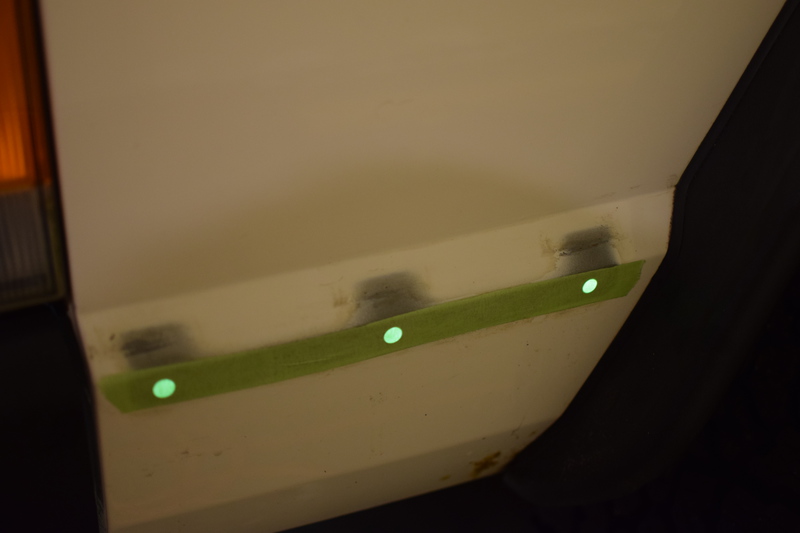
We’ll be applying fiberglass to the inside. Cover the holes on the outside so that we don’t drip and cause chaos.
Cut the fiberglass patches
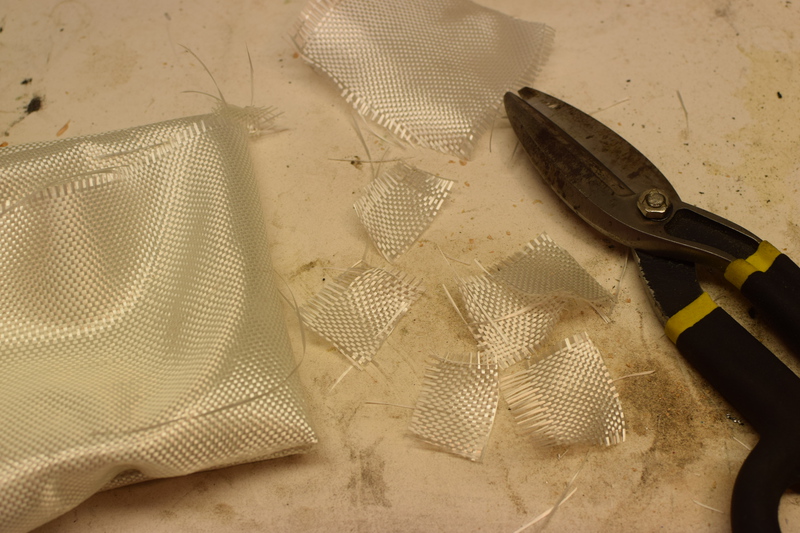
Cut fiberglass patches large enough to overlap sound metal around every side of each hole. Wear gloves when handling fiberglass and a suitable mask when cutting it so you do not breathe airborne fibers.
Prepare for patching
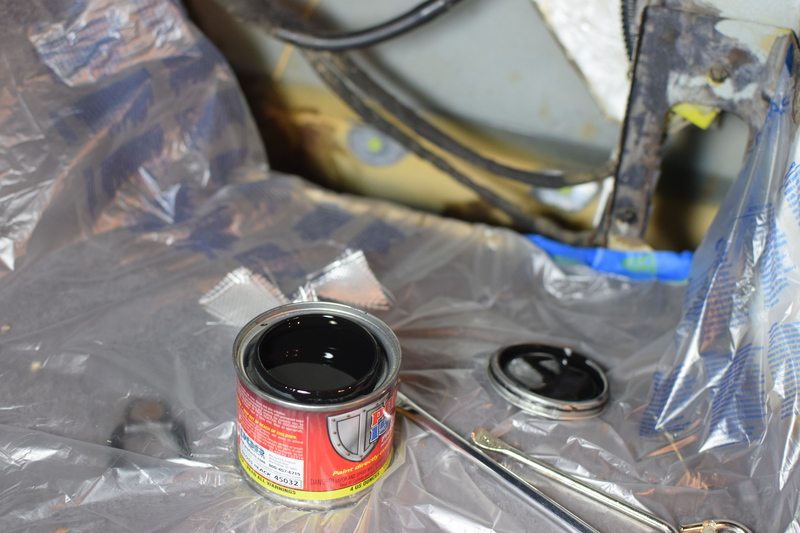
POR-15 will stain almost anything, including skin. Wear gloves, long sleeves, eye protection, and the respiratory protection specified by the current label or safety data sheet. Work with good ventilation. Dispense a small amount into a separate container, reseal the can, and apply it with a disposable acid brush. Clean spills only with a product permitted by the manufacturer, and do it before the coating cures.
Apply the POR-15 and fiberglass
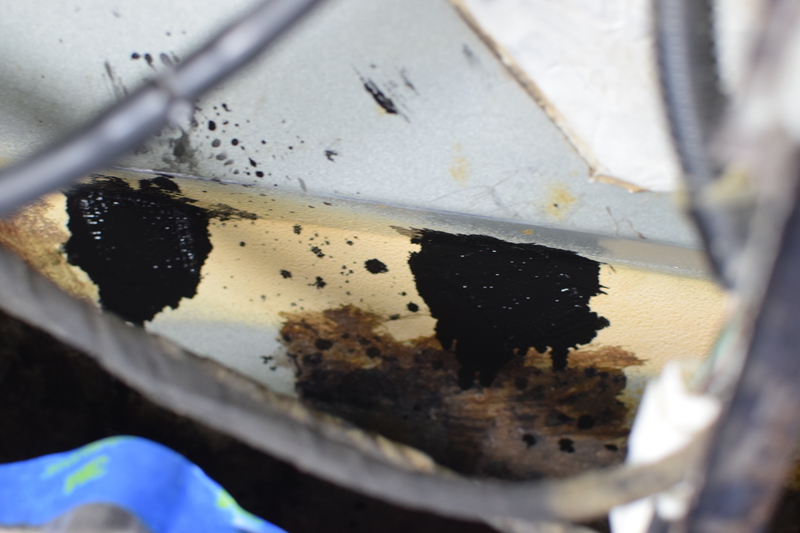
Brush a thin coat of POR-15 around the hole, place the fiberglass into the wet coating, and dab more coating through the cloth. A bright light outside the Jeep makes the holes easier to locate when working mostly blind on the driver side. Add the next coat when the first is dry to the touch but still has a slight finger drag. POR-15 currently describes that as typically two to six hours, but temperature and humidity matter, so follow the instructions on your product rather than the clock. If it cures fully, scuff it as directed before adding another coat.
Patch other holes while you're at it
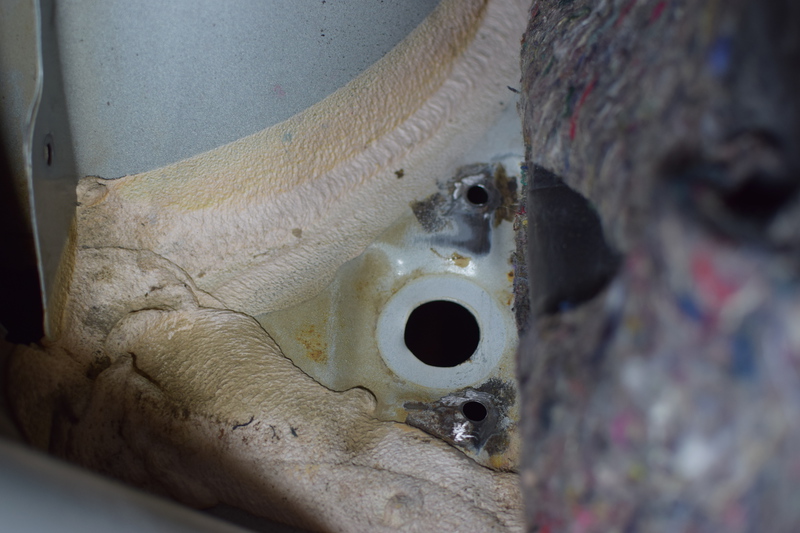
While you’ve got this apart, inspect for other small, nonstructural holes that need the same treatment. I removed my spare-tire mount, so I also patched the two small screw holes on either side of the drain plug. I pulled the plug out to make sanding easier. Larger holes or corrosion that extends beyond sound metal need a different repair.
Remove the tape and start sanding
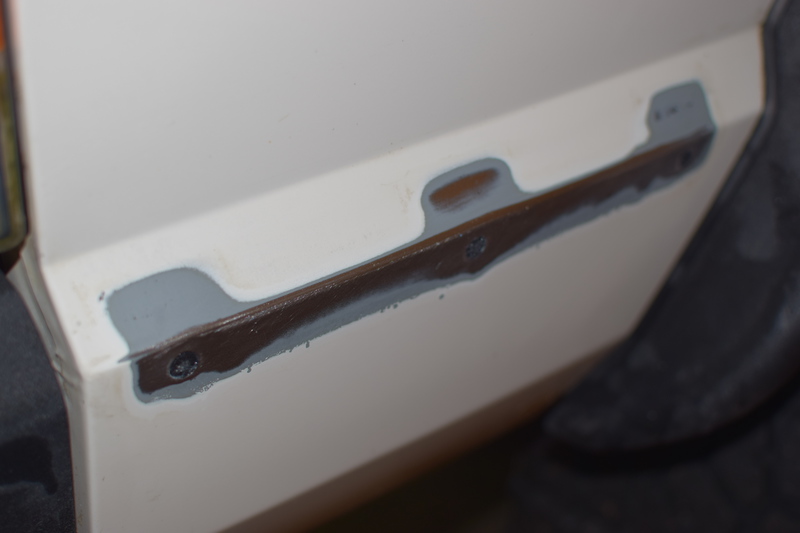
Allow the patch to cure according to the POR-15 instructions, then remove the tape. Use a sanding block to remove paint, primer, and remaining rust around the repair. The Bondo body-filler instructions call for clean bare metal prepared with coarse 80-grit abrasive; leave the fiberglass-and-POR-15 backing intact behind the hole.
Apply the body filler
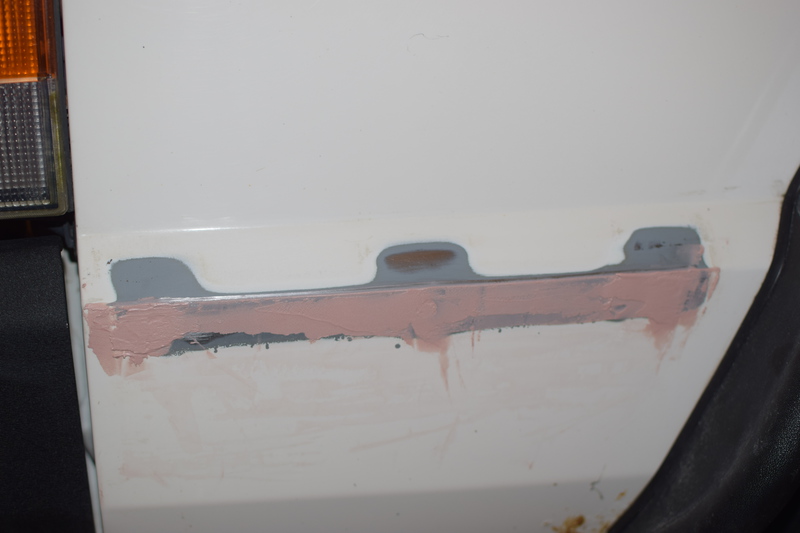
Mix and apply the body filler according to its instructions, pressing it firmly into the prepared surface. Build the repair in thin applications rather than one heavy mound. You can trim excess while the filler is in its firm but not fully cured stage, which saves sanding time.
Apply glazing putty to any small holes
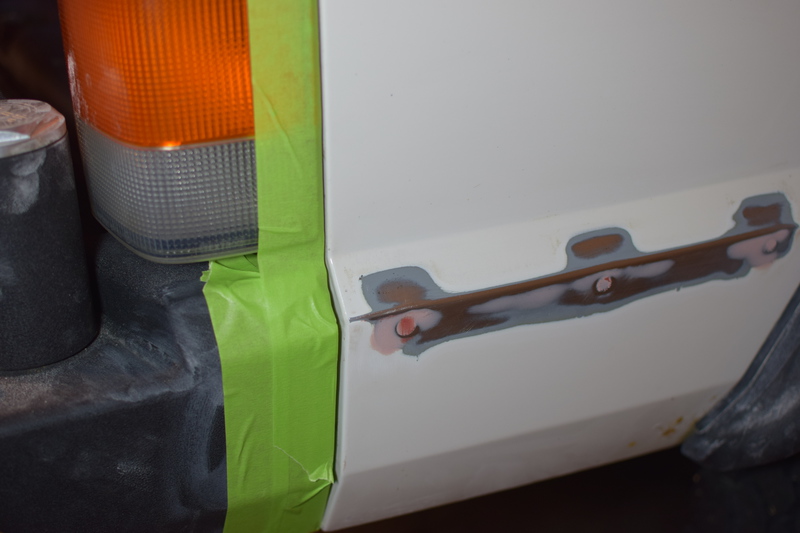
Glazing putty can fill pinholes and very small imperfections around the repair. Let it cure and sand it according to its instructions before priming.
Prime, paint, and clear coat
Follow the preparation, application-temperature, flash-time, and recoat instructions for the exact primer, color, and clear coat you use. Spraying from a cold can can produce a poor pattern, so I bring the can to normal room temperature before painting. If I need to warm it, I use lukewarm water only and never hot water, direct heat, or a temperature outside the label’s limits. A sandable filler primer helps level minor imperfections, but any exposed bare metal must remain primed. I masked most of the Jeep with 401 tape and plastic sheeting, applying the green tape first and the pre-taped sheeting over it. Use light coats and avoid a heavy paint edge along the masking. Follow the clear coat’s instructions before sanding or buffing the finish.
Summary
This project is a bit of a hassle. But I wanted to address the rust and give my little XJ a unique look. I may still cover these quarter panels with more armor once they have some trail damage, but until then this is perfect for me!
Questions or comments? Let me know!