Vintage Look for a 1997 XJ
I’ve always liked the clean look of the rear quarter panels of pre-1997 Jeep Cherokees. When I upgraded to a new bumper, I had an opportunity to remove the rear bumper caps on my 1997 Jeep Cherokee XJ. Behind those rear bumper caps is a riveted trim strip that needs to be removed. Unfortunately, removing this leaves behind a bit of a mess that needs to be cleaned up and some holes that need to be patched.
Disclaimer: I am not a professional. This is for informational purposes only. I’m certainly not an experienced body technician, but I think this turned out pretty well!
The Finished Project
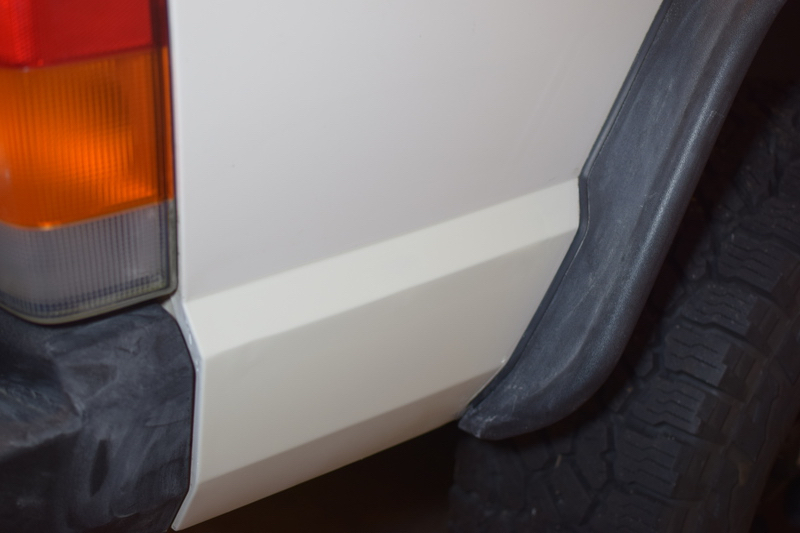
Here’s the patched holes and fresh paint. I need to do a little cleaning, I’ve got sanding dust on the fender and bumper!
The Instructional Video from Custom Spray Mods
Custom Spray Mods on YouTube has a great video on patching holes in body panels. This video is the basis for this technique, and you should watch it. Everything here is the XJ specific information I learned while following this video.
Gather the Supplies
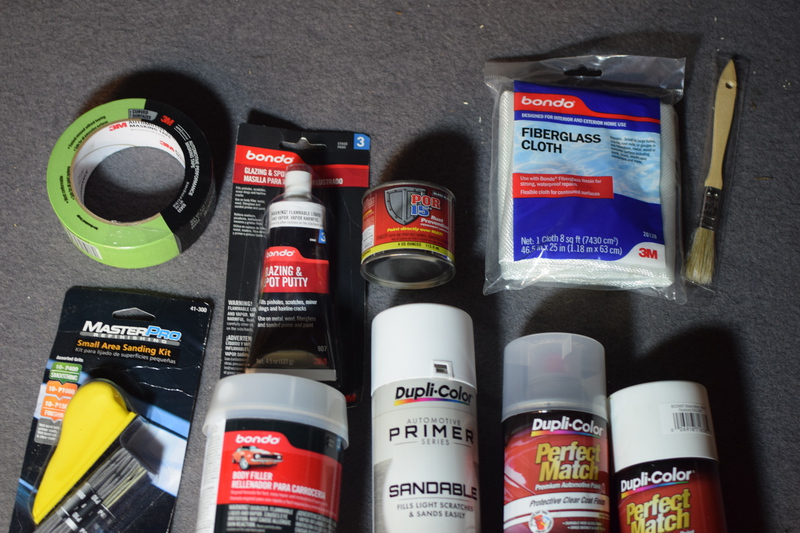
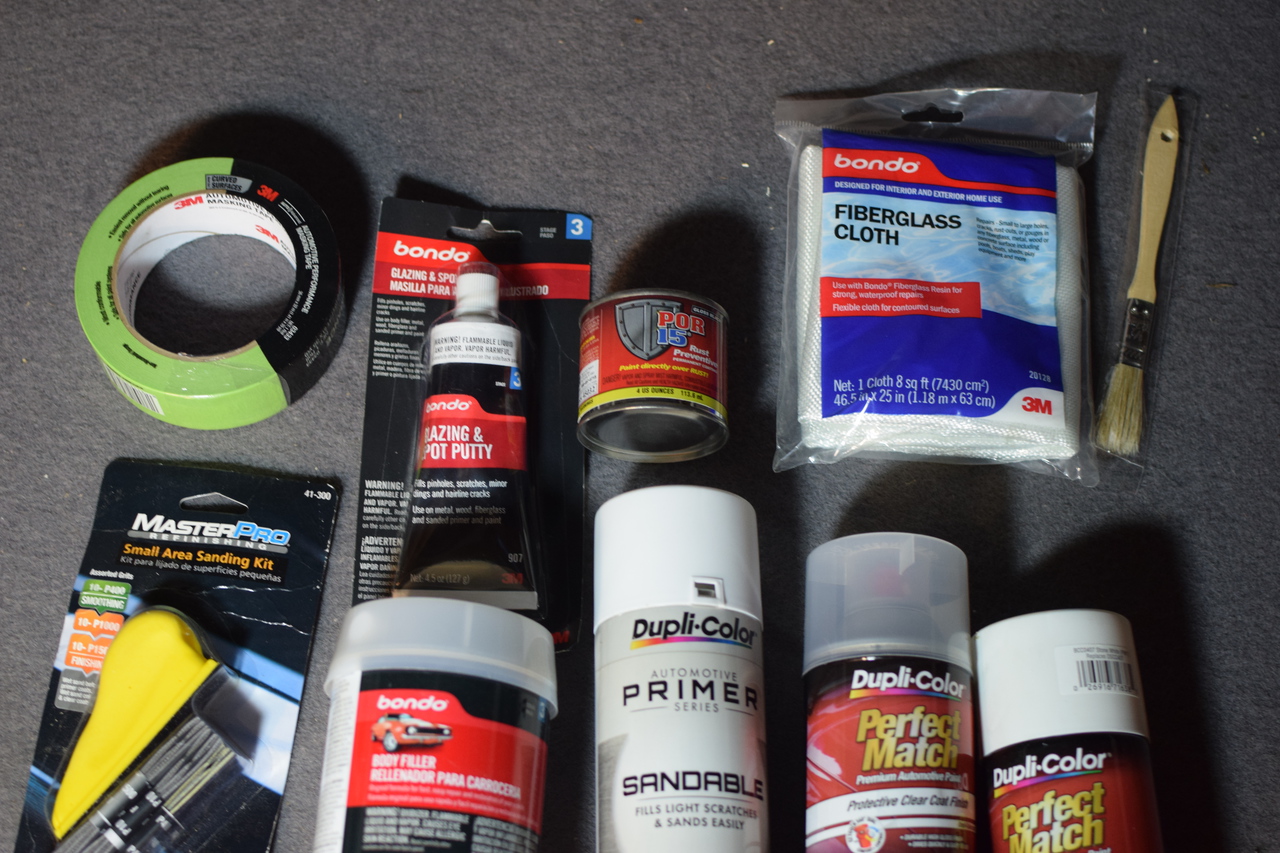
The links below are Amazon Affiliate links. I’ve only linked to the products that I used for this project, and all of them worked really well.
- 3M Green Masking Tape 401. This follows curves well and forms a tight seal. It’s worth the extra cost.
- Plastic Sheet with Tape This isn’t in the photo, it’s great to have when it’s time to mask off the Jeep for painting.
- Bondo Glazing and Spot Putty. You might be able to get away without this. But it’s nice to have for final details and tiny holes.
- POR-15 Gloss Black Rust Preventive Coating I bought the multi pack of 4oz cans. This stuff goes a long way per can, and once you open a can you need to reseal carefully, and even then it’ll sometimes go off. Stay away from the large cans!
- Bondo Fiberglass Cloth
- Sanding kit with P400, P1000, P1500 from O’Reilly Auto
- Bondo Body Filler. I’ve used this in some woodworking projects too, it’s nice!
- Duplicolor Sandable Primer. A high build primer makes getting good results a bit easier.
- Duplicolor PW1 Stone White You can find the paint code for your Jeep XJ on the plate under the hood that has the VIN number stamped on it.
- Duplicolor Top Coat
Follow Along with the Video!
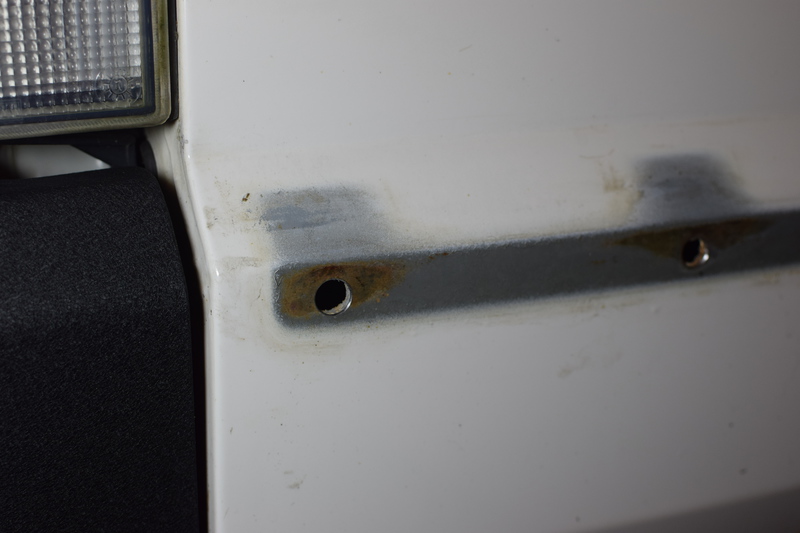
Drill the rivets out
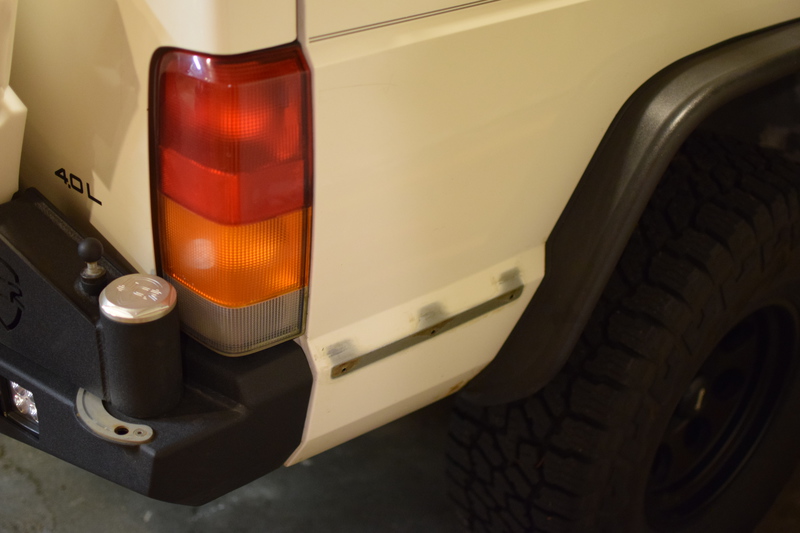
Drill the rivets out with a small 3/16 drill bit. Wear your safety glasses and step up in drill bit size until you’ve got them cut. Once you’ve done that, the bracket should drop off. You’ll see some rust and a general mess.
Remove your interior trim panels
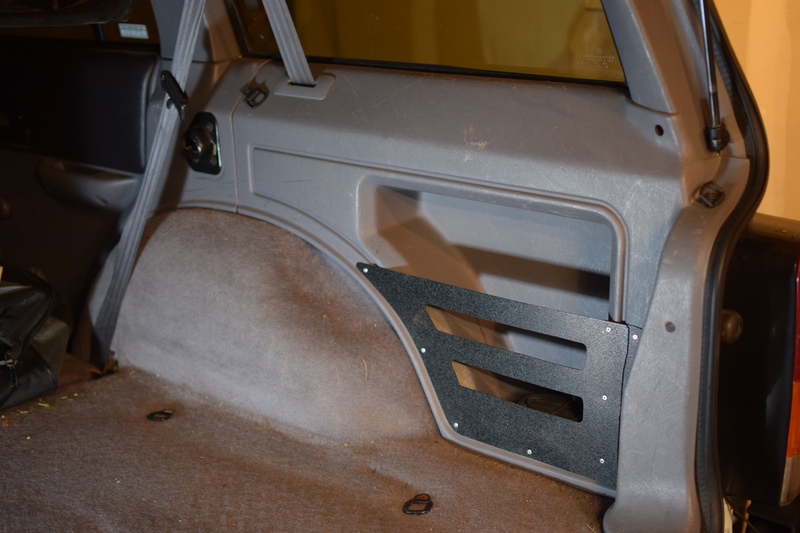
Put down the back seat and then remove the screws holding the rear cargo panels. We’ll need access to the back of the body panel for the next steps. You won’t be able to completely remove these panels as the seat belts pass through them. You can just move both panels out of the way.
Check out the back of your holes
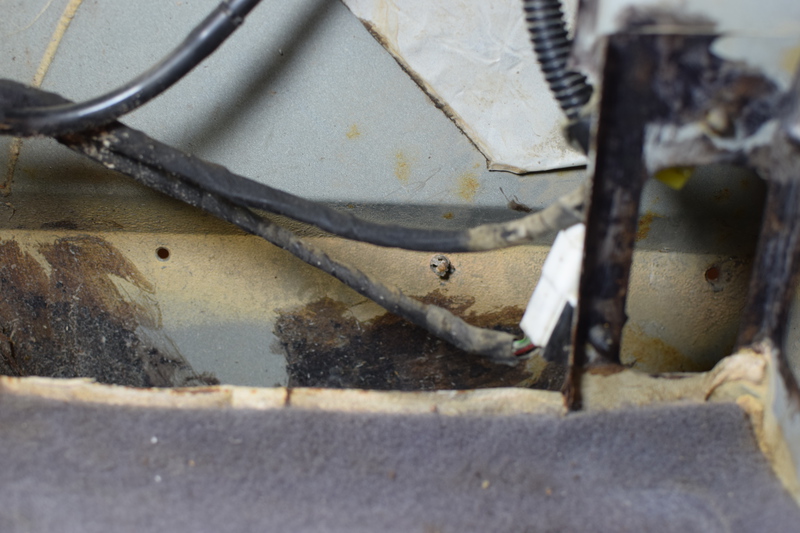
This photo shows the back of the holes left after you’ve drilled out the rivets. The back of this panel has some sound deadening material sprayed onto it.
Here's a problem to solve

The rivet holes aren’t flat, and we need them to be. You’ll also probably find some rust and other cruft in this general area. We could sand these or work them with a hammer and dolly, but instead we’re going to drill them out until they are flat.
Increase the hole size until the panel is flat
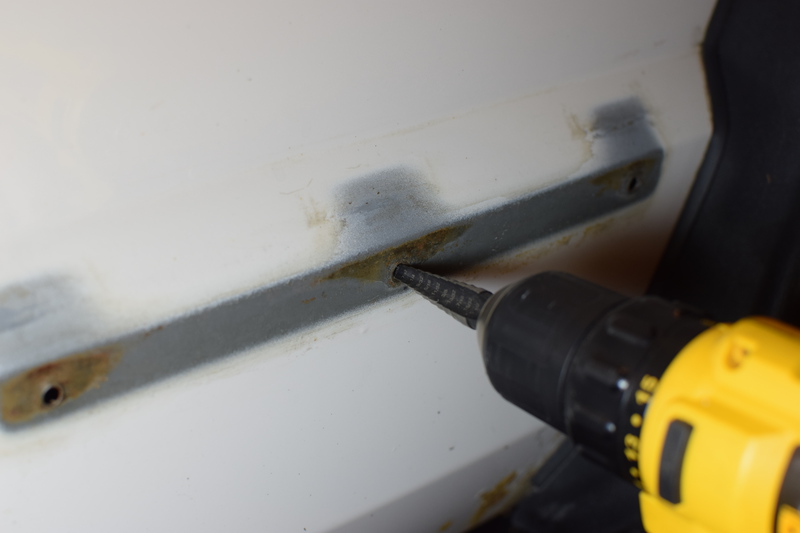
Increase the size of the holes until the panel is flat. This is easiest to do with a step drill, and as an added bonus it will create a nice shoulder on the hole. You can check the surface with the edge of a metal ruler to see if you’ve removed the raised area. If your hole starts to get too large, you could work this with a hammer and dolly or even with a flat file. The goal is to get this panel flat.
Remove any burrs
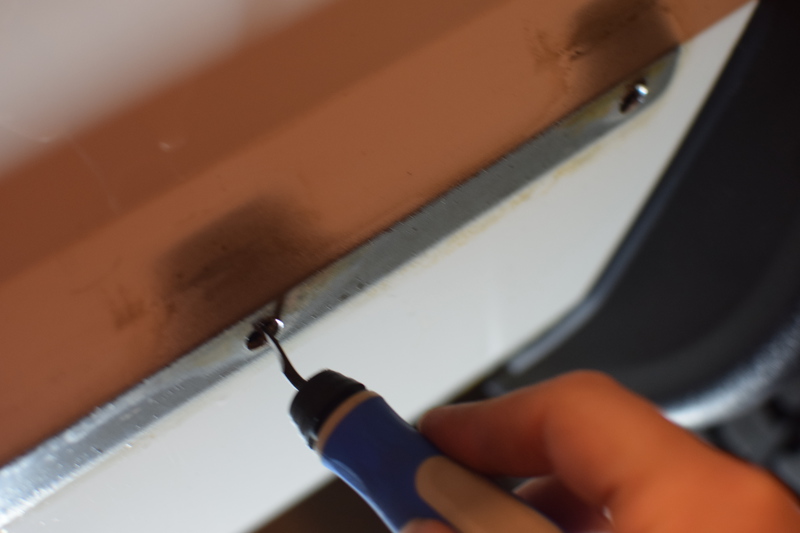
With sandpaper, a Dremel, round file, or deburring tool you should make sure that the holes are clean and that there aren’t any jagged bits inside or out.
Flat round holes
This shows the enlarged holes and flat surface. You can see some of the sound deadening material inside the holes.
Check for flatness one last time

Check your work with a metal ruler or straight edge to make sure that you’ve gotten everything flat. This will greatly reduce the work you have to do later!
Clean the back of the panel
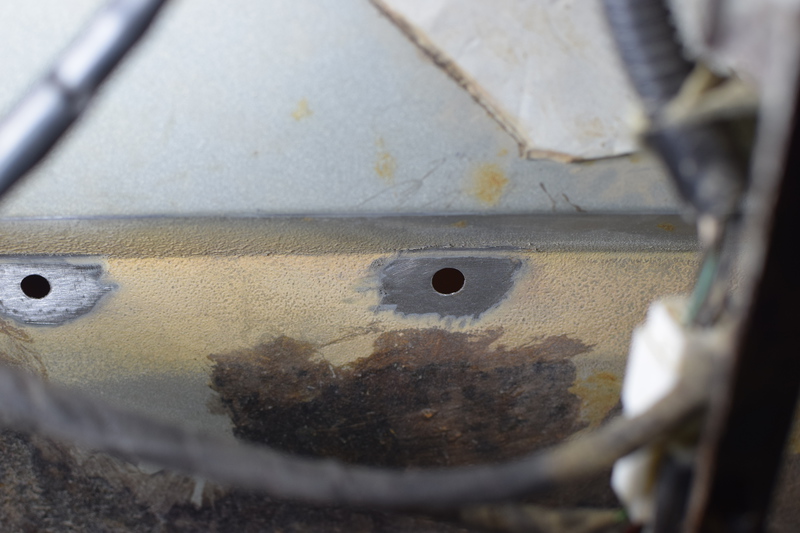
We’ll now remove the sound deadening material from the holes. In order to reach the panels on the driver side you’ll need to remove the vertical bar that reinforces the spare tire mount. I used a Dremel tool with a grinding wheel on it for this step, and then finished with some hand sanding. We need a flat and clean area around the hole for the fiberglass + POR15 to adhere too.
Cover the holes with tape
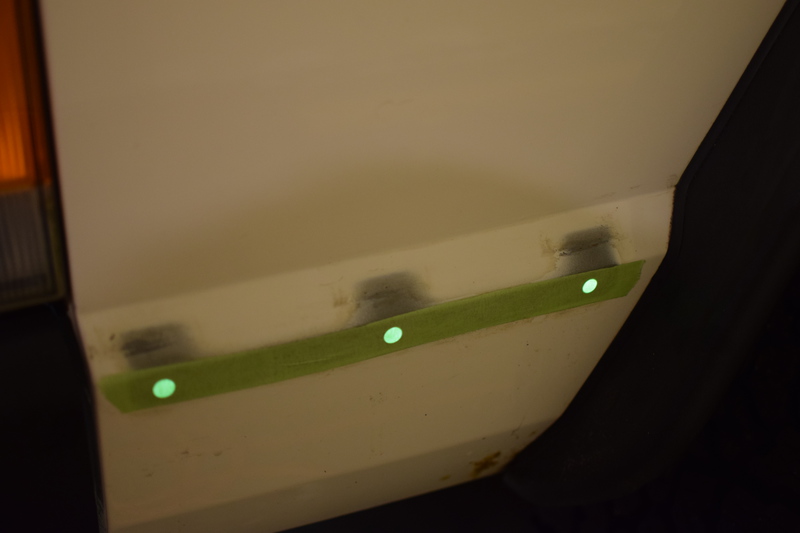
We’ll be applying fiberglass to the inside. Cover the holes on the outside so that we don’t drip and cause chaos.
Cut some fiberglass squares
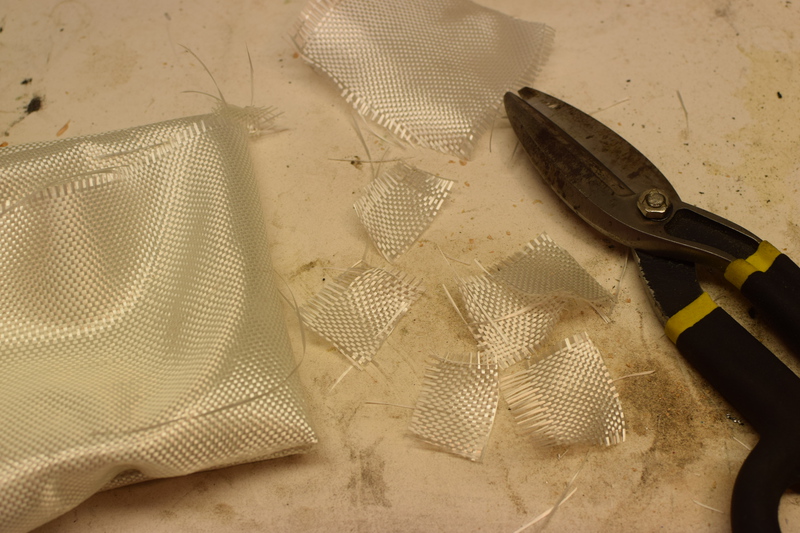
We’ll need some quarter sized fiberglass panels to cover the back of our holes.
Prepare for patching
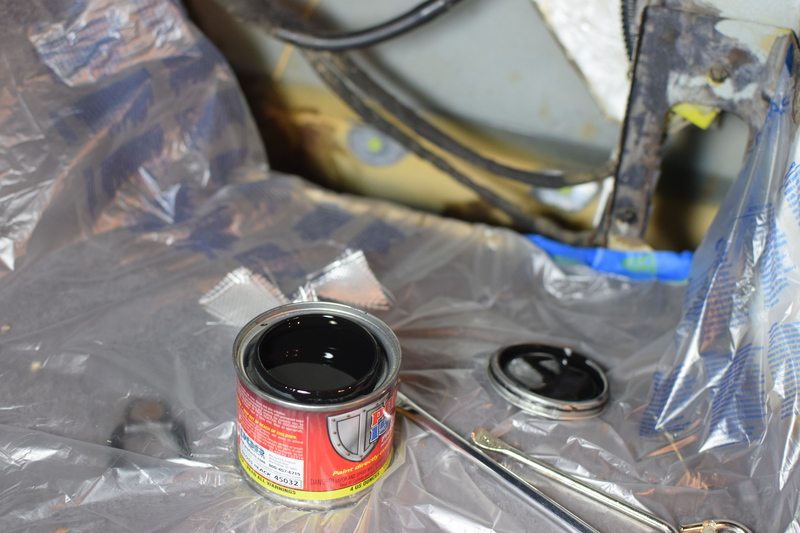
POR15 will stain EVERYTHING. Use gloves, long sleeves, and keep it off anything you don’t want black forever. If you do get some on your skin, I’ve found that rubbing alcohol will remove it as long as you get it before it dries. I applied the POR15 with an acid brush. They are cheap and disposable.
Apply the POR15 and the fiberglass
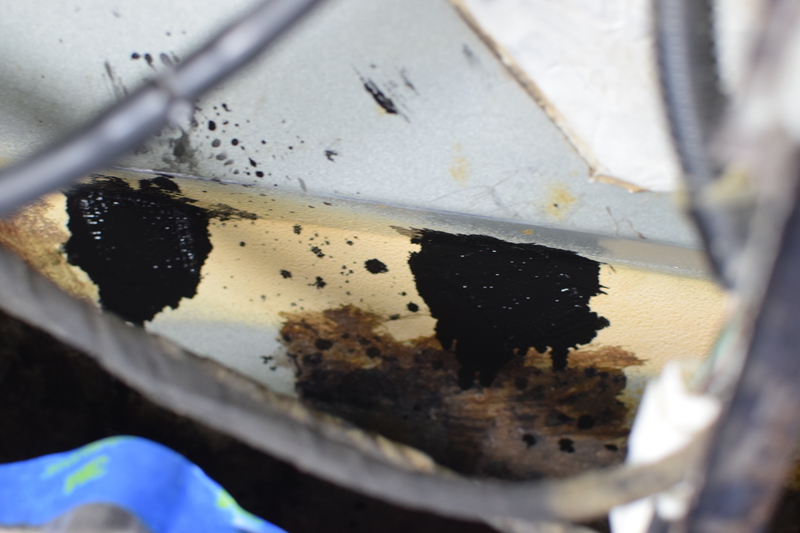
Paint some POR15 around the hole, put the fiberglass patch on, and then dab more POR15 on top. On the driver side you’ll be doing this mostly blind. It’s hard to see exactly what you’re doing. It can be helpful to shine a bright light at the outside of the Jeep so that it’s easier to see the holes from the inside. In this case, I wasn’t very worried about being neat and tidy. We just need good coverage. After about 30 minutes you can reapply a second coat and a second piece of fiberglass. Drying time will depend on your location and humidity - you need to add the second layer when the first is still tacky.
Patch other holes while you're at it
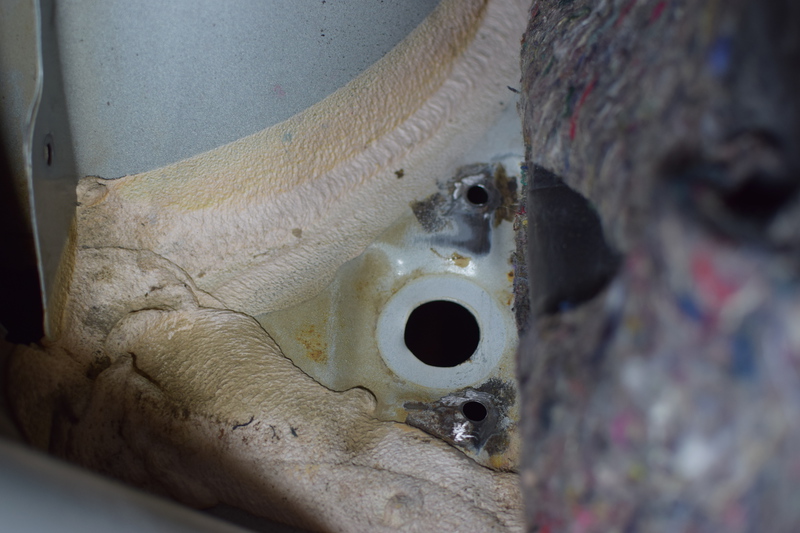
While you’ve got this out, you can patch anything else you need. I’ve removed my spare tire mount, and so I’ve got these two small screw holes on either side of the drain plug that need patching. I’ve pulled the plug out to make sanding easier. You can patch these holes just like the others.
Remove the tape and start sanding
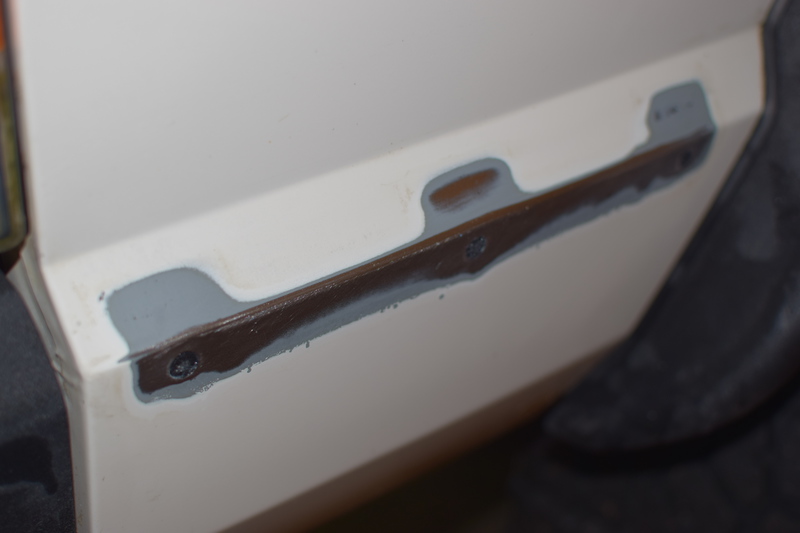
After waiting 24-48 hours for the POR15 to fully cure we can remove the tape and start sanding. Always use a sanding block and start removing any surface rust and other contaminants. For our Bondo, we’ll need bare metal around the holes.
Apply our Bondo
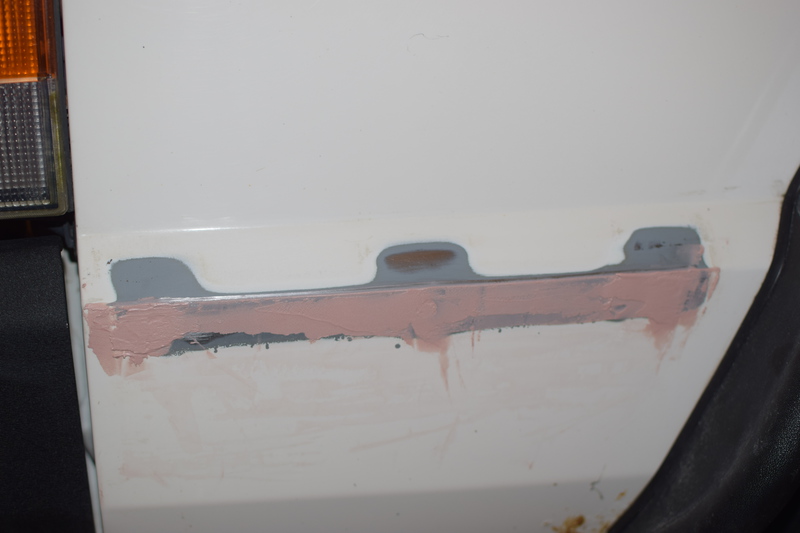
Remember that you can trim Bondo with a knife while it’s in its plastic stage of curing. This can save you a lot of sanding time.
Apply glazing putty to any small holes
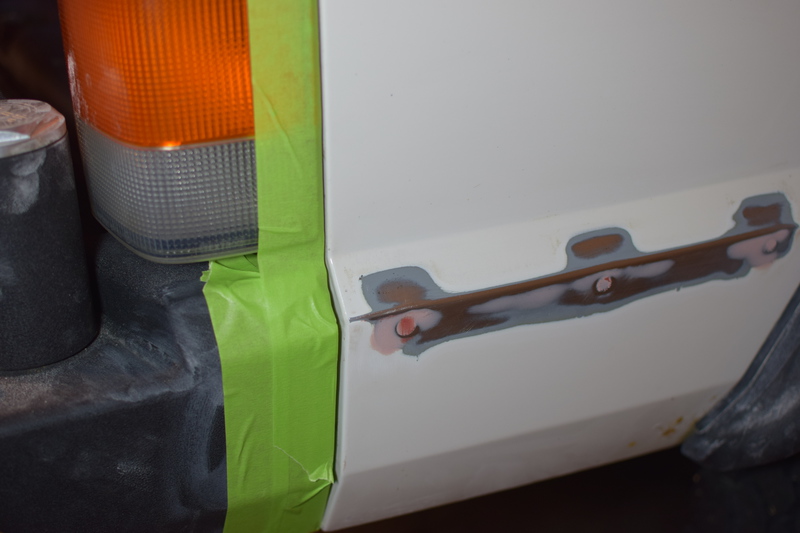
Glazing putty can fill any holes that you have around the edges of the patched holes. You’ll need to sand after these steps as well
Prime, Paint, Clearcoat
Following the instructions from your paints, you’ll now prime and paint. A high quality sandable primer will make it easy to get everything really flat and smooth. After you’ve sanded and primed you’ll be ready for paint and more sanding. You can use a clear coat on top of all of that. If you’re going to clear coat, it can be helpful to warm your spray can up in some hot water from your tap. Don’t overheat the can, just warm it up! It can be helpful in preventing orange peal. After the top coat has had a week or two to cure, you can do some finish sanding or buffing. During paint application, I masked off most of the Jeep with 401 tape and plastic sheeting. I apply the green tape first, and then add the pre-taped plastic sheeting on top of that. You’ll need to be gentle with your paint edges to prevent paint build up along your tape edges.
Summary
This project is a bit of a hassle. But I wanted to address the rust and give my little XJ a unique look. I may still cover these quarter panels with more armor once they have some trail damage, but until then this is perfect for me!
Questions or comments? Let me know!