I grew up in my grandfathers woodworking shop, and have worked with tools my whole life. I don’t have my own shop yet, and so I’ve collected just enough tools for projects over the last 15 years that fit into a couple of bins. This collection of tools will give you the basic tools for DIY projects and furniture. With this set of tools you’ll only be limited by your imagination.
The links within this post are affiliate links to purchase these items. All of these tools and items are tools I’ve used, and I truly believe them to be high quality tools that are perfect for starting out in woodworking.
Table of Contents
- Safety
- Cleaning
- Measuring
- Hand tools
- Cutting
- Shaping
- Kreg Jigs
- Clamps
- Power Tools
- Sanding and Finishing
Safety
First and foremost, protect yourself. Long term exposure to chemicals, loud noises, and short term exposure to sharp tools can cause a lot of damage. Be safe!
And as an aside, when you’ve got new power tools - practice your cuts once with the tool turned off and really look at your fingers, elbows, and other body parts that are near cutting edges. Getting used to how your tools move is critical!
- Safety Glasses
-
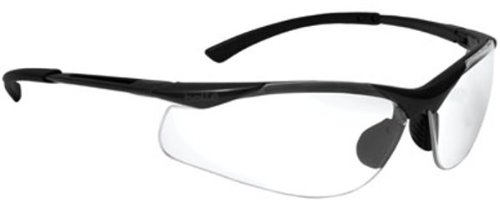
Bollé Safety Glasses - favorites of mine for the wrap around shape, and they fit close enough to my face keep things from bouncing off my cheeks and upwards into my eyes. Fit is more important than style! ER doctors are remarkably good at removing splinters from your eyeballs, but safety glasses really are a lot cheaper. Find a set that fits close to your face, particularly your cheeks to prevent anything from bouncing upwards and underneath your glasses.
- Ear plugs
-
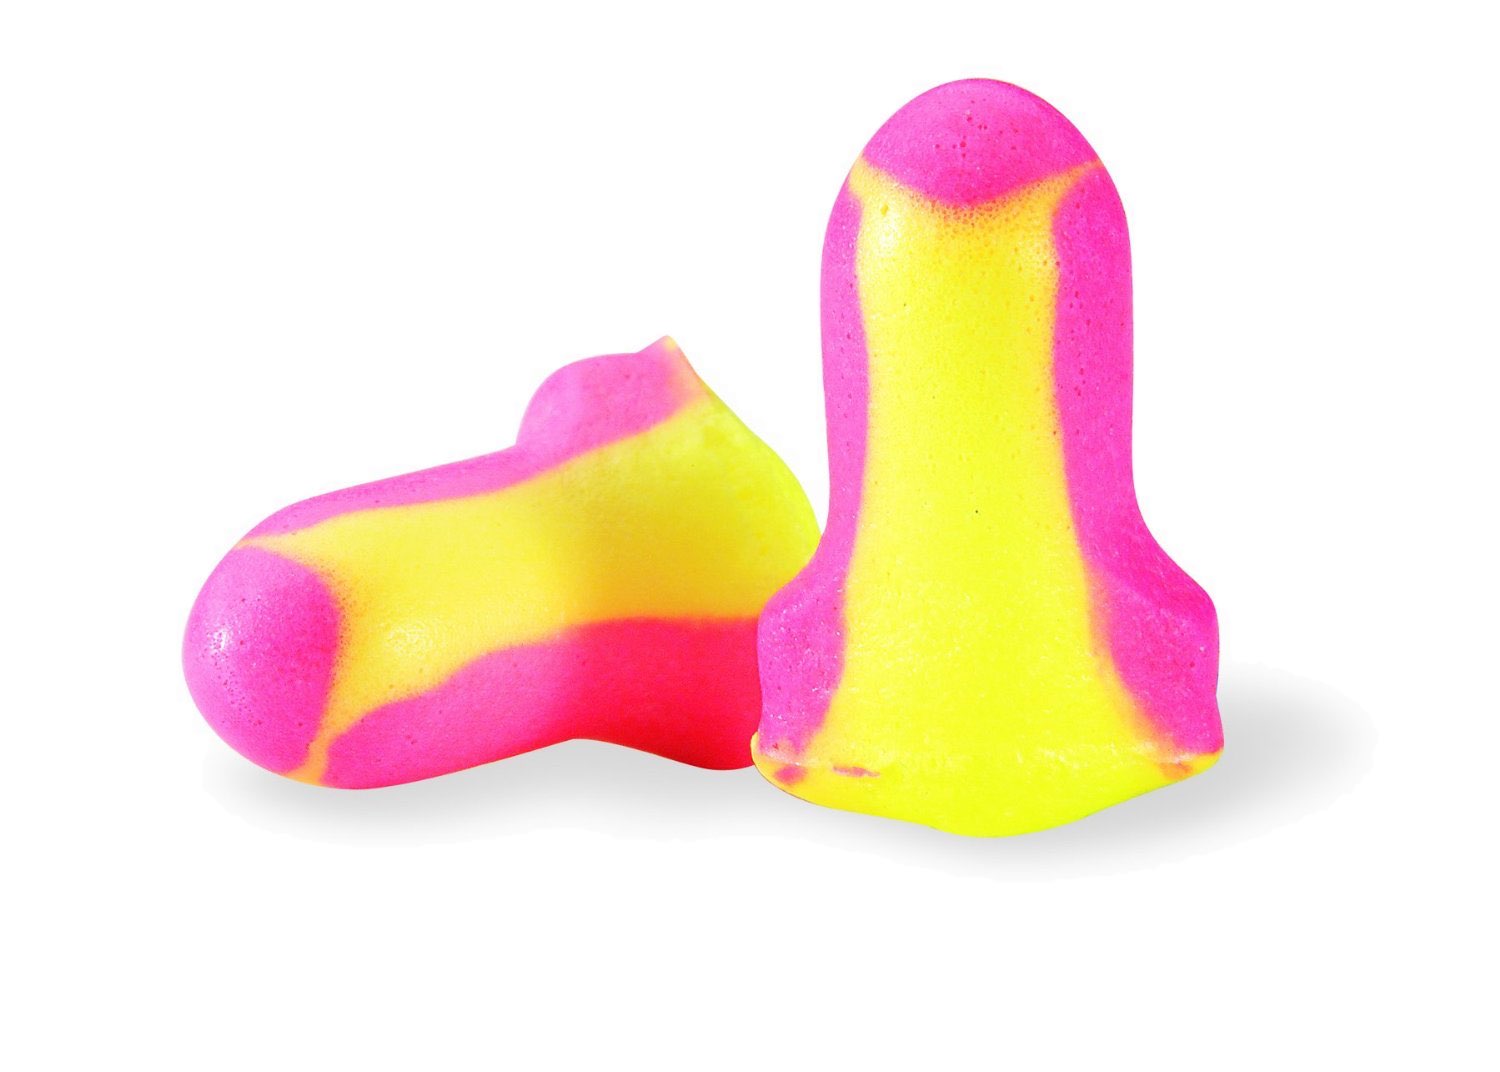
These are soft and work really well. You might also want to try an assortment pack to find the ones that fit your ears the best. Tools are loud and will cause permanent damage. Ear plugs offer better protection, but can be a hassle if you’re working with other people. It’s really important to learn how to insert them properly! I didn’t learn this until I had problems with my earplugs touching the inside of my motorcycle helmet.
- Ear muffs
-
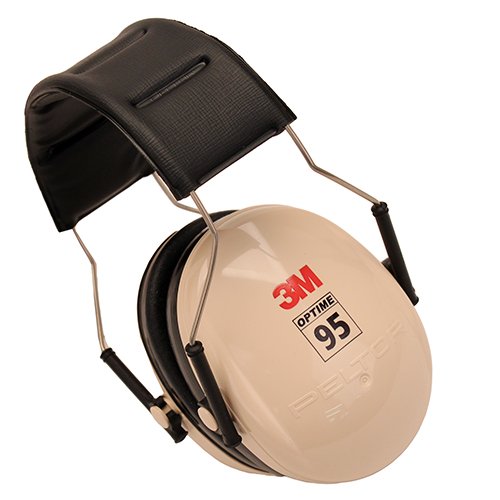
You can find these in different DB ratings. This pair is smaller and comfortable, but is only a 95 rating. A 98 will be a bit bulkier. This set of Peltor 95s are slim and work well in environments where you’ll want to take your protection on and off. Especially when working with other people. If you’re working in a very noisy environment, wear both the plugs and the muffs. You only get one set of ears.
- N95 Dust mask
-
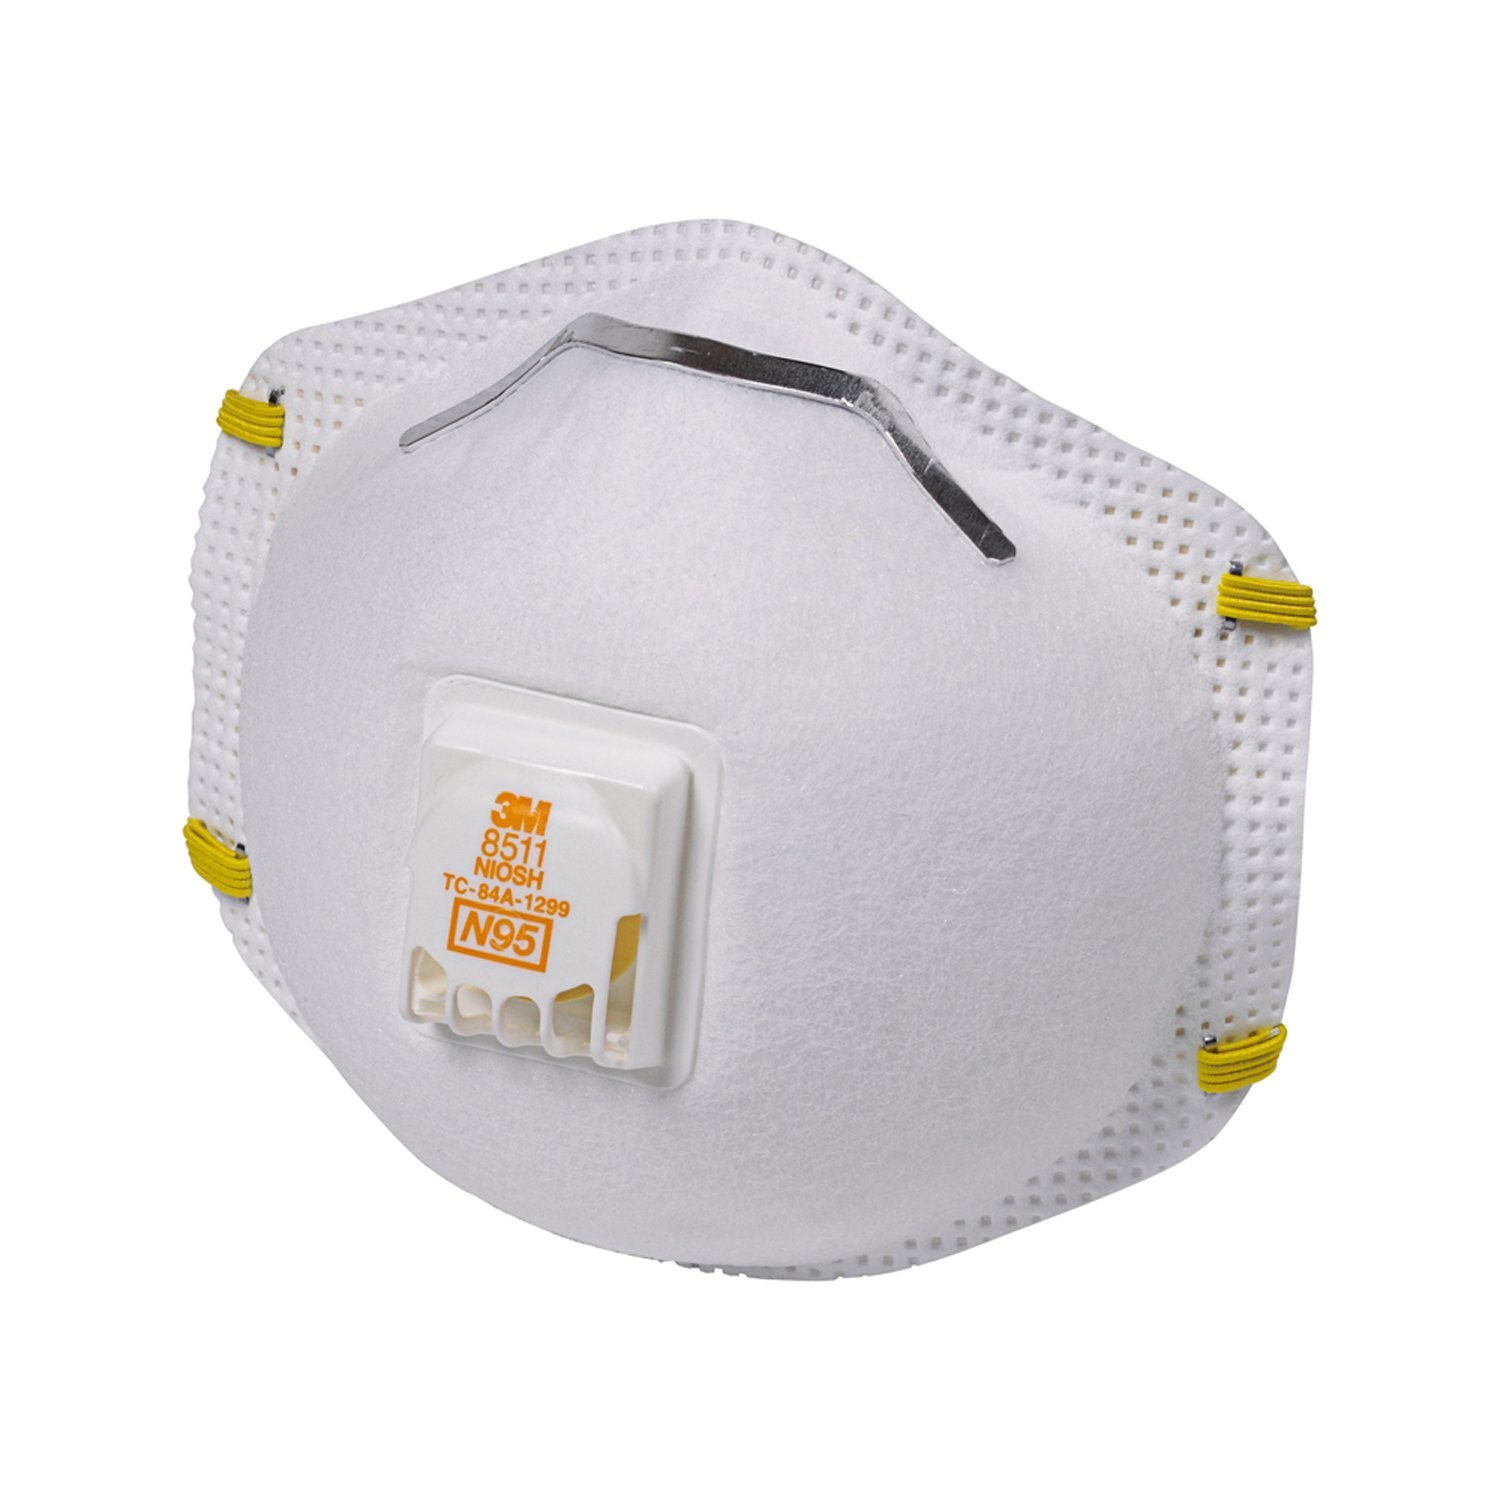
I use these for everything from lawn mowing to woodworking. Any dusty environment will be easier with a good mask. For really nasty things, don't be afraid to go Full Vader Buy the good ones with the vents to exhale. Dust can carry any number of bad things, and N95 masks will offer some protection from welding, soldering, and paint fumes as well. Please always remember that plywood and engineered wood products have a wide variety of glues and bonding chemicals in them that are bad news for your lungs, and always wear a mask and when sanding and applying finishes.
Cleaning
A clean and organized working area is a safe area. I keep a brush handy to clean as I go. Buy a box of rags — they’ll be great to have around when you’re working on finishing projects.
- Dust brush and pan
-
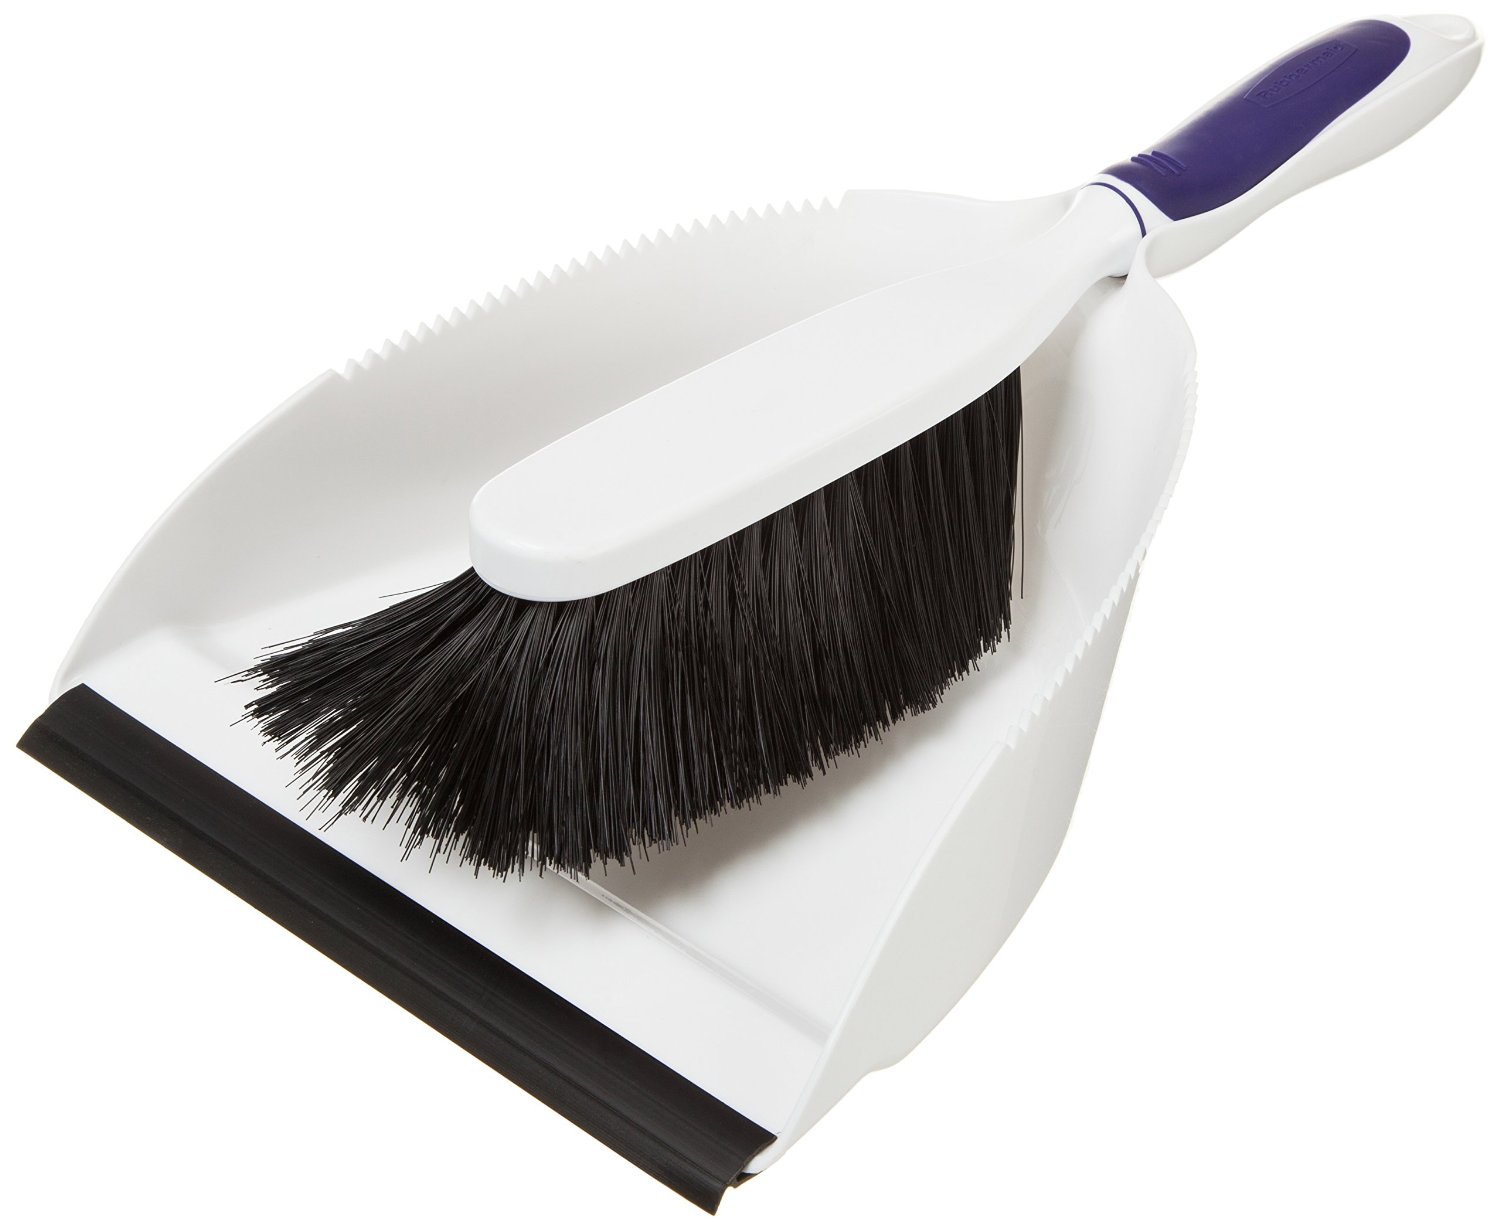
A clean work area is a safe work area. A small brush you can keep on your workbench. A clean work area gets better results. Clean work surfaces won’t mar your work pieces and your finishes will turn out better as well.
- Rags
-
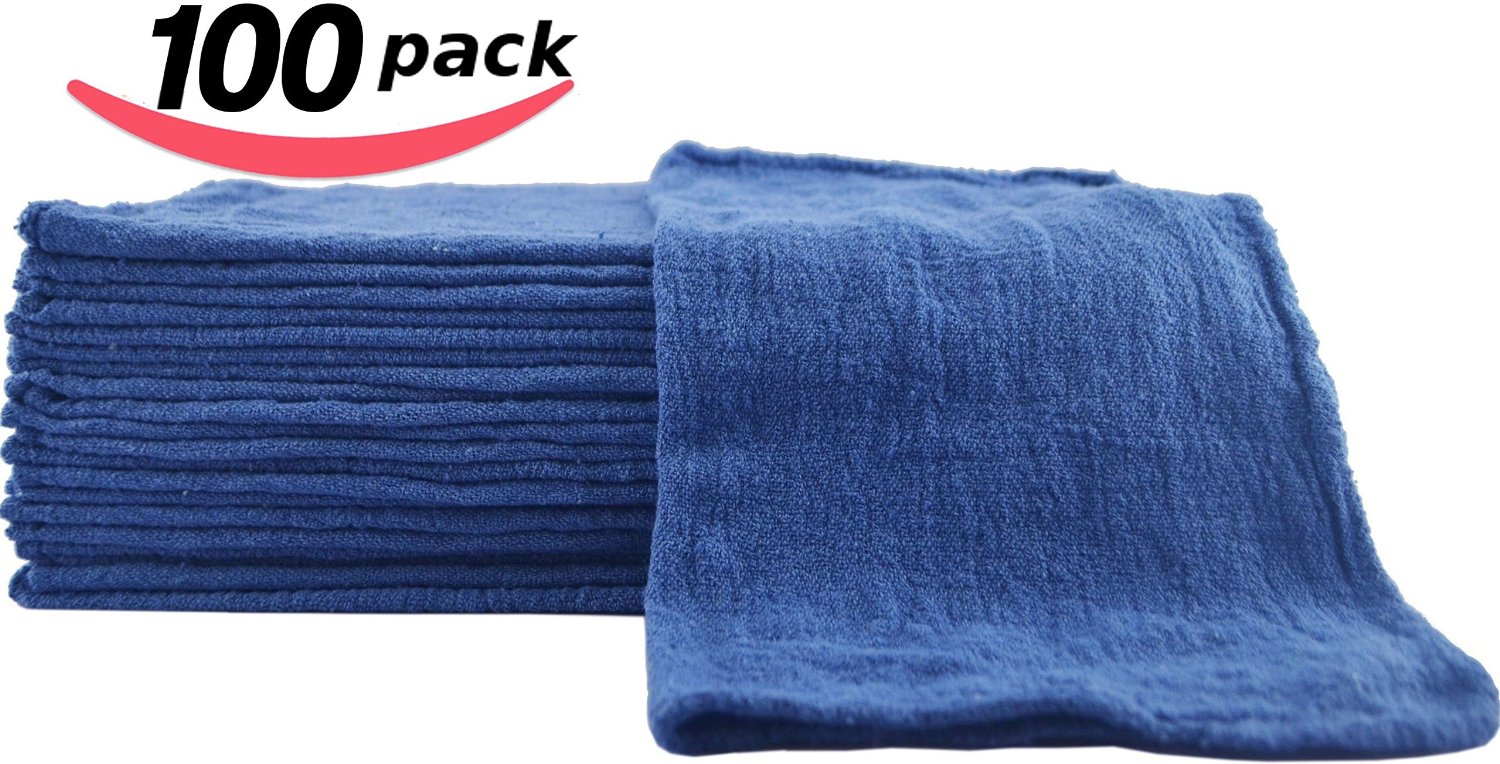
Cheap enough that you can thow out the really dirty ones. A cheap box of rags will help in cleaning and will always be useful! These aren’t lint free for use in finishing, but for everything from oil changes to cleaning to applying direct and well aimed pressure to a wound after a chisel accident, these are great to have.
- Hand Soap
-
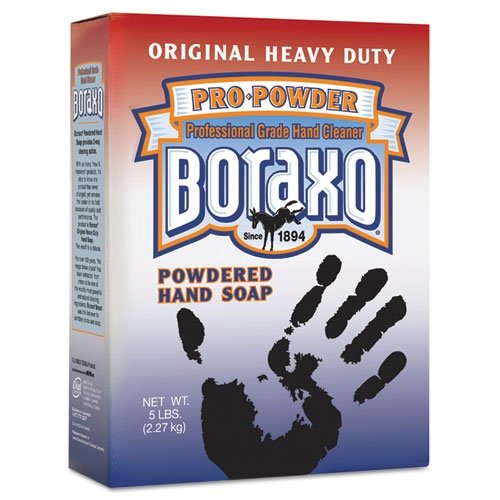
And it smells like a machine shop, as a bonus. The original Boraxo and Goop are my favorite hand soaps. Borax has just the right amount of grit to scrub out the cracks and crevices in your hands. Goop also works well on stubborn clothing stains, including grease.
Measuring
Measure twice, cut once. Even better, learn to never measure - but that’s another post!
- Mechanical pencil
-
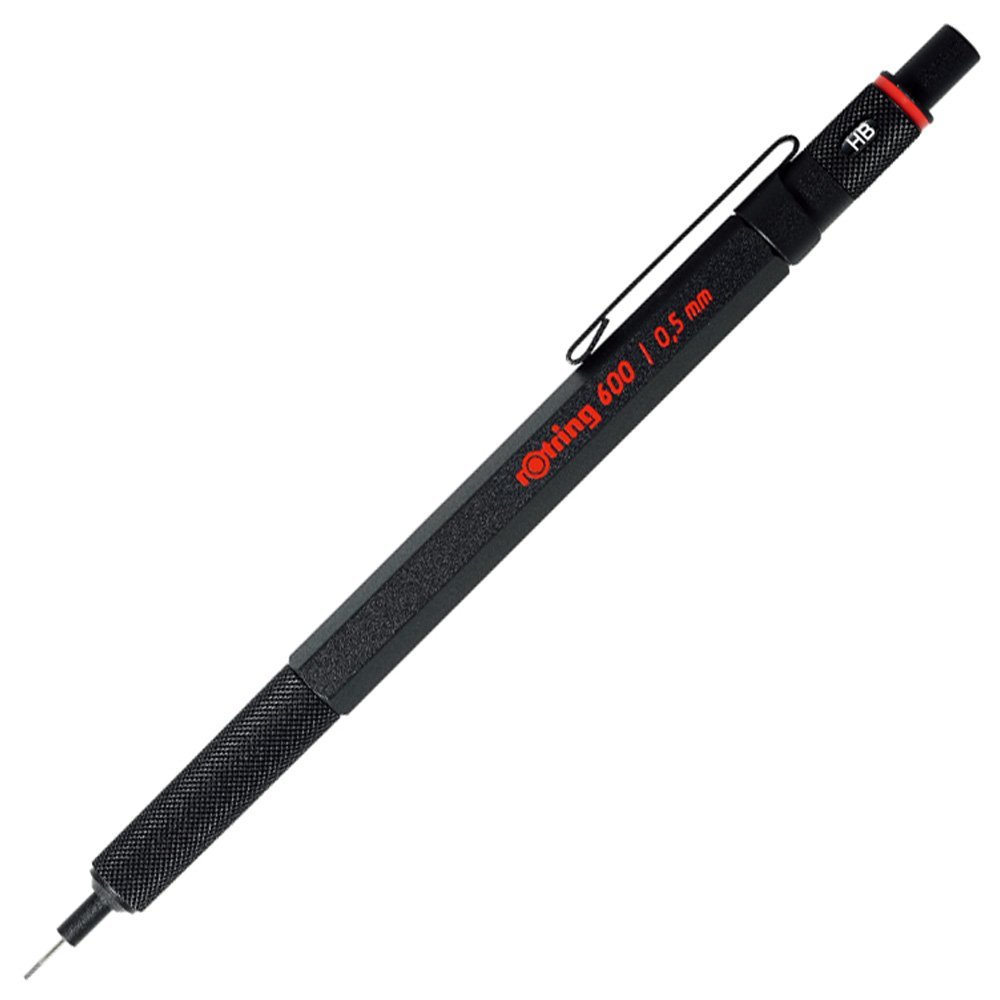
This rOtring will be an heirloom. This is a well built tool. Carpenters pencils are for carpentry, not for detailed projects. If you’re doing trim work or building furniture then a mechanical pencil is superior. It’ll have much better repeatability with the fine line produced by these, without any offset if the pencil rolls as you reach to make a line.
- Combination square
-
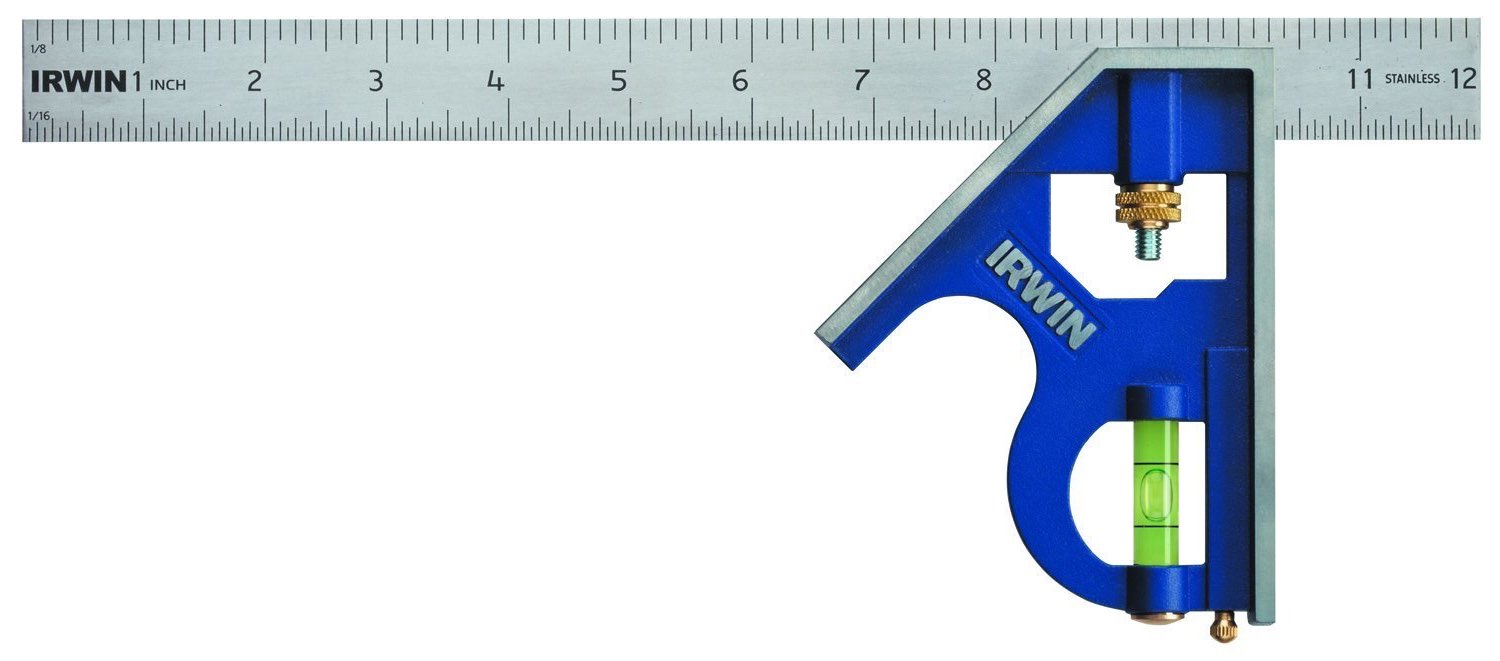
Learn to use it well. An accurate combination square is essential for getting good results. Learn to use it! You’ll be able to mark corners, find centerlines, gauge the depth of things, make right angle lines. There are a lot of ways to use this tool.
- Sliding bevel
-

I like that the Swanson has nicely engraved measuring as well. Remember how I mentioned it’s best if you can never measure? This is one of the tools that helps with that. As often as possible take measurements from the actual angles and lengths of things instead of measuring. For instance, if you’ve made a cut at some angle, and now you need to make the opposite/complimentary cut, just use the gauge to measure the angle and then flip the gauge over. There’s no need to bring numbers into the process.
- Measuring tape
-
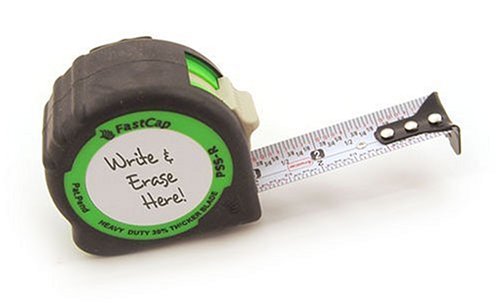
Learn some measuring tricks as well. A good measuring tape is critical. Take a little time to learn to use it. I prefer one with fractions measured on it. I like the FastCap Lefty/Righty because of the fractional measures on it. It fits in an apron pocket well, and can be read from either side.
- Folding rule
-
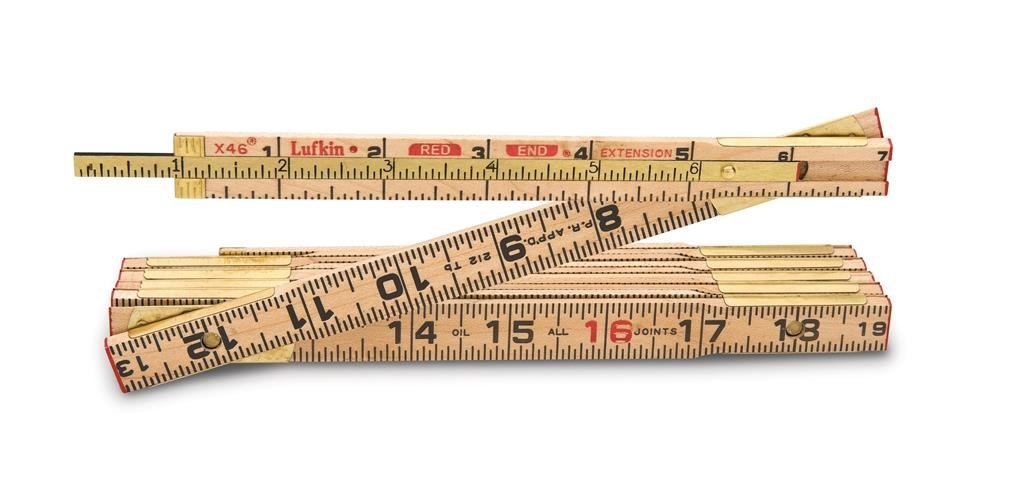
I like that you can unfold it and lay it out in place, or tape it down flat as part of a story stick. A folding rule isn’t as essential, but for repair projects it can be super useful. In particular they are a great way to measure the exact inside dimensions of something. This can often be hard to do with a regular tape measure. With the Lufkin Folding Ruler you can use the extension to get a very accurate measure of an inside dimension. You could do the same with calipers on a small part, but this is the best tool for taking inside dimensions on something larger.
Hand tools
This is a basic set of hand tools. These aren’t all used directly, but may be useful in adjusting tools, dealing with miscellaneous fasteners, and other DIY projects.
- Rubber mallet
-
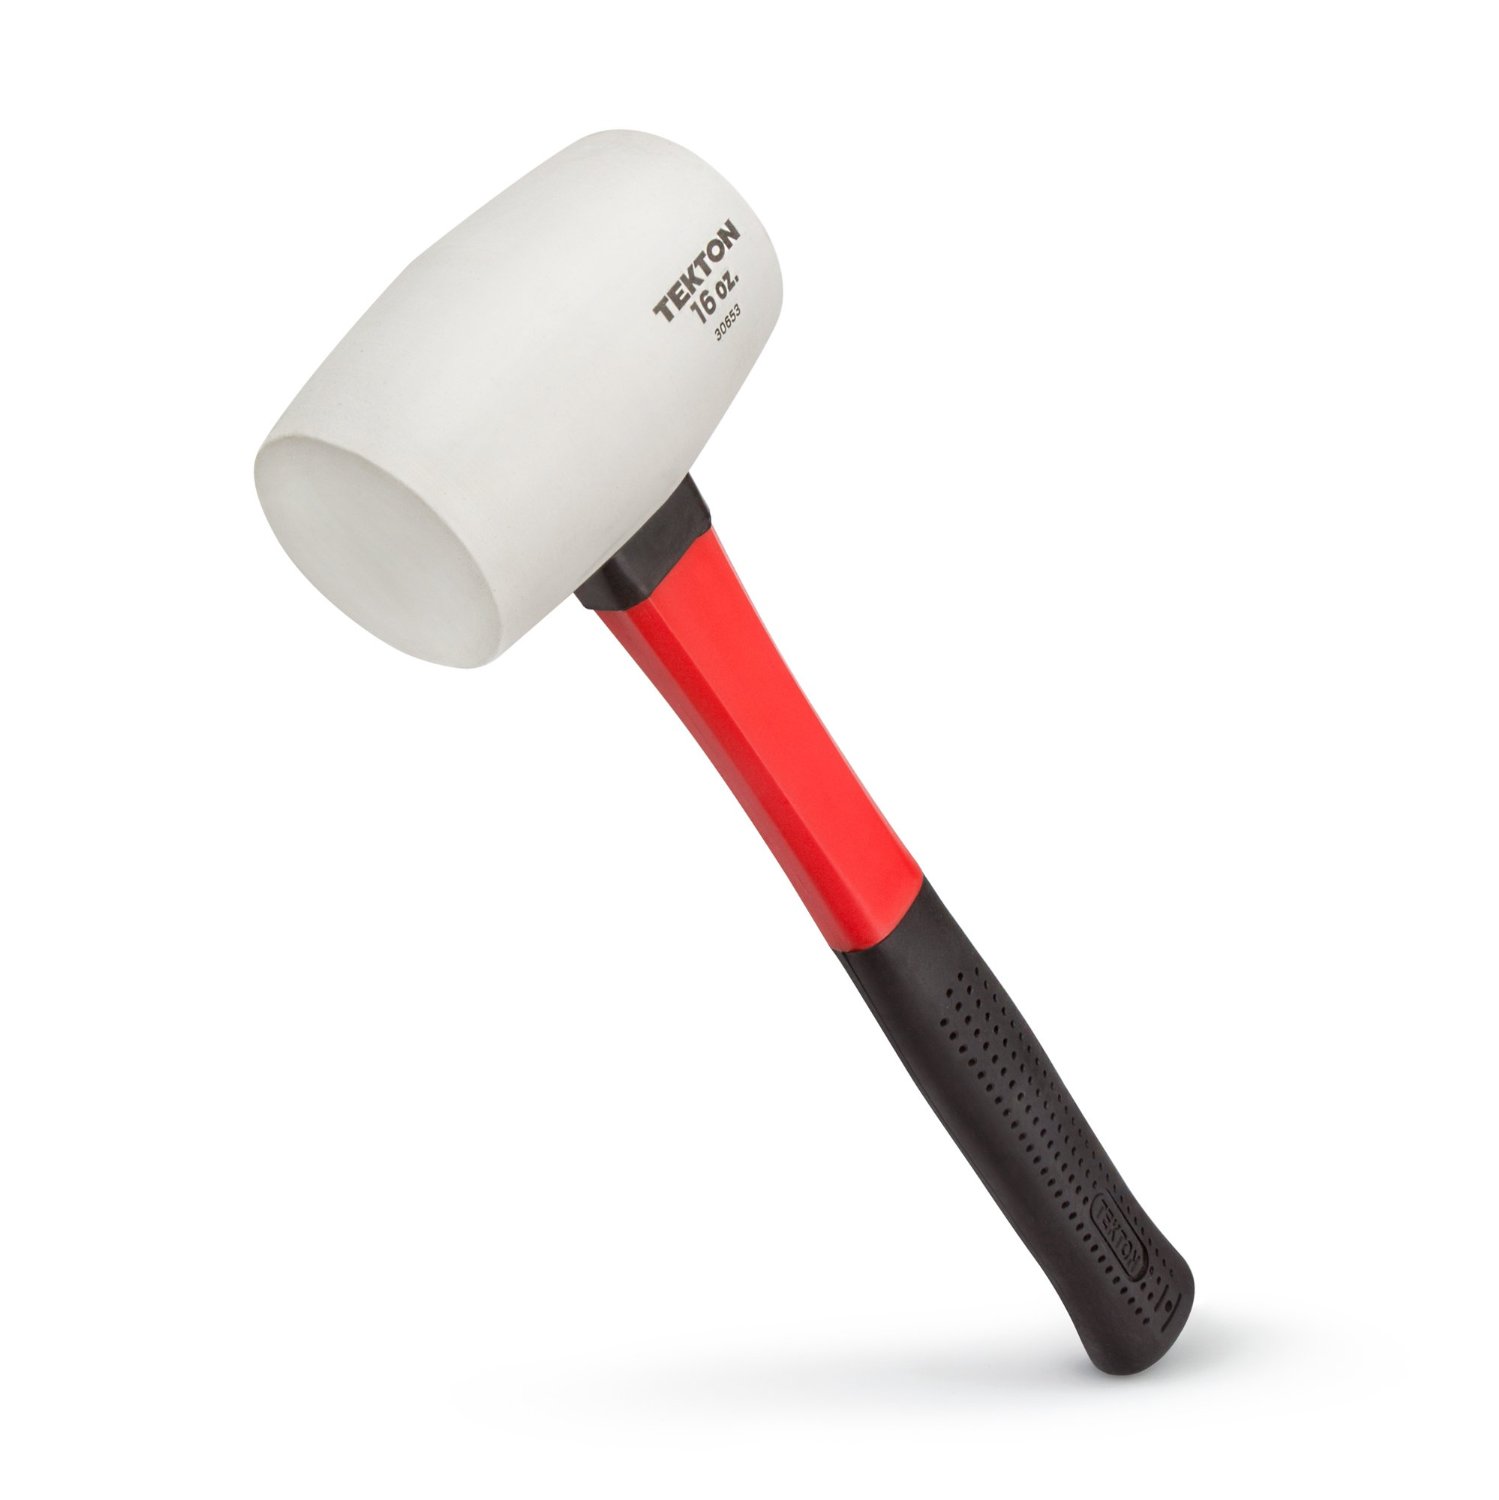
A non-marking source of motivation. Useful for knocking together glue ups, or taking apart dry fit pieces. Oh, and sealing paint cans, but keep it clean!
- Hammer
-

A great starter. Then a Stiletto for framing and a Dead On for mayhem. A sixteen ounce claw hammer is the right place to start. A simple fiberglass handle will do. A curved claw is a better choice for finishing work. For woodworking, you don’t need a lot of heft. You need some finesse with this hammer.
- Screwdrivers
-
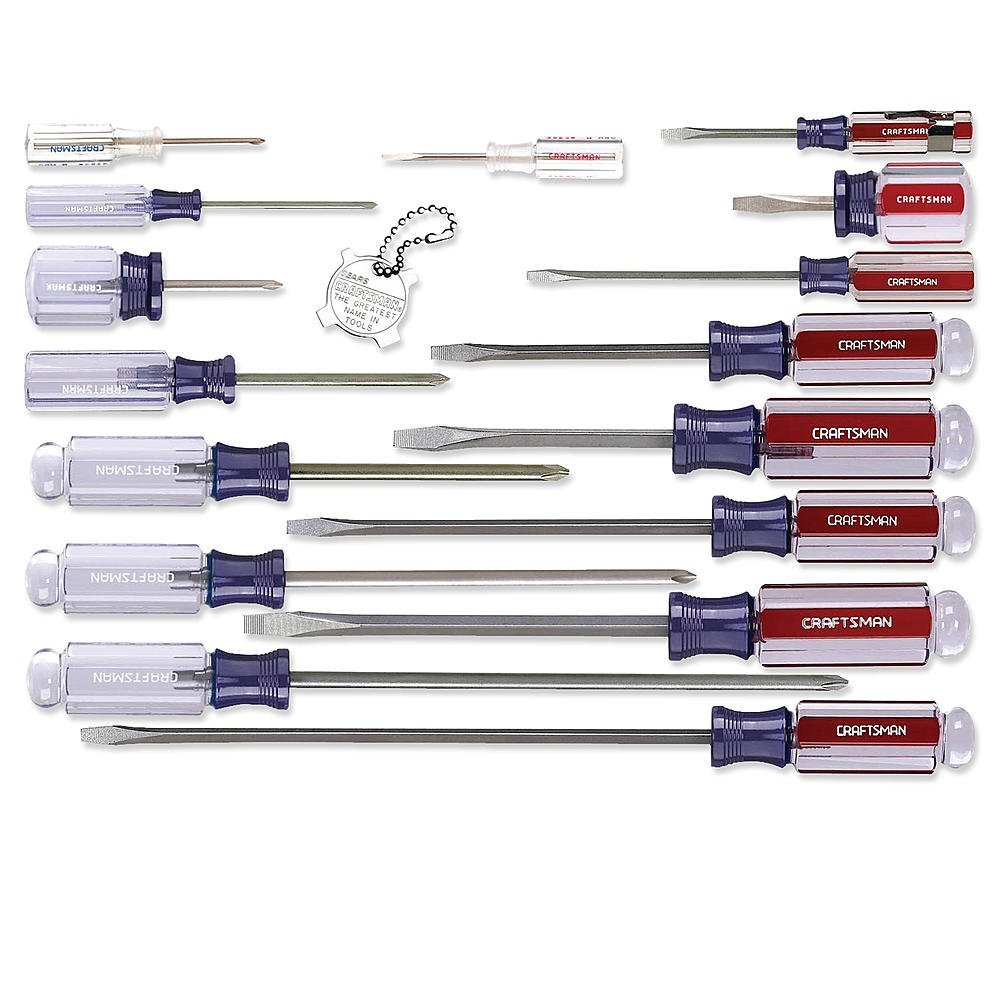
You may as well get a good set. Get an assortment of screwdrivers. Buy good screwdrivers, the higher quality metal won’t round as many screws and you’ll have better results. It’s worth taking a little time to learn the difference in the various Philips head styles - there are a lot of competing standards, and getting good results oftens means having the right driver. Philips, Pozidriv, Frearson, and JIS often look very similar, but they aren’t particularly compatible.
- Paint can opener
-
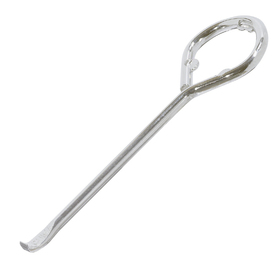
Don't use your house key either. This is very different than a screwdriver! They are cheap and will extend the life of your favorite standard screwdriver.
- Razor knife
-
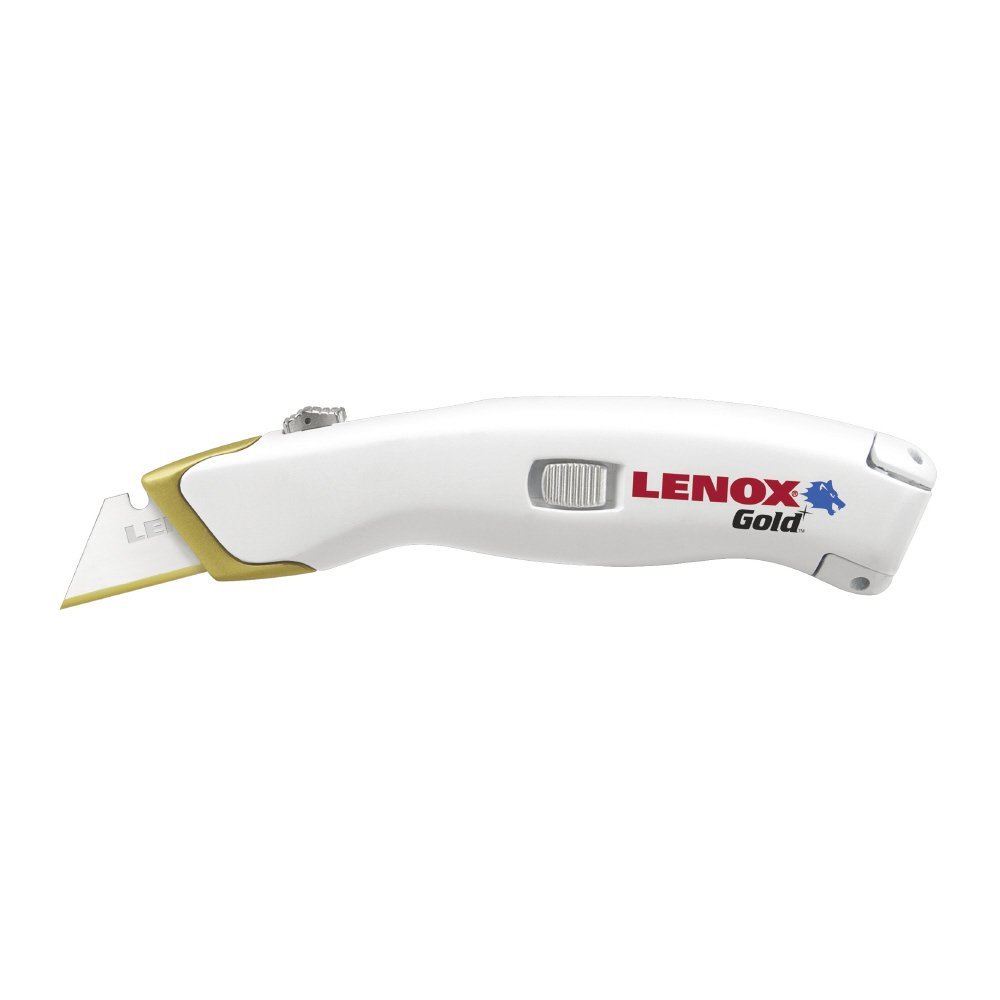
You can change the blades of this one without tools, a handy feature. A sharp knife is a safe knife. A sharp knife needs less force and so you’re much less likely to slip while cutting and injure yourself. Buy the Lenox Gold Knife and the Irwin Blue blades. The Lenox is well made and durable. The Blue blades bend and don’t shatter.
- Slip-joint pliers
-
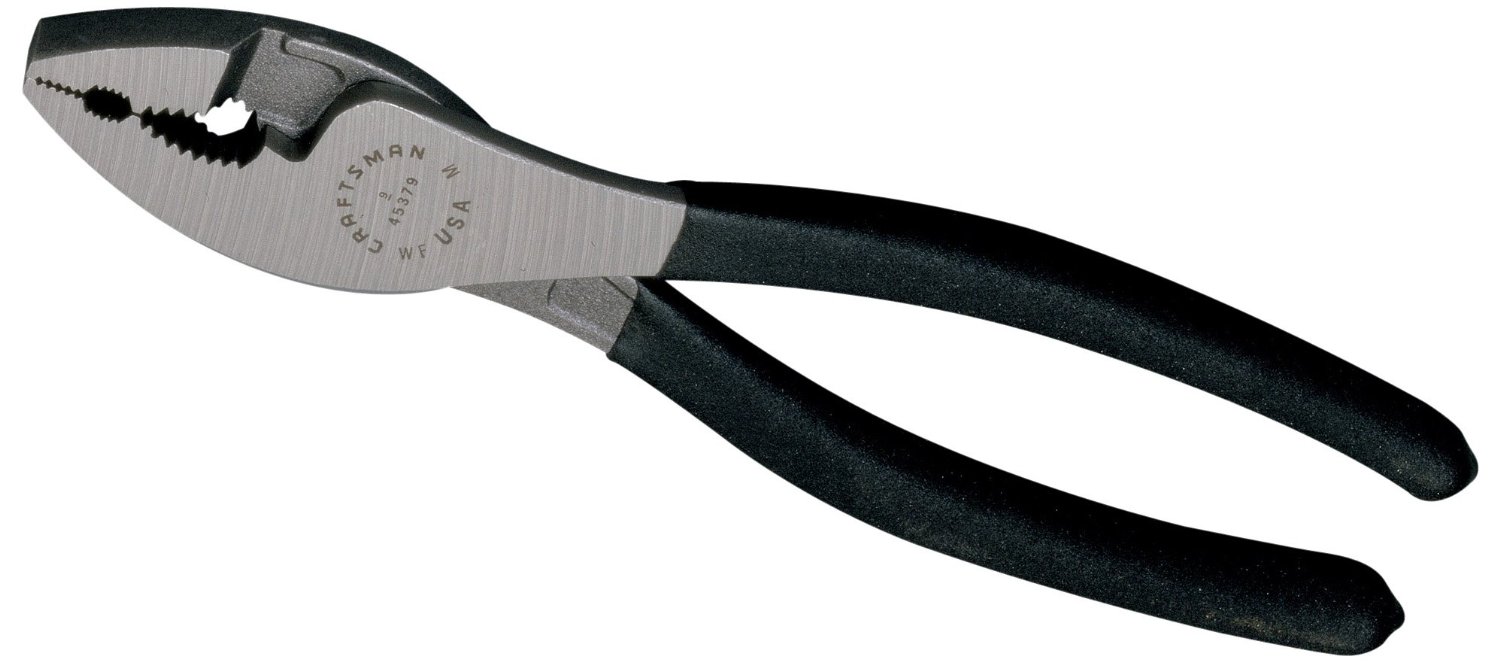
Please, don't use these on nuts or bolts. Craftsman makes nice hand tools. This set of 8 inch slip joint pliers is versatile - from tristing wires to dealing with stuck parts to getting a solid grip on loose parts. They have a wire cutter that is decently sharp as well. You could certainly buy the Klein or the Channelock, or find a pack with multiple, but this is all you really need.
- Needle-nose pliers
-
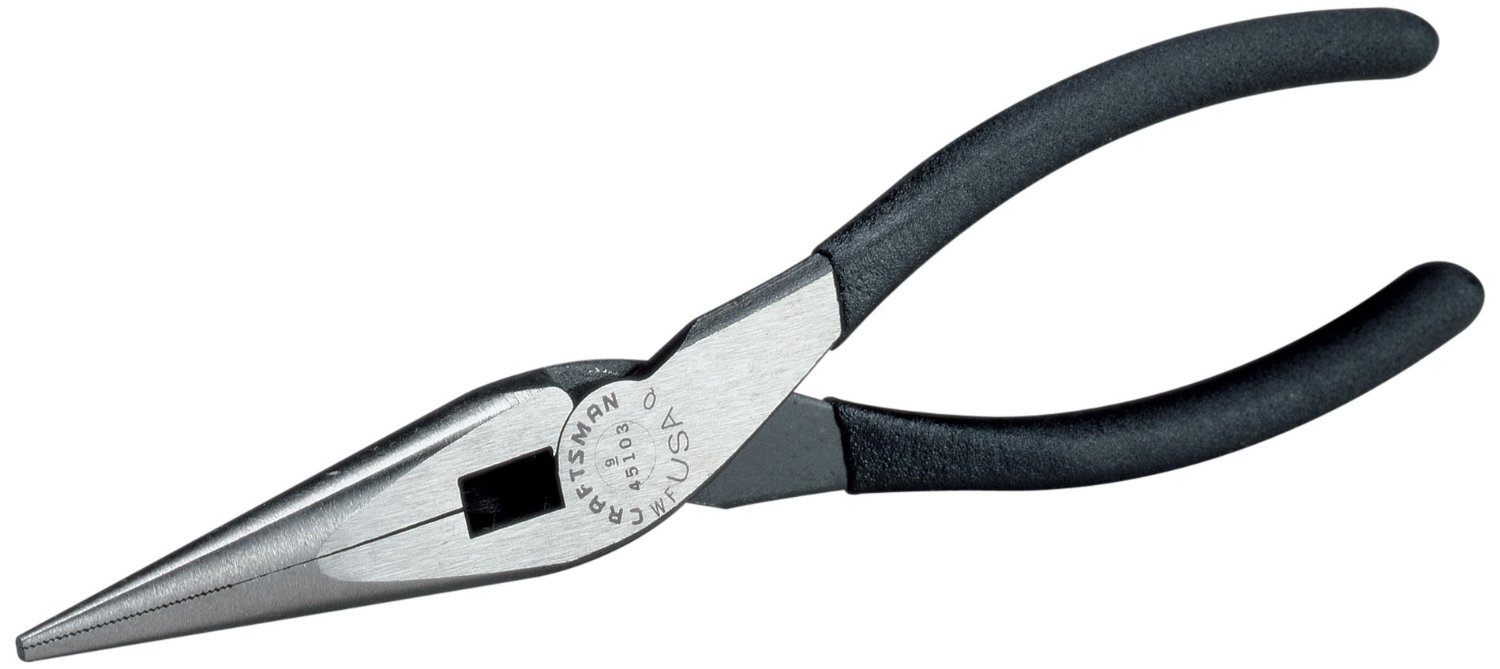
I seem to twist florist wire with mine fairly often. Never understimate how useful a roll of that stuff will be. Useful for everything from driving a heavy duty needle or fishing hook to dealing with small fasteners. As with all Craftsman, they have a great warranty.
- Diagonal cutters
-
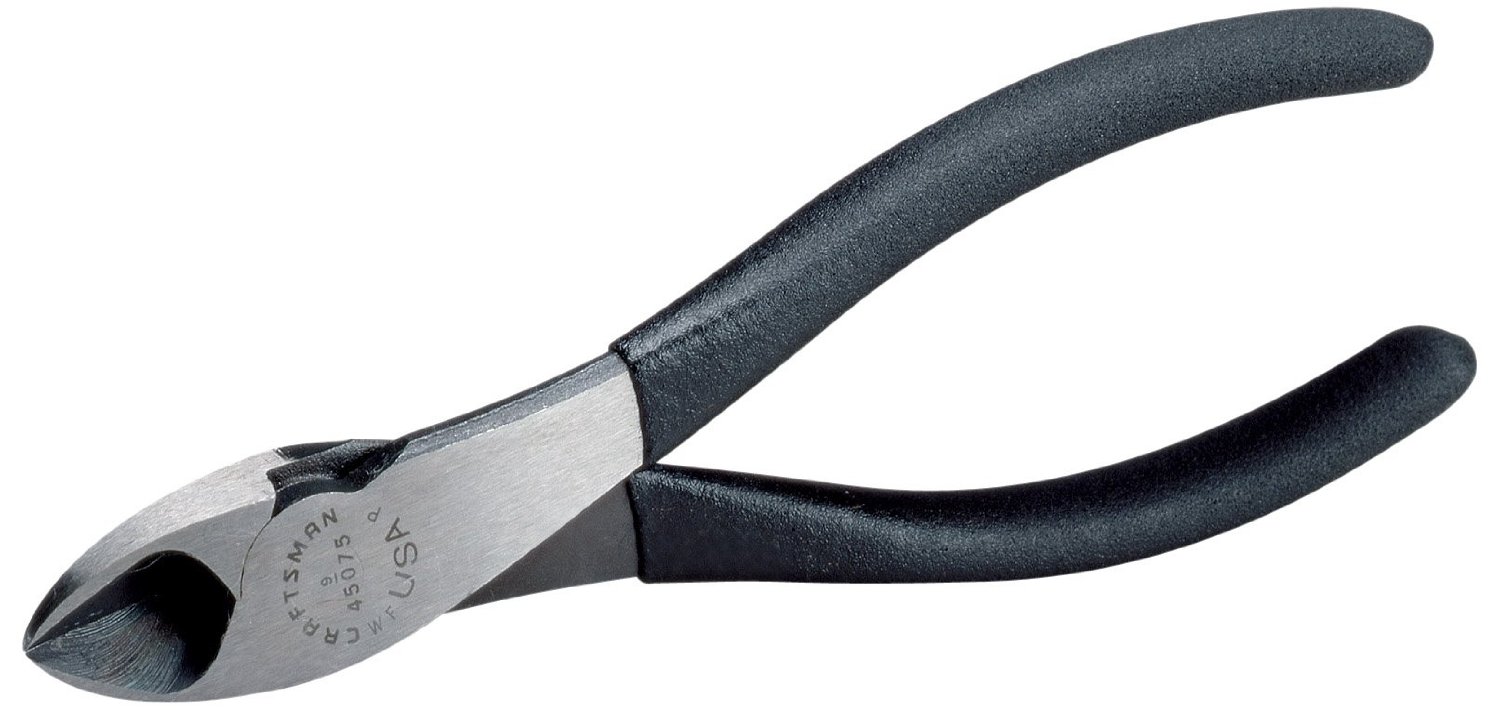
Wire cutters that are also useful for zip ties, wire ties, and home electrical work. Instead of shearing like scissors, they indent the wire to separate it. With a little practice, you can strip wire with them as well.
- Adjustable wrench
-
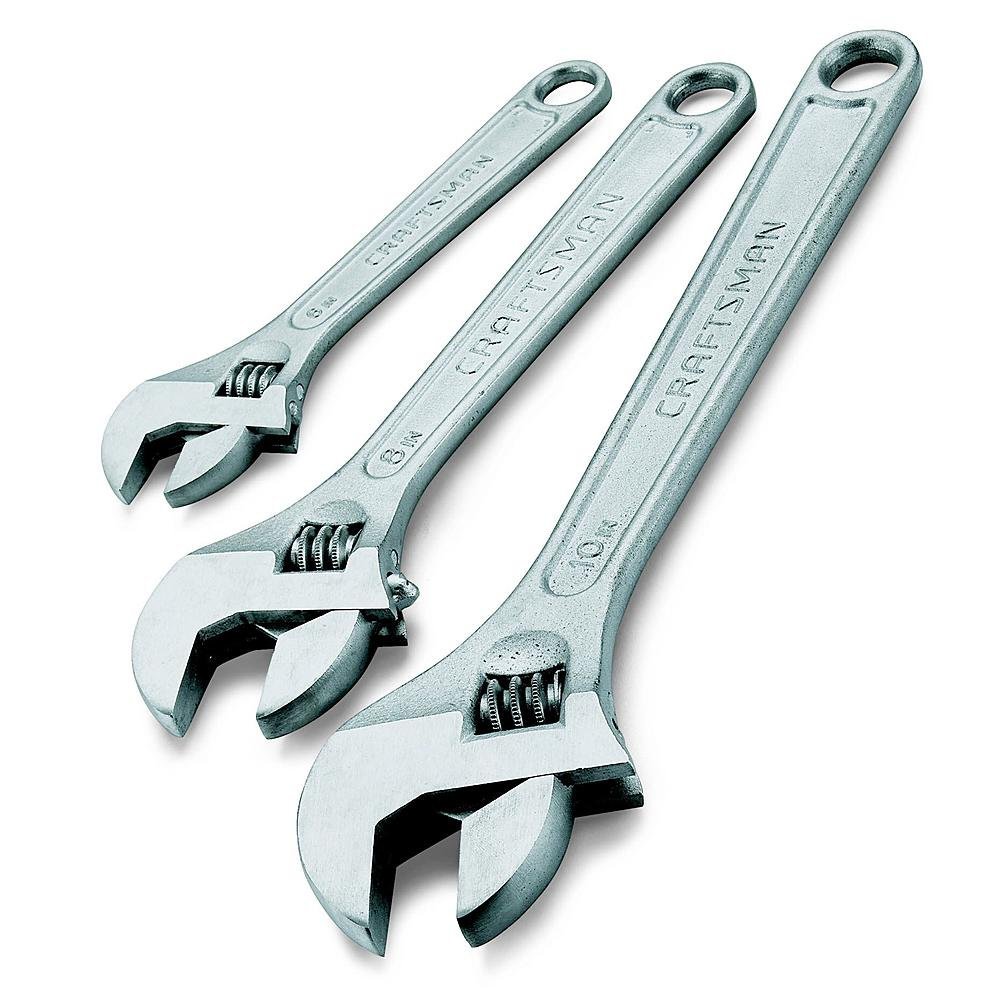
You wouldn’t think it, but there’s a correct direction to use an adjustable wrench. Always use it so that it’s turning towards the movable jaw. This keeps the movable jaw being forced towards the wrench body, and you won’t strip as many bolt heads. But again, this is a tool of convenience - if you’ve got the socket or end wrench in your toolbox, use it. I like the Irwin wrenches that I have, but once again, Craftsman makes a nice set.
- Combination wrenches
-
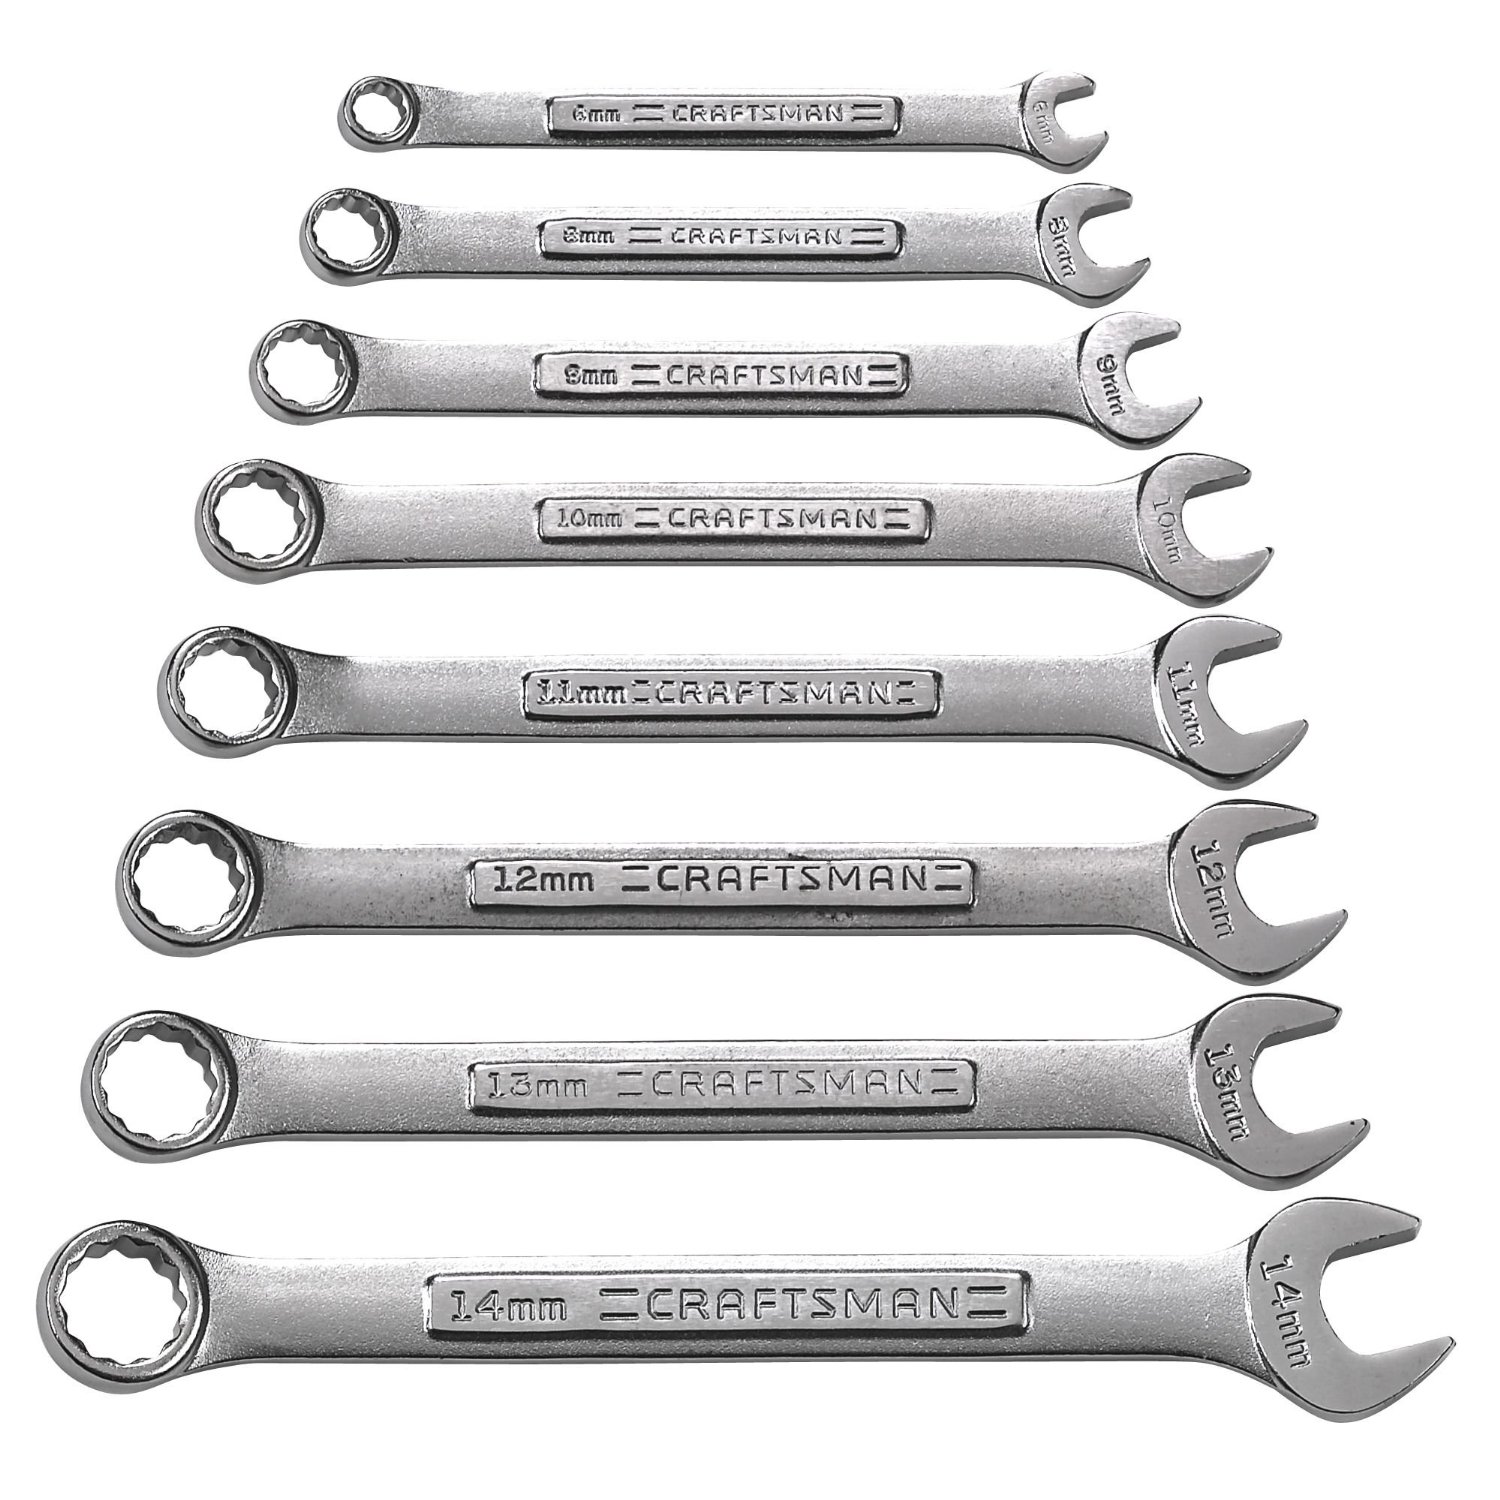
A set of both metric and standard wrenches. You’ll use these a lot. Since this is a woodworking list, I’m going to leave a socket set off of this list. For the weekend hobbist, there is no real need to buy a full polish set. A full polish set feels nicer in your hands, and cleans up better – but for most people, it doesn’t really matter. Paint the size markings in them to help keep them sorted.
Cutting
Saws. There’s four basic saws that are worth having. Others will debate that there are far more - Start with these four and you’ll have the majority of tasks covered. (edit: Ok, so I listed 5.)
- Crosscut saw (12 pt.)
-
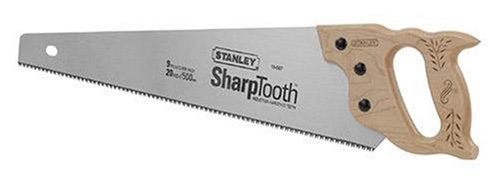
A twelve point per inch crosscut saw is great for quickly trimming 2x4s and other lumber. This is a versatile saw that you’ll reach for. With a little practice, you can make straight cuts that don’t take much longer than using a circular saw. Keep it sharp, and keep the faces of it clean. An occasional wipe down with some brake cleaner or other solvent will help keep it from getting gummy. You can wipe the faces down with a little paste wax to keep the saw moving smoothly through wood.
- Rip saw (6 1/2 or 7 1/2 pt.)
-
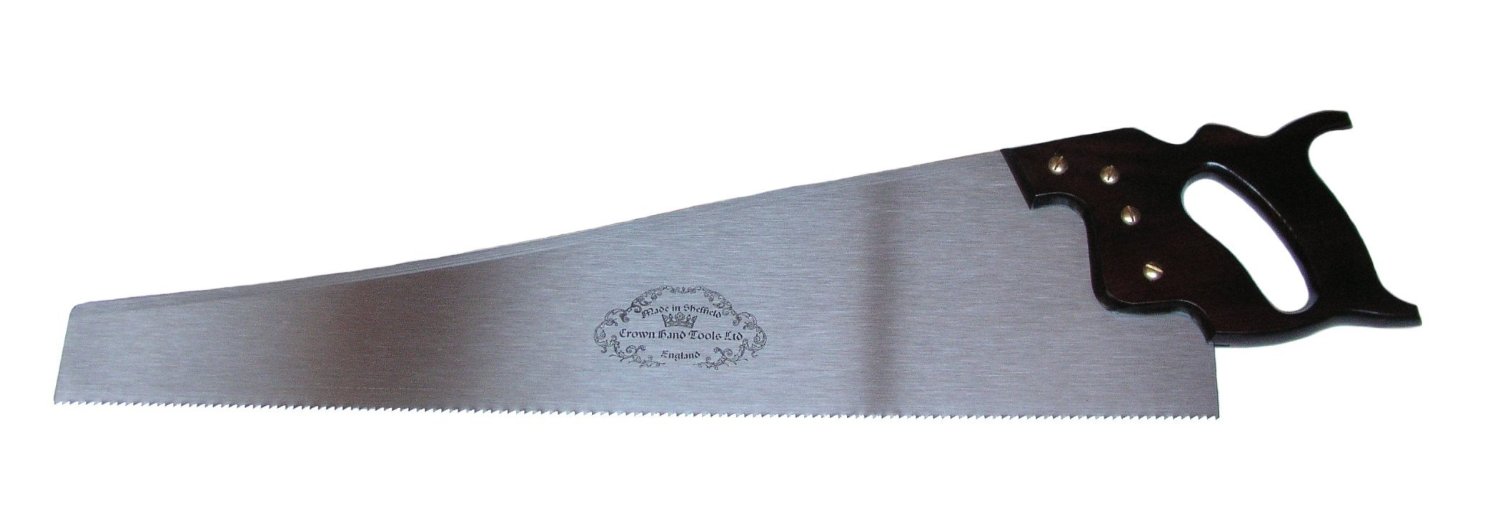
This is a saw used to cut with the direction of the wood grain. The teeth are set at a different angle, and while you can rip with a crosscut saw, it’s worth having both. The teeth are shaped to act more like a chisel, and so the saw won’t hunt around and follow grain the way that a crosscut saw would. You’ll get straighter cuts, though it is more of a specialty item, and the cost generally reflects that.
- Japanese backsaw
-
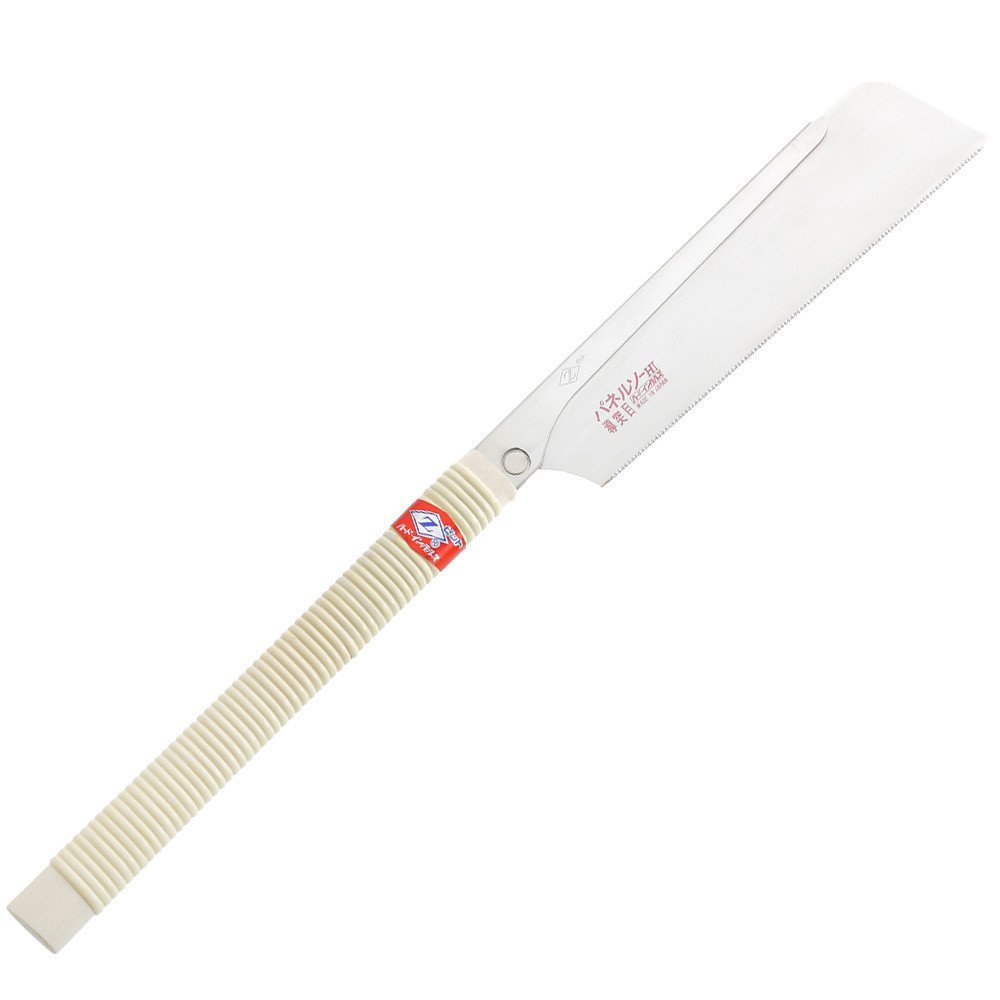
I didn't know how much I needed this! A dozuki is a saw that cuts on the pull stroke and has a stiffened blade. It’s ideal for hand cut dovetails and other finishing work. A flexible backsaw is great for flush trimming. The Irwin saw can be found at Lowe’s and is a great general purpose tool. You’ll be surprised how often you grab it for trimming and tuning.
- Hacksaw
-
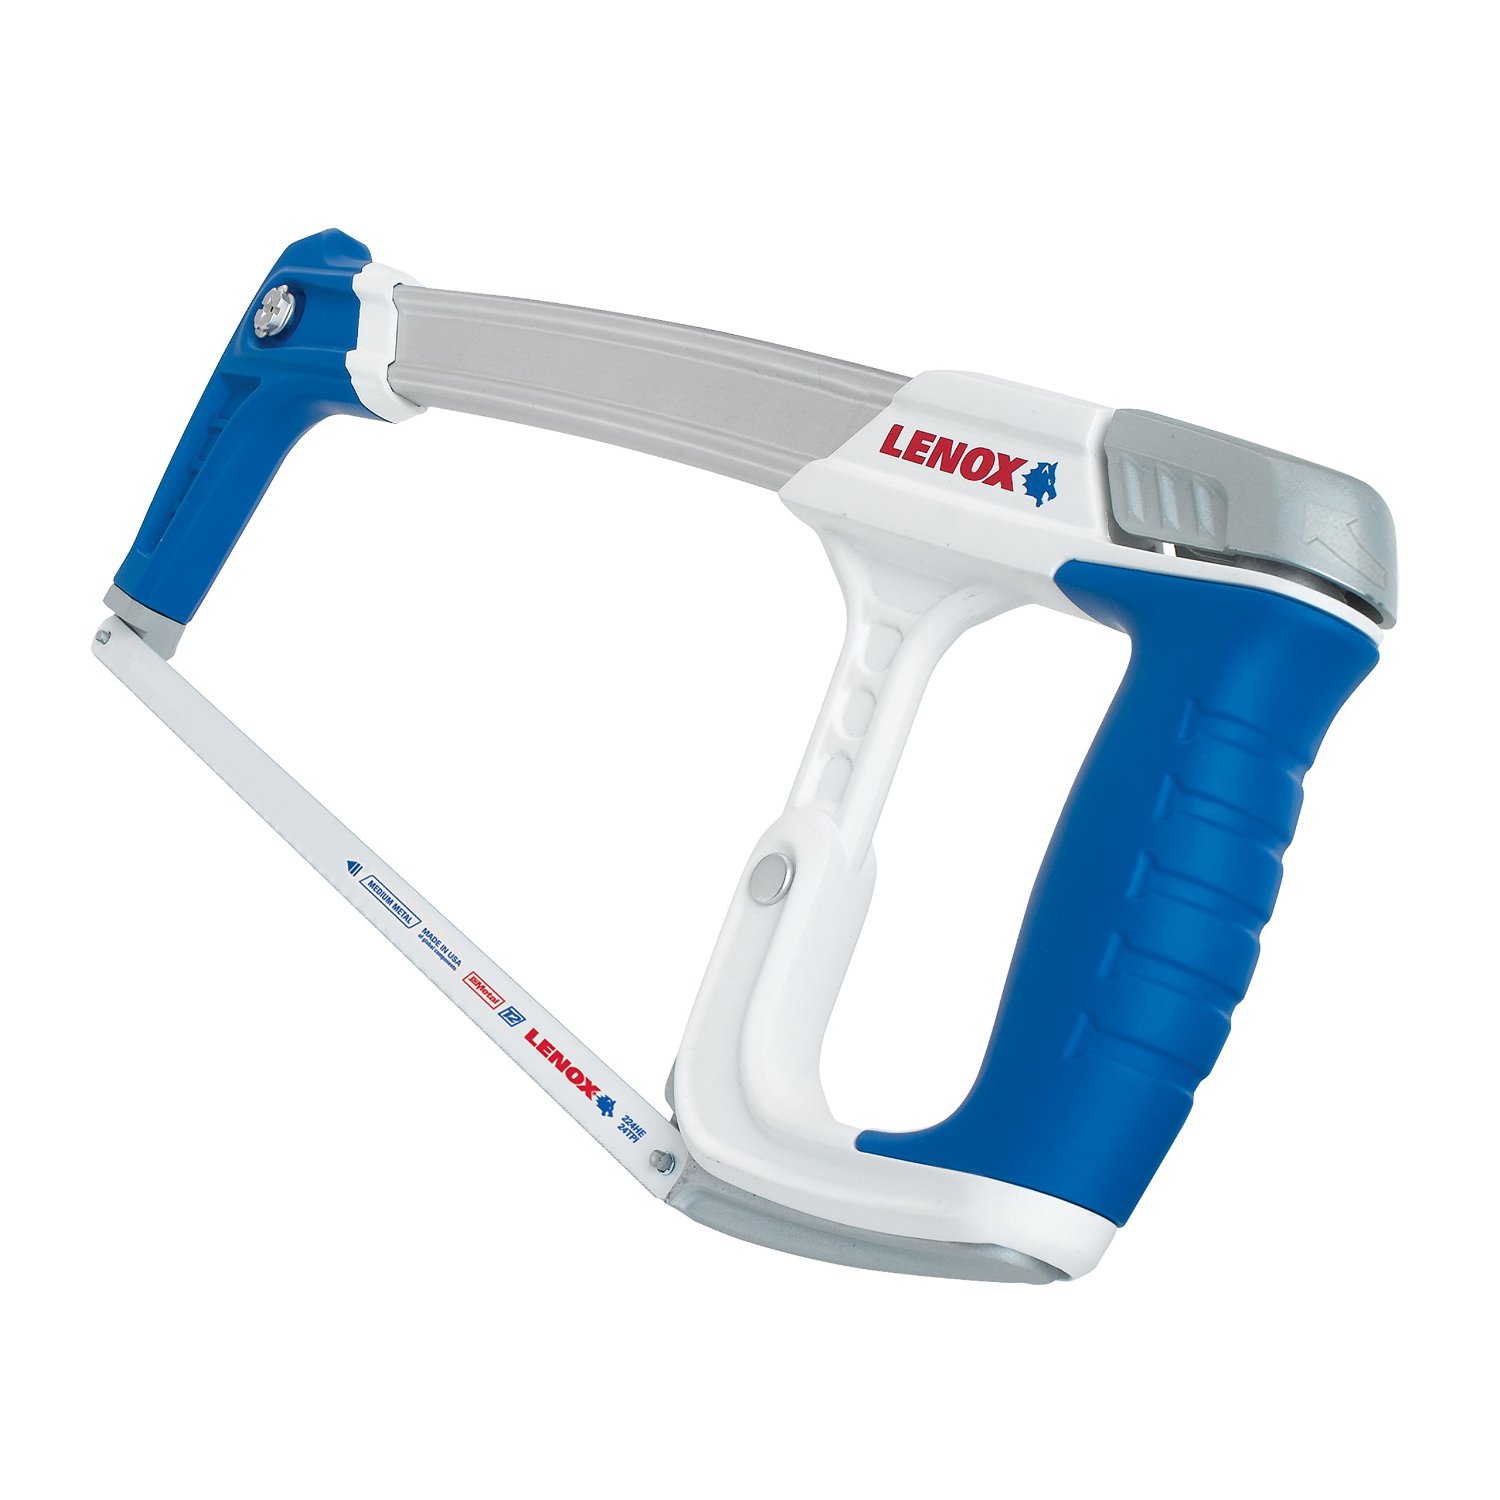
I've had good luck with Lenox tools At some point, you’re going to have to cut a bolt to length or some bar stock for a project. This is the tool for that. Once again, I’ve had good luck with Lenox tools. They’ve got good fit and finish and have been quite durable.
Shaping
Wood and metal shaping tools. These will let you remove material efficiently.
- Brad-point drill bits
-
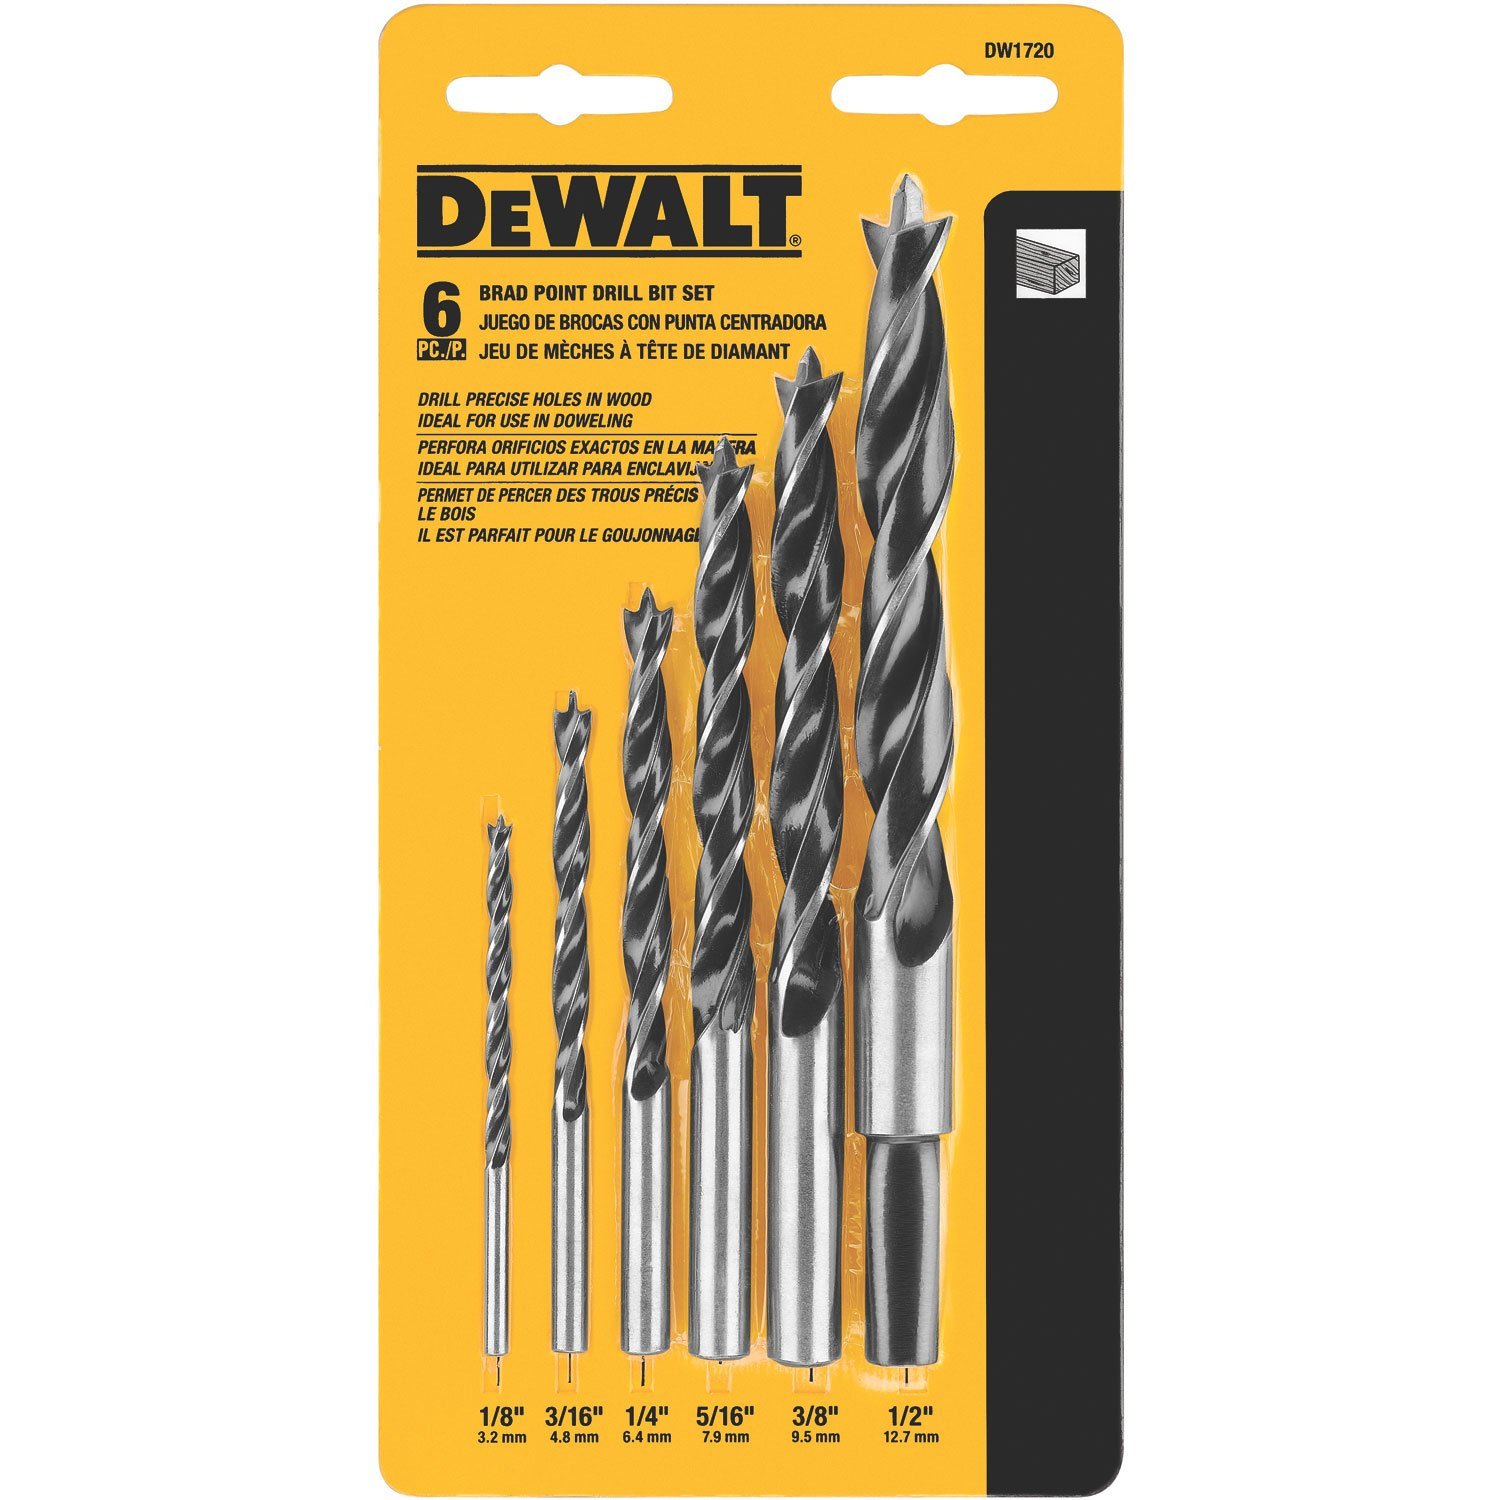
This list is long, I wish he'd get to the point. The go-to drill bit for wood. An assortment of these is a must. Keep them sharp, don’t overheat them, and don’t leave them to rattle around in a toolbox. They get dull that way. As you add more, learn about split points and rake angles for various materials.
- Spade drill bits
-
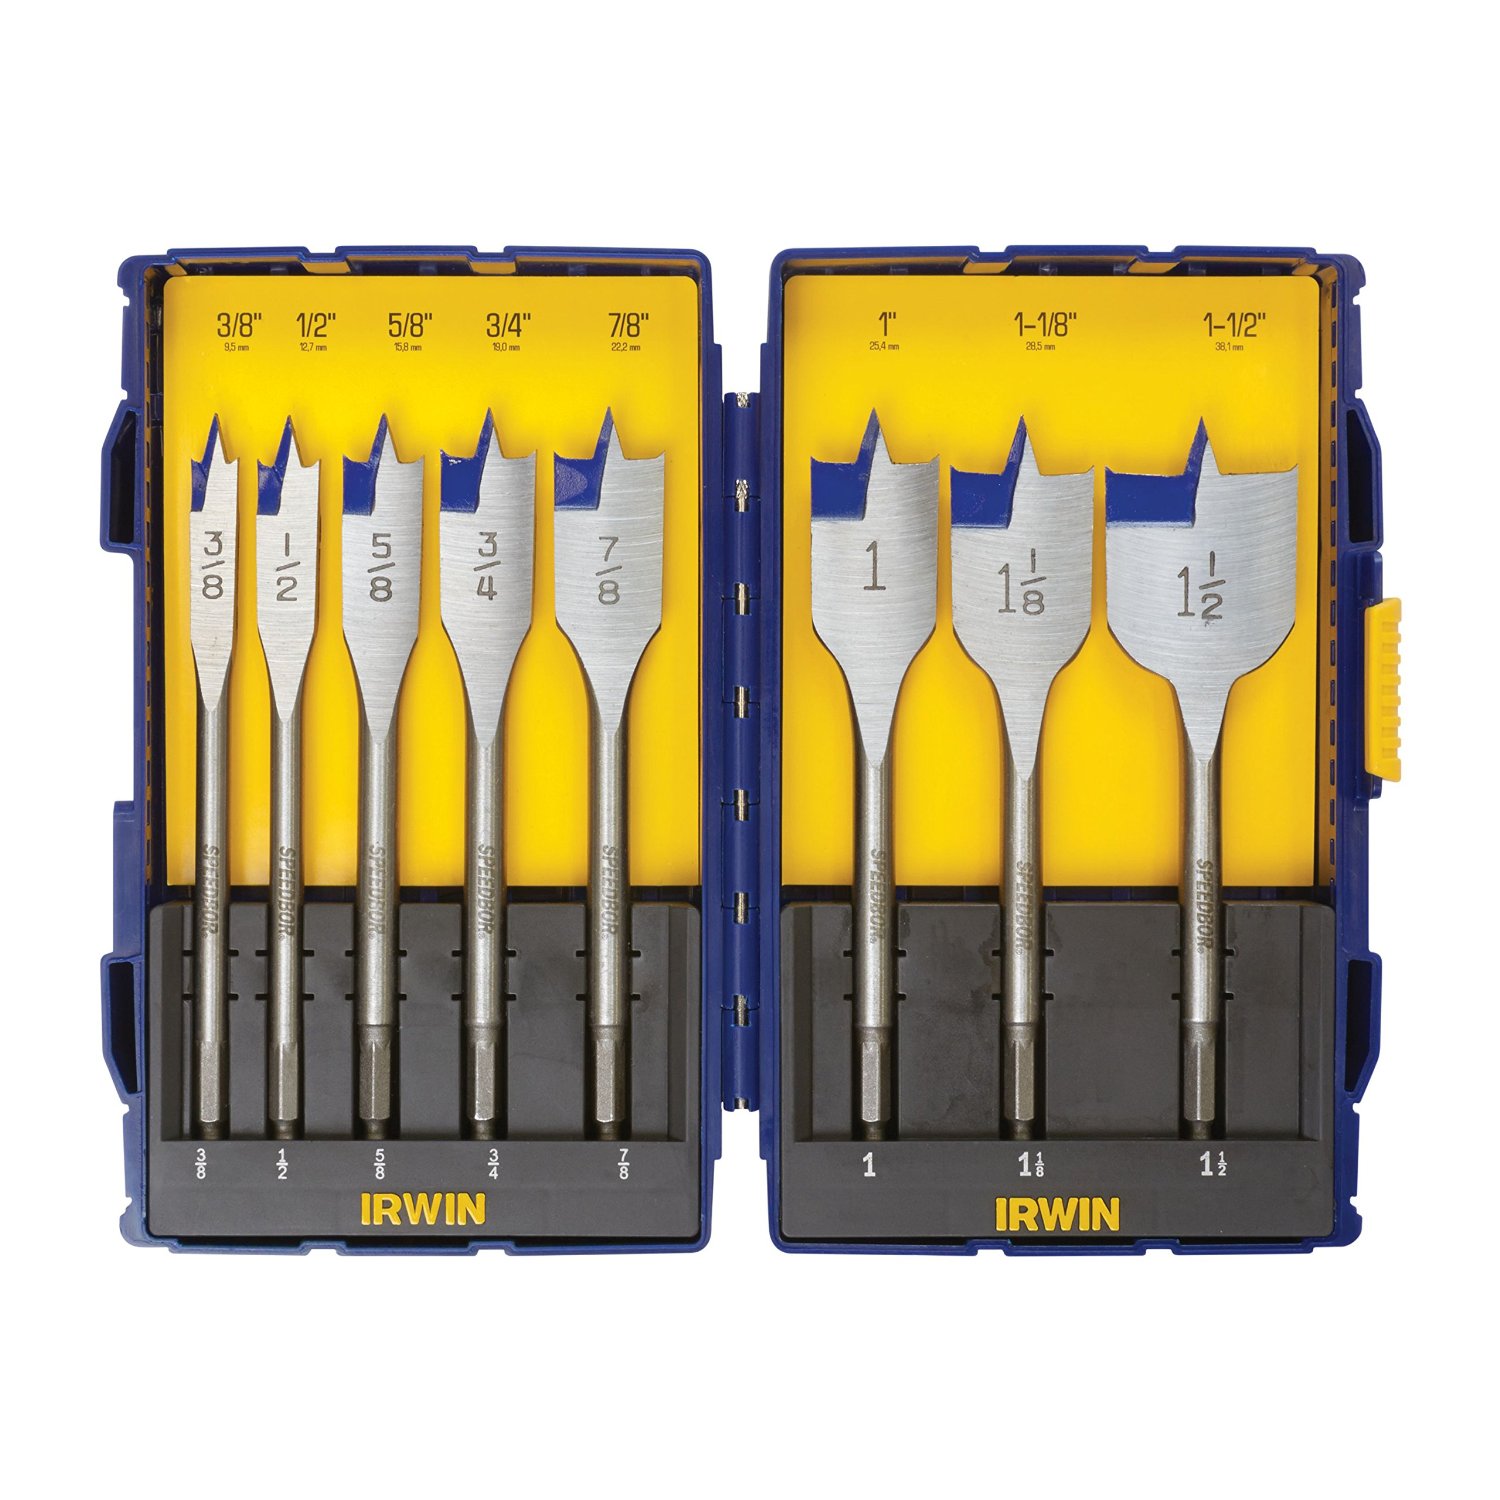
These will make large, kinda sloppy holes in wood. Large and flat, these cut large holes when you don’t care about the roundness of the hole or the finish. Home electrical wiring and making some large holes are the name here. For anything else, you’ll want to start investing in Forstner bits and then hole saws for large sized holes.
- Bench planes
-
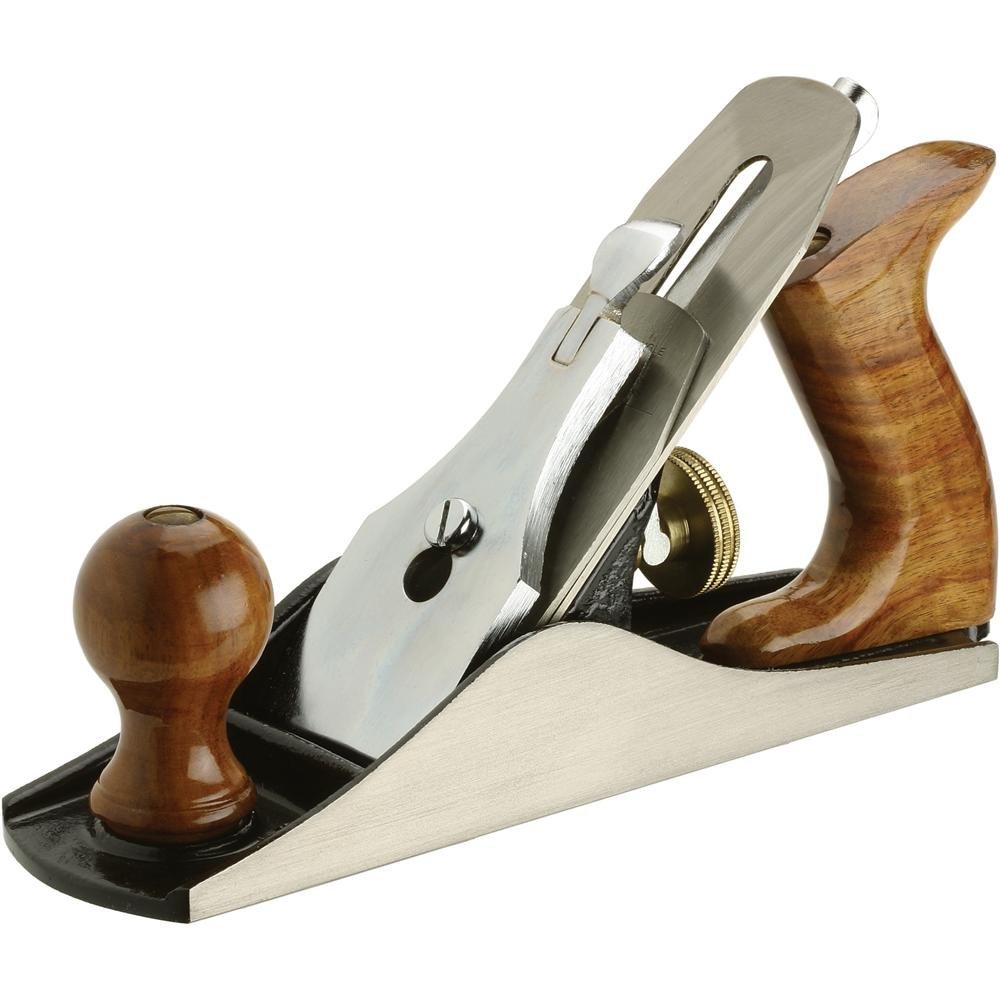
A smoothing plane and a small block plane can be used to deal with a door that has swelled, a drawer that doesn’t fit, and can be used to flatten and square all manner of boards. The smoothing plane is for on the flat of a board, and the block plane is used to cut end grain. They have different cutting angles for the different tasks.
- Wood chisels
-
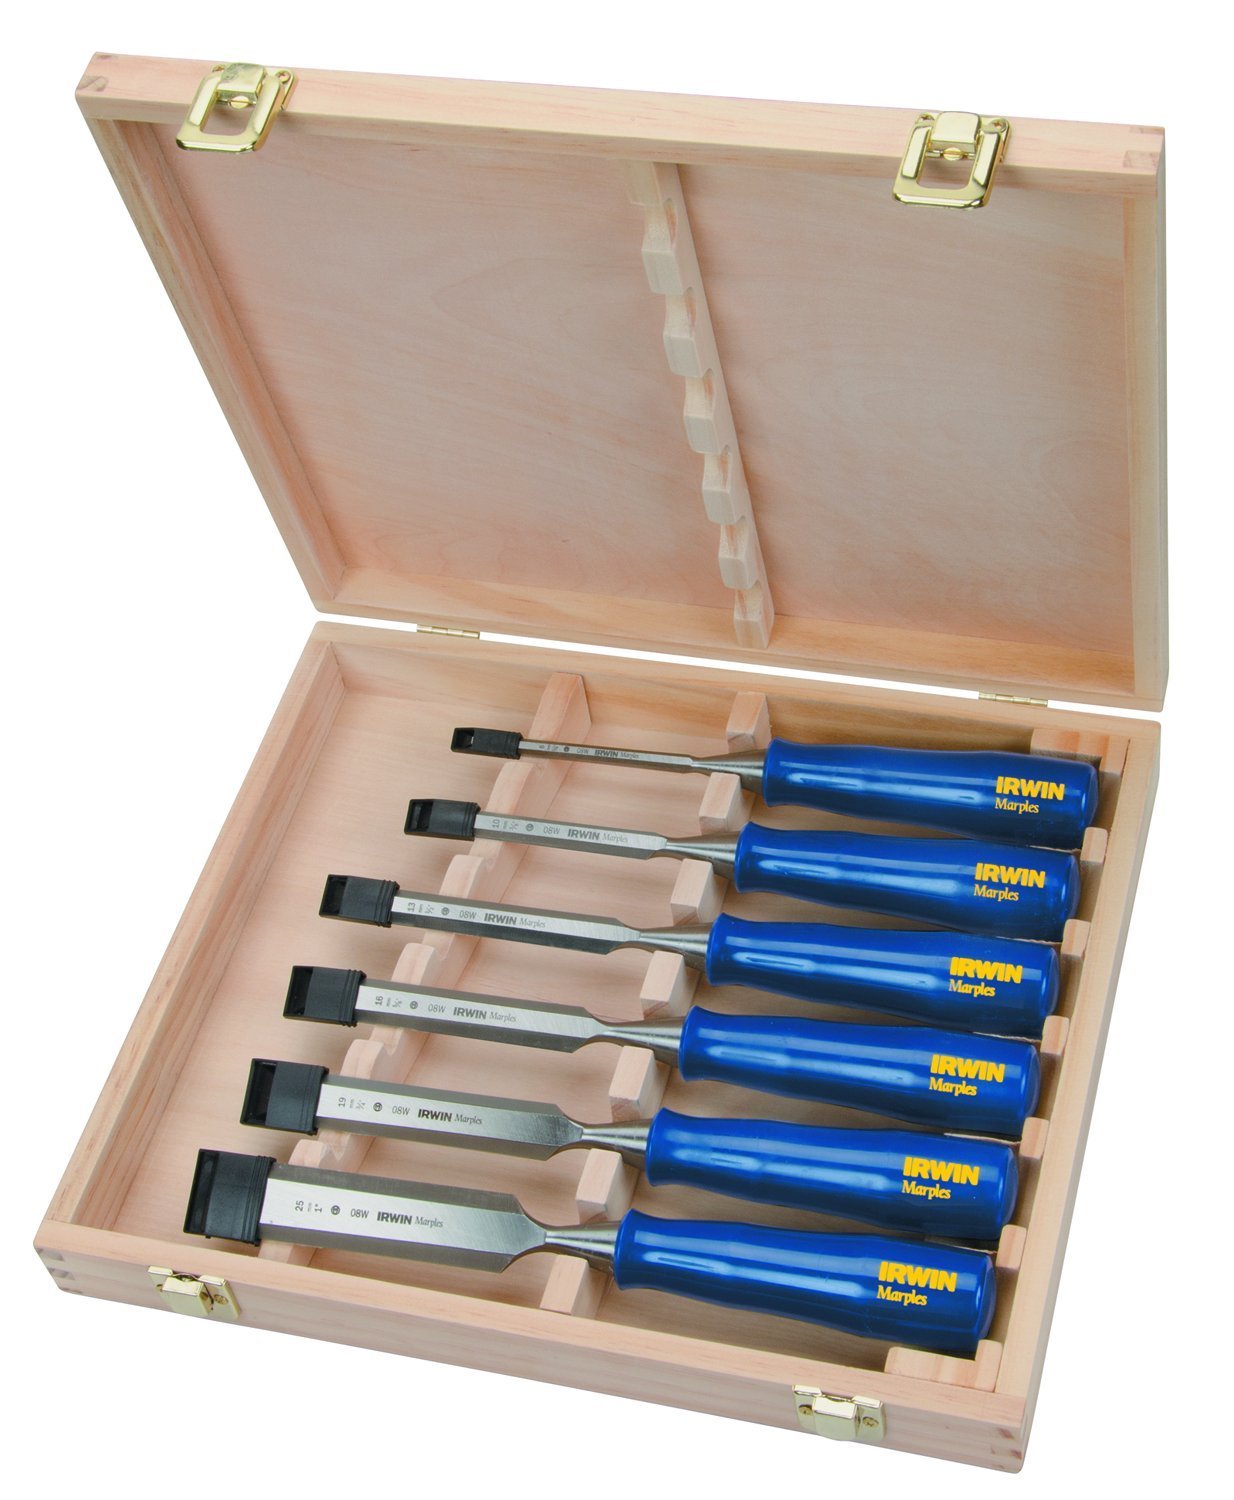
Keep them sharp, and keep them protected. Never leave them loose rolling around in a toolbox. A sharp tool is a safe tool. An assortment of wood chisels from 1/4” to 1” will be helpful. They’ll be useful in everything from mortising for a door to making tenons to cleaning up dovetails. Don’t use them for anything else - no scraping and no paint can opening! (We have a tool for that!)
- Files
-

Start with a sheap set, get nicer ones as they wear out. A few files will be really handy, a small triangular file for detail work, and a few mill files will be great for everything from sharpening a lawnmower blade to deburring a bolt that you trimmed with your hacksaw. These aren’t like sandpaper! They cut only in one direction, and should be lifted off the surface in between cuts. If you need to remove a lot of wood, consider a rasp.
Kreg Jigs
These will change the way that you view quick projects. The Kreg Pockethole jig allows you to quickly and easily join two piece of wood at a 90 or 180 degree angle. This can make face frames and basic box construction go quicker than you could ever imagine. It’ll never be as pretty as fancy joints, but without a table saw, this will open up an entire new set of projects.
- Simple kit
-
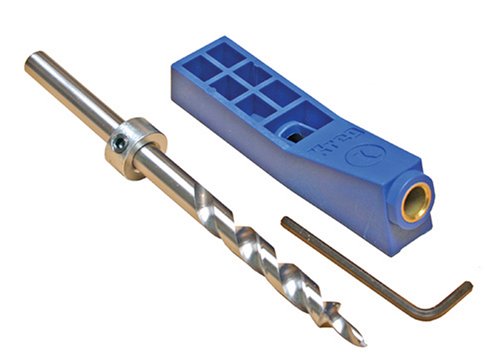
This turns plywood into tinker toys. The two hole or even the mini jig are a great place to start. Learning to adjust the drill can be a little tricky, be sure to read the owners manual. You’ll need special screws for this, and be sure to match the fine thread screws with hardwood and the corse thread screws with softwoods and plywood.
- Regular clamp
-
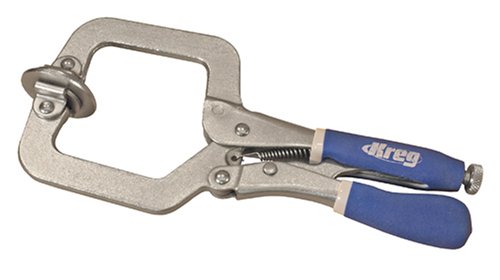
You'll use this for face frames and flat joinery. Most kits come with a flat clamp, but if not, this an absolute requirement. It allows you to hold the jig in position, and face frames flat as you add the screw.
- 90 degree clamp
-
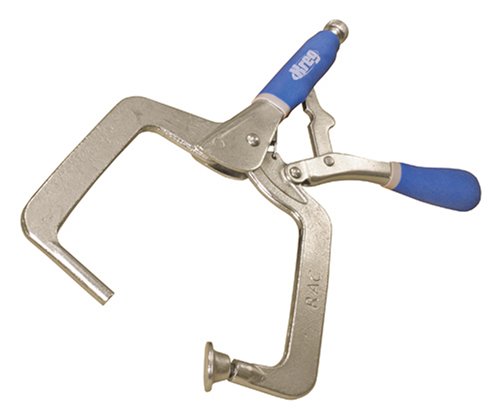
You can make tables and boxes incredibly quickly with this right angle clamp. Go ahead and get one, you’ll like having it. It makes holding two board at 90 degrees really easy. The right angle Kreg jig clamp will make box and drawer construction go quickly.
- Saw Guide
-
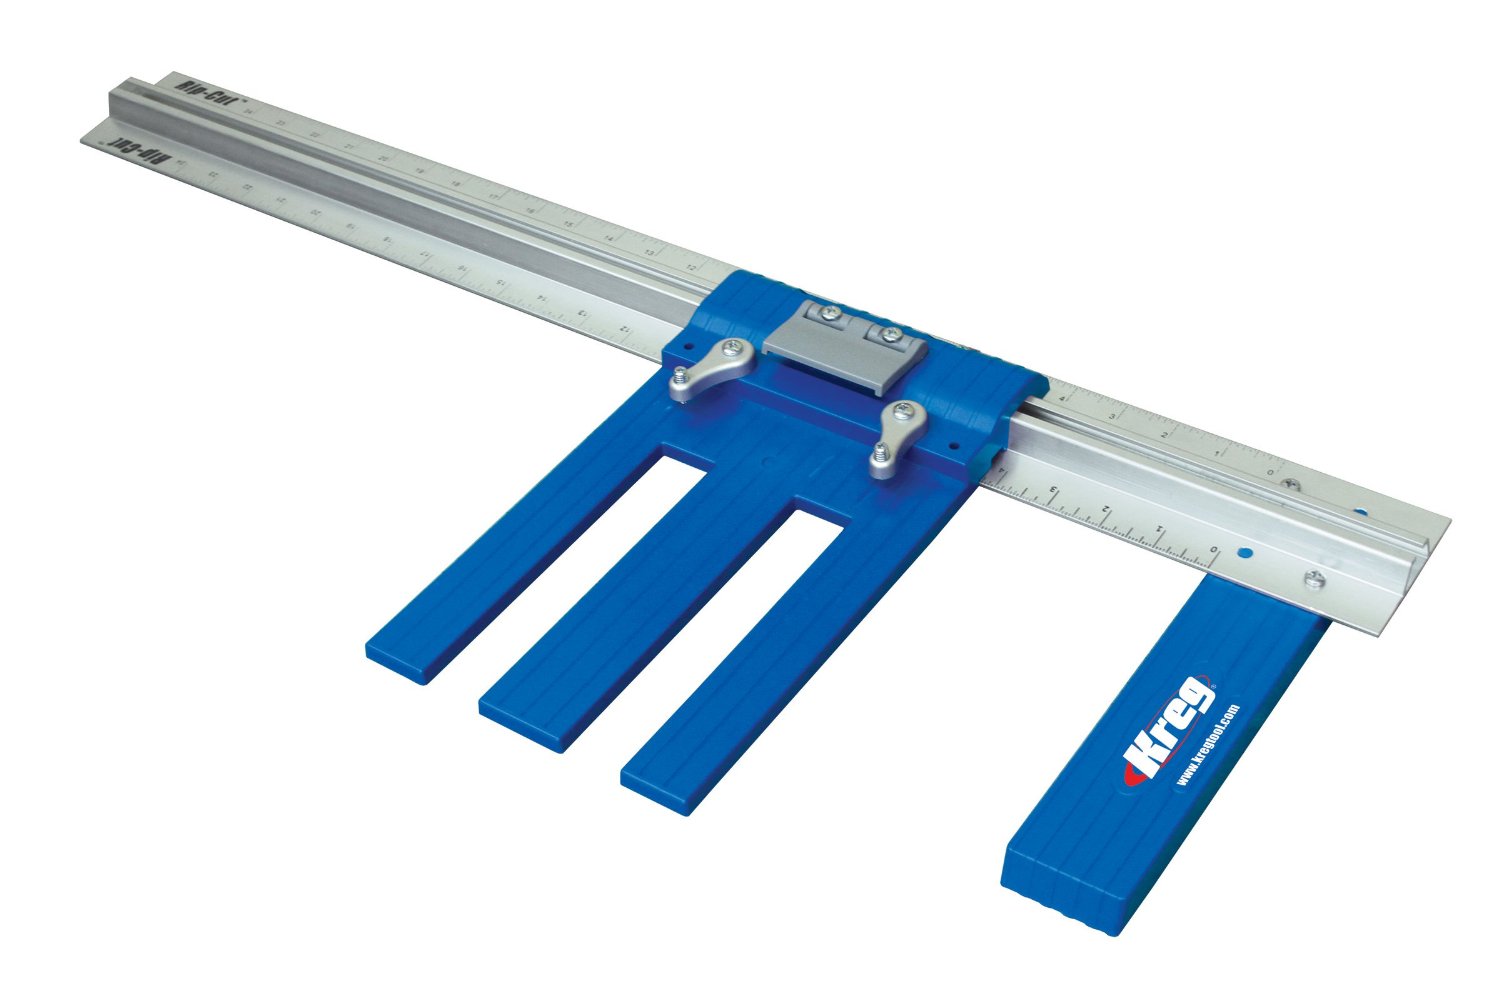
This is the next best thing to having a table saw for making repeatable, accurate cuts. You'll just need to change how you approach breaking down sheet goods a little bit. The Kreg circular saw guide will get you over the blues of not having a table saw. I use mine a lot. However, it requires that you think about teh cut plan for the project very differently. If you’re cutting plywood, you’ll want to nibble away at it instead of breaking it down into smaller pieces. It takes a little fiddling to get setup, but once setup, I’ve gotten repeat cuts accurate to better than a 64th with it.
Clamps
You can never have too many. Stock up when there is a sale, and scrounge estate sales and Craigslist for more. At some point, you’ll probably want a nice set of large bar clamps. You should by a few spring clamps, and a few bar clamps. Purchase the pipe clamps as needed on a per project basis so that you end up with what you need.
- Spring Clamps
-
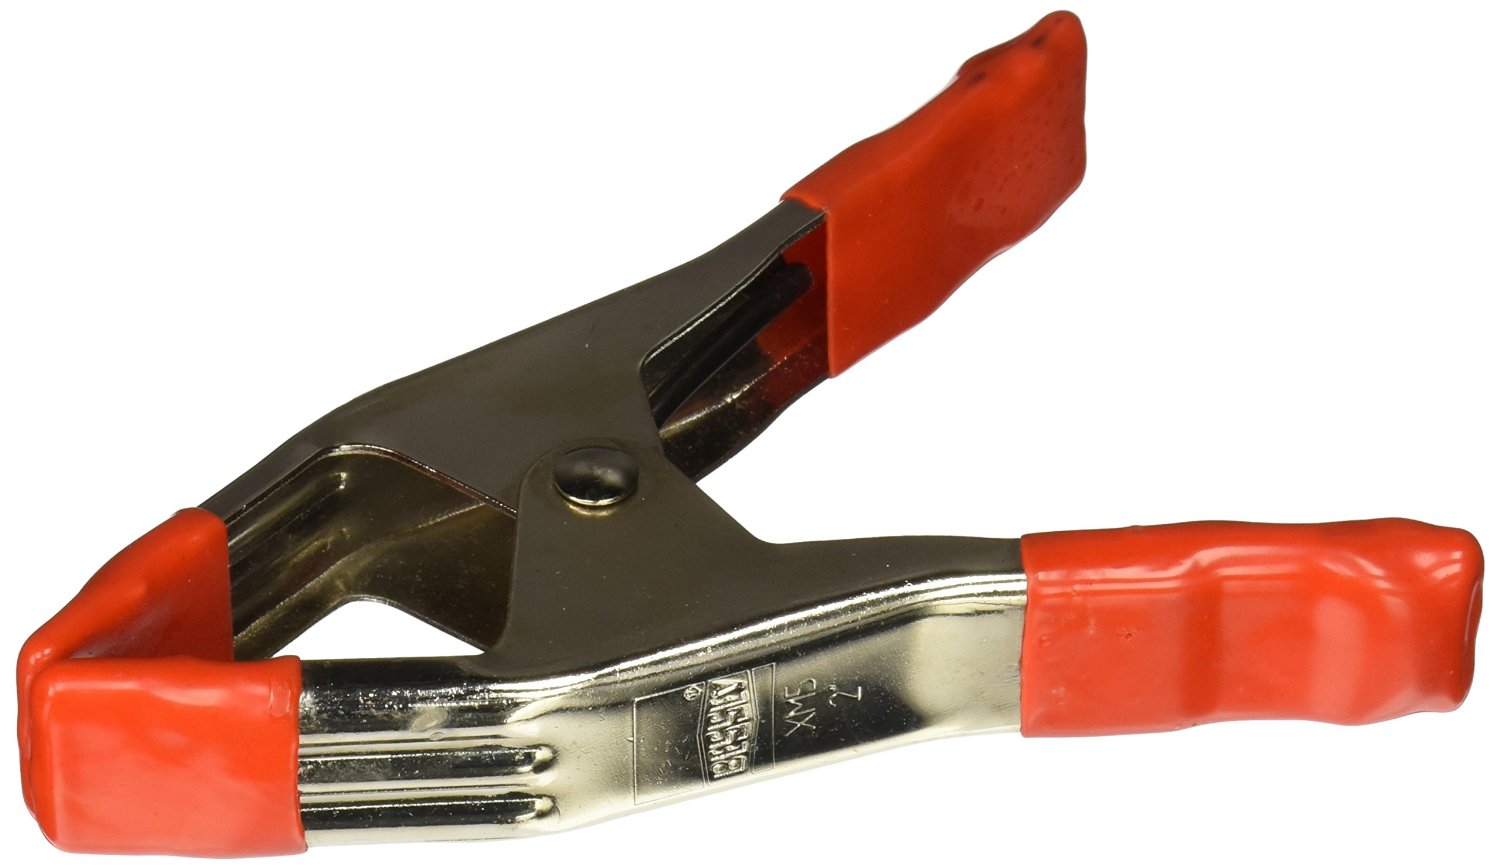
Bessey makes nice clamps. Cheap and simple, these are great for laminating boards and small glue-ups.
- Small Bar Clamps
-
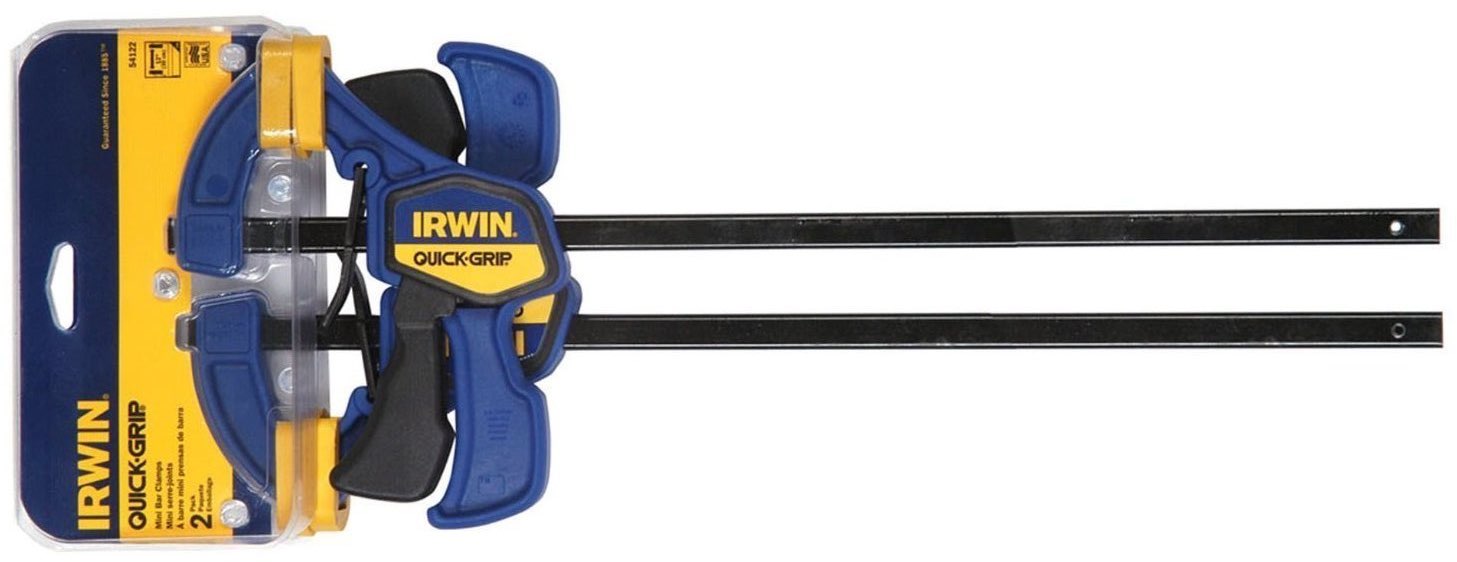
I use these to hold things during drilling and cutting as much as for anything else. Small bar clamps, with the trigger are great for holding smaller workpieces.
- Pipe clamps
-
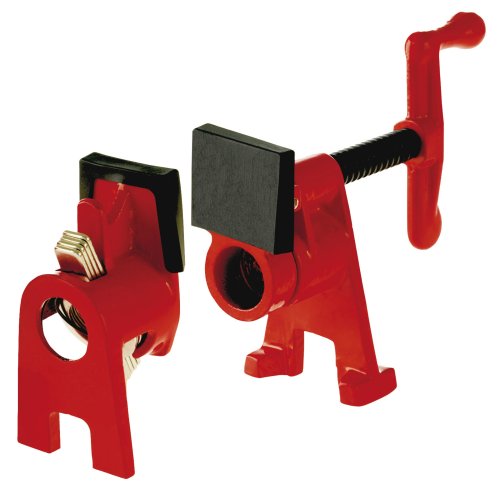
Cheap and durable, a set of four 5’ bar clamps will help with larger projects. These would be great for making your first headboard for a bed, or keeping a coffee table square during glue-up. You’ll add your own pipe to these to make them into whatever length you need. Very versatile and easy to use. Be careful to not mar your surfaces with them.
Power Tools
Saw, drill, and jigsaw will give you the basic wood shaping tools that you need for almost any DIY project. I’ve included a few other nice-to-have tools in this list as well. A sander is included with the finishing tools.
- Drill
-

Quick charging, light, and a long battery life make this DeWalt a great choice. A high quality drill is an absolute must. An 18 volt drill will have more than enough power to drive larger bits, but I like this 20V from DeWalt for its compact size and light weight. A drill with a heavy battery can make it hard to tell how hard you are driving screws, which is very important when using pocket hole joinery.
- Impact driver
-
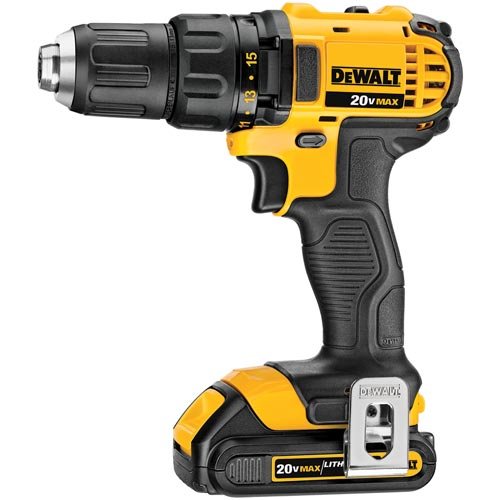
Brrraaaaaapppp! This is an optional tool, but if you’re driving a lot of screws, installing a deck, or a lot of drywall, then an impact driver is a brilliant tool to own. They don’t strip screws and stay engaged with a screw much better. If you’re going to purchase one, it’s best to buy the combination pack of drill and driver so that you have compatible batteries and charging systems.
- Jig Saw
-
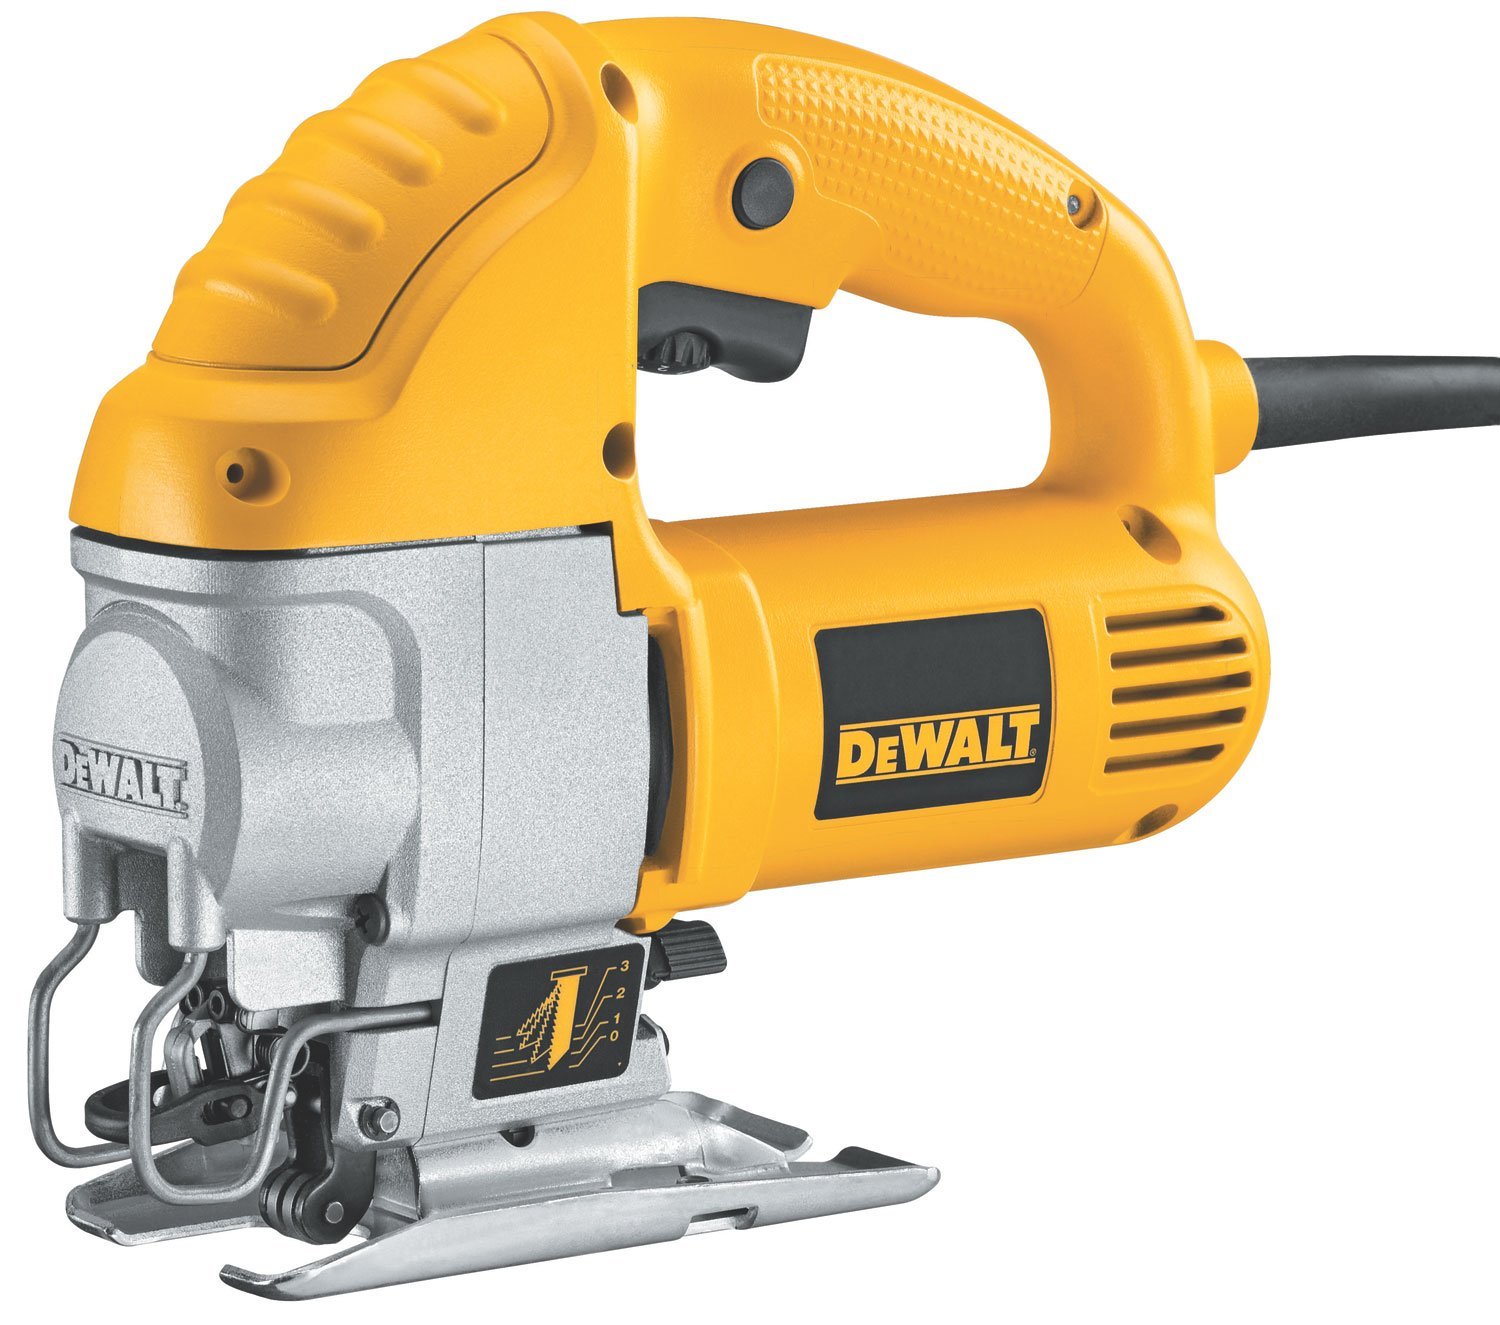
Buy an assortment of blades, having the right blade is crucial to getting good results. Go ahead and spend a little more on a nice one. This is a tool that will bridge the gap from now until you have a bandsaw, and will always be a great tool for odd jobs. I like this DeWalt saw because it has a nice orbital action for cutting and no need for tools to change blades.
- Circular saw
-
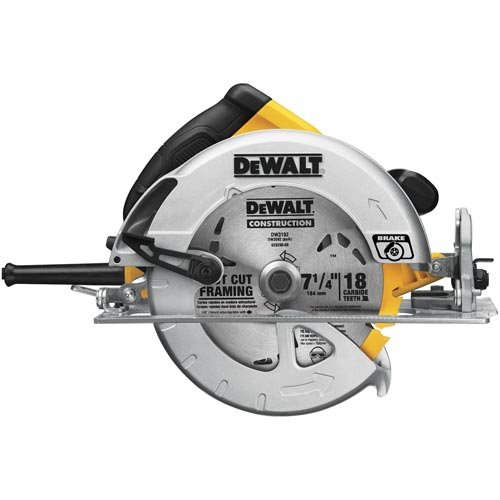
Buy good blades, and the right blade for the material that you are cutting! A 7 1/4 inch saw is a carpentry must. A worm drive saw is a great tool if you’re framing, but can be heavy and a little hard to deal with if you plan to use it with a Kreg jig or a cutting guide. This DeWalt saw is a great place to start, it’s got a brake and is pretty lightweight. It works well with a guide, and as soon as you have your saw, you should make a saw guide. Another useful tip for cutting down sheet goods is to lay a sheet of foam insulation down under your plywood, and then make your cut with the guide.
- Router (1 hp, 1/4” collet)
-

You can get new bits for your projects. Start with a rabbeting bit and straight and flush cutting, and then chamfer, bead, cove, and round-over. A 1/4” collet will hold most of the bits you’ll want for rabbetting drawers and frames. Purchase the bits as you need them. You can clean up a lot of backyard building inaccuracy with a flush cutting bit. For instance, if you’ve attached a sheet of plywood to a board, and the board isn’t quite straight, a flush cutting bit will make the edges match. You could accomplish the same thing with a sander, but a router will leave a crisp edge. You’ll want a larger plunge router at some point, but this will give you all that you need for finishing edges, adding detail, and rabbetting for drawers, frames, and cabinet backs. I’ve really enjoyed my Makita Trim Router, it’s a sturdy little unit and has given me good results.
Sanding and Finishing
I cannot stress this enough - a good finish on a project will draw the eye away from other imperfections. The difference in a garage project and a nice project often comes down to material choice, and the number of times the piece has been sanded. Don’t stop too soon!
- Random orbit sander
-
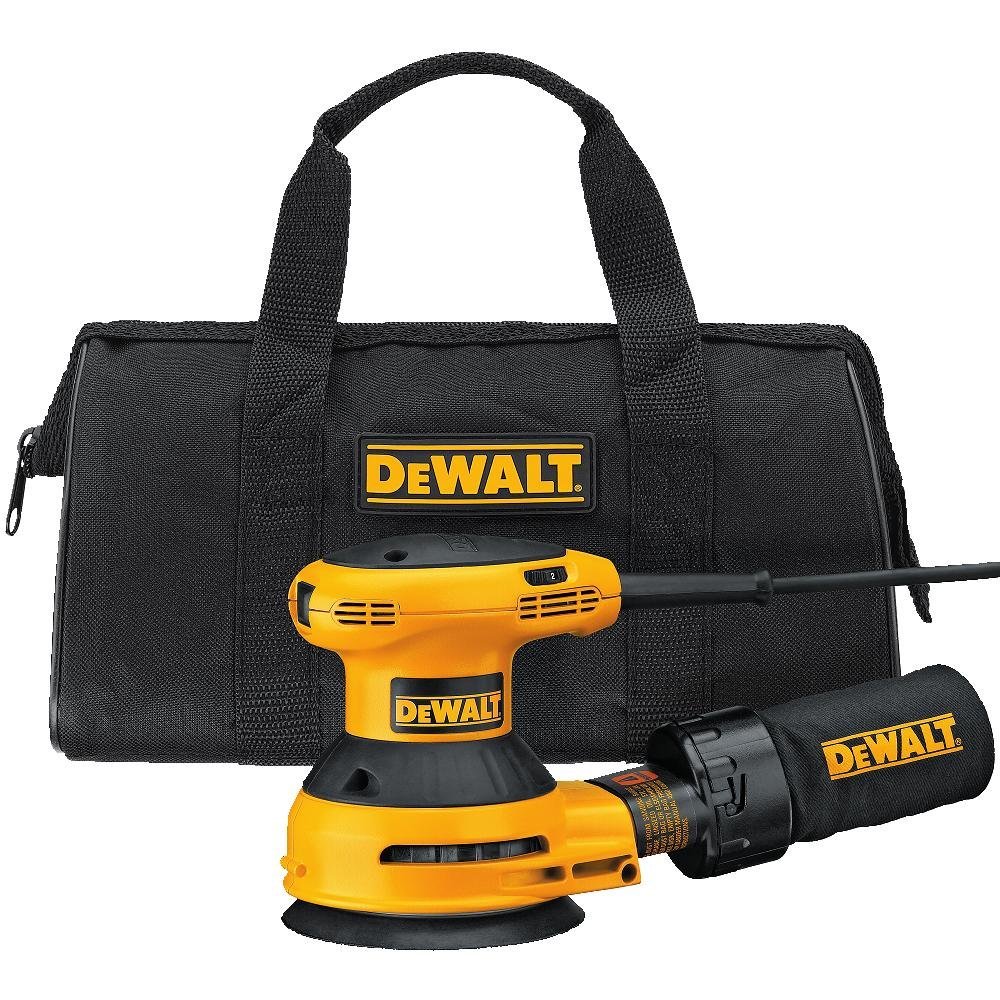
The swirling pattern won't leave gouges in your surface. A five inch sander is a great start. This one from DeWalt is darn near perfect. The difference in a nice piece and a hack job is the quality of the finish. A nice sander will help that. A random orbit sander will help prevent scratches in your finish, and can make quick work of preparing large surfaces.
- Belt sander
-
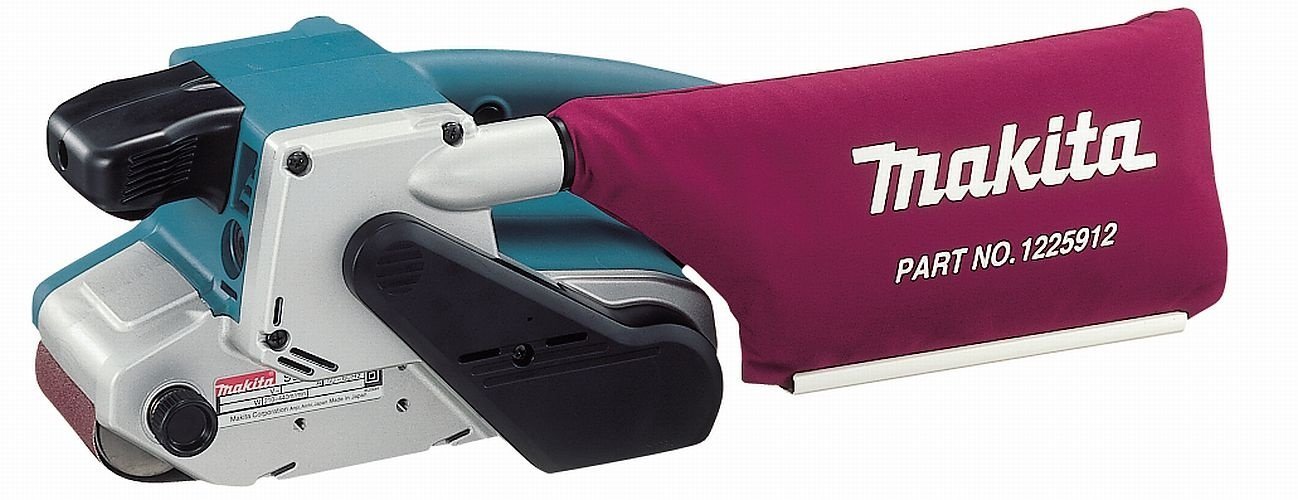
Not a requirement, but great to have for dimensioning stock if you don't have a planer or jointer. This is a little expensive to include on this list, but it can be a great tool to own. A belt sander can take the place of a planer and to some extend a jointer. It can be very useful in flattening boards as well as for shaping. Stick to the random orbit sander for finishing tasks though!
- Assorted sandpaper
-

You’ll get a lot more life out of your sandpaper if you learn how to fold it correctly! I like the 3M Sandpaper, the tacky back makes it work well on sanding blocks, and it doesn’t seem to pack-up or wear down as fast as other brands.